Einleitung
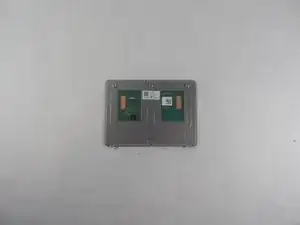
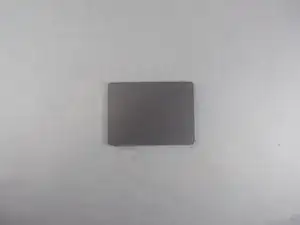
This guide is useful for helping to troubleshoot or replace the Acer Chromebook Spin 15 CP315-1H-P1K8 touchpad. If the touchpad on your laptop is no longer responsive or no longer functioning, use this guide to remove and replace the touchpad.
Werkzeuge
Ersatzteile
-
-
Flip the computer over so that the back is facing up.
-
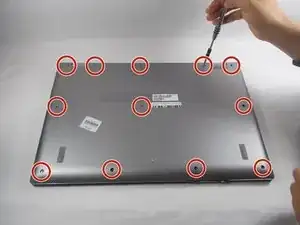
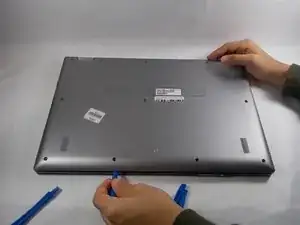
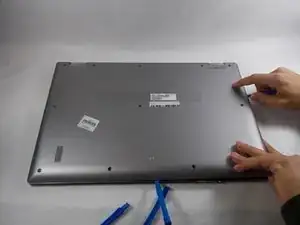
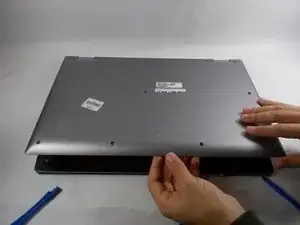
Remove the twelve 6mm Phillips #1 screws from the bottom of the laptop.
-
-
-
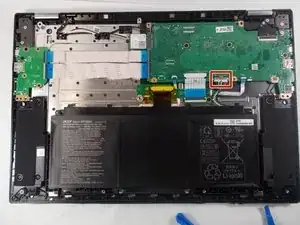
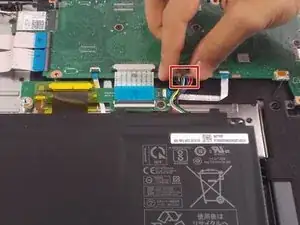
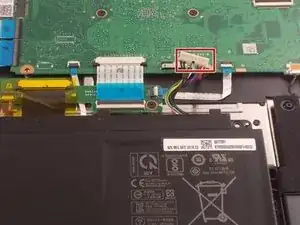
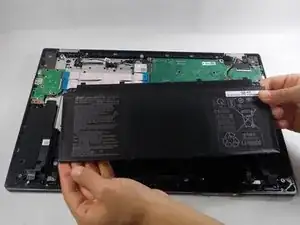
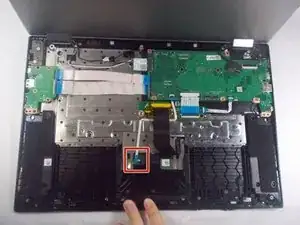
Remove the ribbon cable by pulling the plastic connector that is connected to the motherboard out.
-
-
-
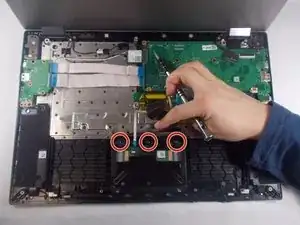
Remove the tan adhesive tape that is covering the touchpad to expose the screws holding it in.
-
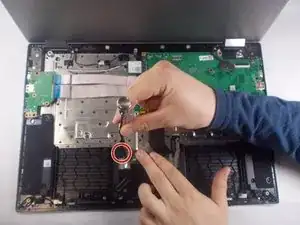
Remove the three, 3mm long screws that are holding the touchpad in place.
-
Abschluss
To reassemble your device, follow these instructions in reverse order.



Some of the screws are long and some are short - make sure you not which came out of which hold.
Thomas Krauska -
As always, I would recommend that you remember exactly where you remove the screws from, on this particular model, we did not see that the screws were different lengths. I would recommend sorting them in a pattern that is familiar, such as clockwise or counterclockwise. This way when replacing the screws you know exactly the order to put them back in.
Evan Costa -