Einleitung
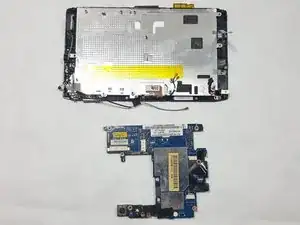
This guide serves to help the user replace the motherboard on the Acer Iconia Tab A100.
The motherboard can serve as the root of many issues. It is the brain of the machine and is key to the operations of a computer.
Warning: The motherboard is an extremely delicate part of the computer and should be handled with utmost care. It is recommended to wear gloves when touching a motherboard because it is very sensitive to electricity.
Werkzeuge
-
-
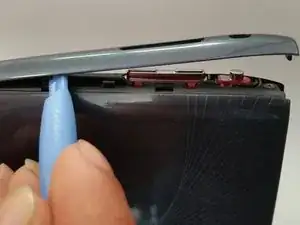
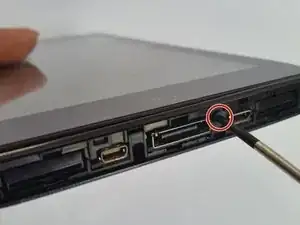
Start at any side of the tablet.
-
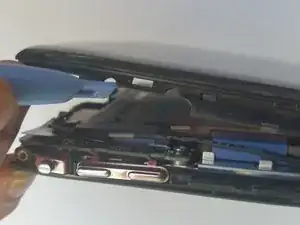
Begin to take apart the tablet with a plastic opening tool along the sides of the tablet.
-
Work your way around the tablet.
-
-
-
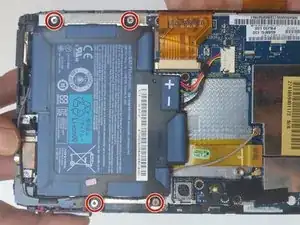
Turn the tablet over so that the battery is facing upwards.
-
Remove the four 4mm screws located around the battery.
-
-
-
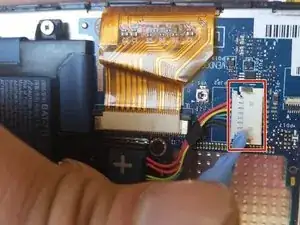
Use the tip of a plastic spudger or opening tool to gently push the connector head out of its socket.
-
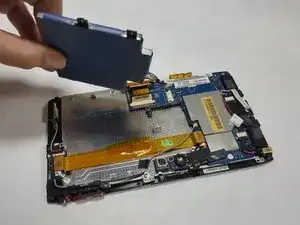
Use your fingers or the flat edge of a plastic opening tool to lift the battery up and off of the device.
-
-
-
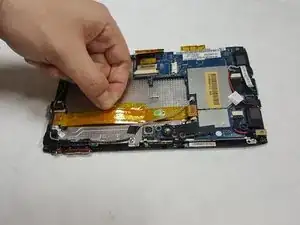
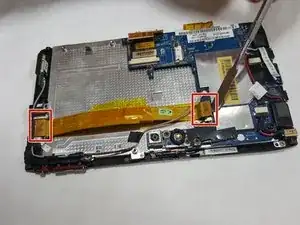
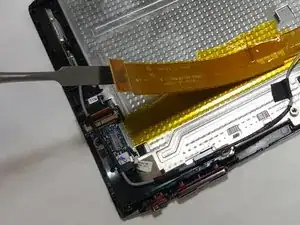
Locate the two connectors at each end of the FPC.
-
Use the flat edge of a spudger tool or your fingernail to gently pry each connector straight upwards out of its socket, then remove the FPC cable from the unit.
-
-
-
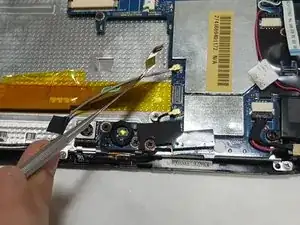
Locate the microphone cable.
-
You should be able to gently pull it out of its socket using only your fingers.
-
-
-
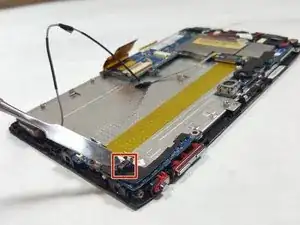
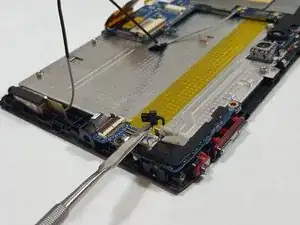
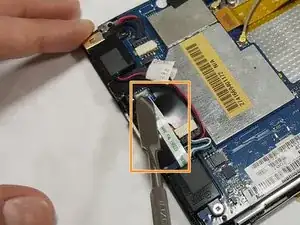
Locate the light sensor connector.
-
Use the tip of a spudger or your fingernail to lift up and flip the small retaining flap on the connector. The light sensor ribbon cable should now be free, so simply pull it out.
-
Use a Phillips #00 screwdriver to unscrew the single 3.0mm Phillips screw next to the light sensor connector.
-
-
-
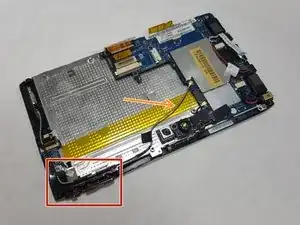
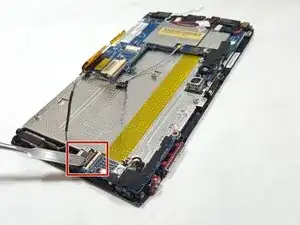
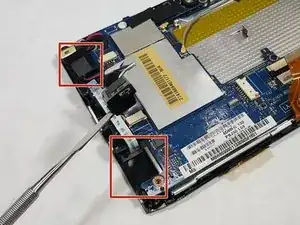
Locate the speakers module, which consists of 2 square black speakers connected by wires.
-
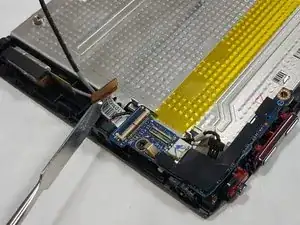
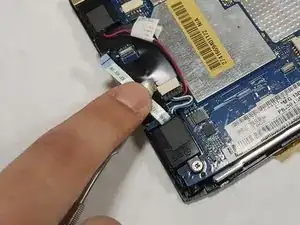
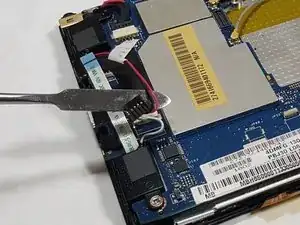
Locate the white and blue Home Key FFC ribbon cable between the speakers.
-
Use the tip of a spudger or opening tool to lift up and flip the small hinge on the connector. Then gently pull the FFC ribbon cable out its connector socket.
-
-
-
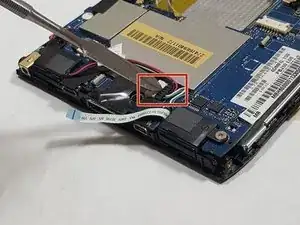
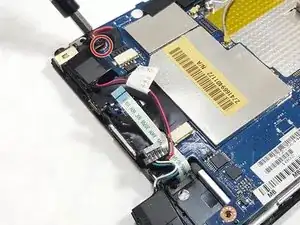
Locate the speaker cable. Use your fingers to pinch each side of the black head of the speaker cable, and gently pull it out of its socket.
-
-
-
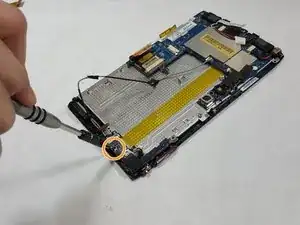
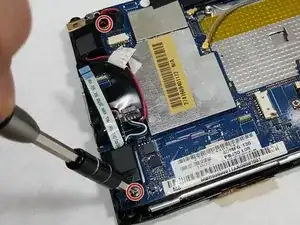
Unscrew the 4mm Phillips screws securing the speakers module to the device using a Phillips #00 screwdriver.
-
-
-
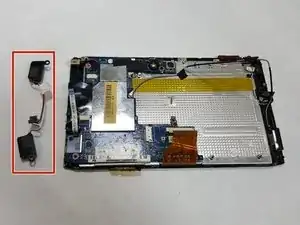
Now both speakers should be free. Use the edge of a spudger tool to lift each speaker off the device, or use your hands to simultaneously lift each square black speaker off of the device.
-
-
-
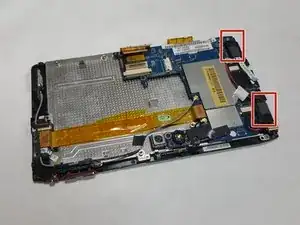
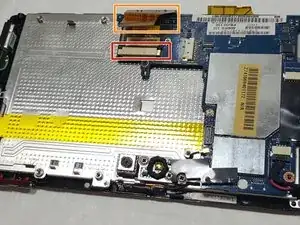
Use the tip of a spudger or your fingernail to flip up the retaining flap on the connector.
-
Use your fingers to gently pull the orange cable out of the connector socket.
-
-
-
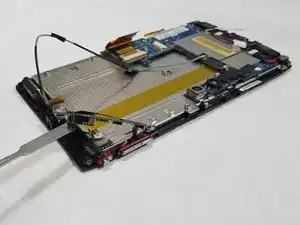
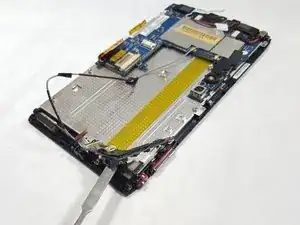
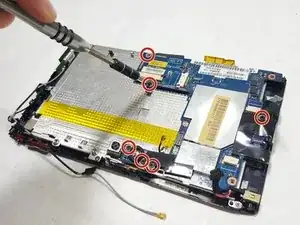
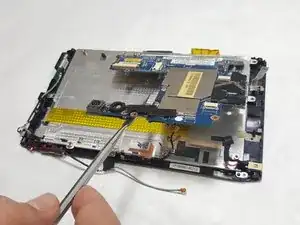
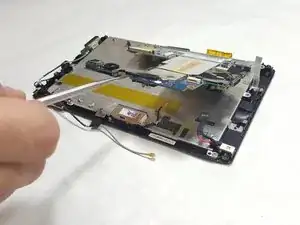
Remove the six 3.0 mm screws securing the motherboard to the bezel using a Phillips #00 screwdriver.
-
To reassemble your device, follow these instructions in reverse order.
