Einleitung
This guide will lead you step by step on how to remove the speaker.
Werkzeuge
-
-
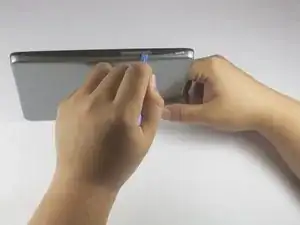
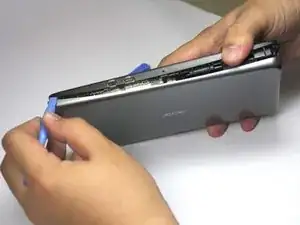
Pry open the right side of case with the plastic opening tool. If necessary, keep a tool lodged into the side to keep the case from closing.
-
-
-
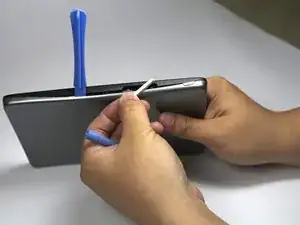
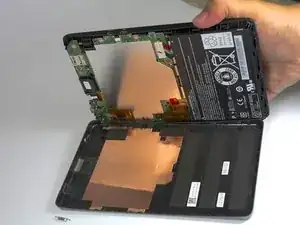
Pry open the left side of the case with a plastic opening tool. The backside of the tablet should now separate completely from the front.
-
-
-
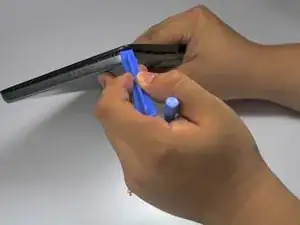
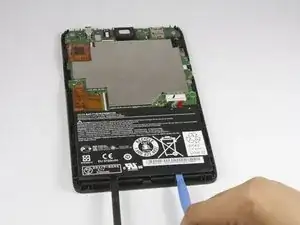
Using the plastic opening tool and spudger, carefully pry up the battery from the case.
-
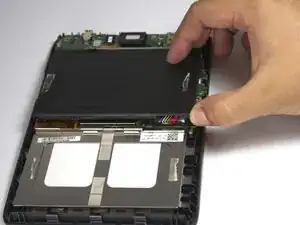
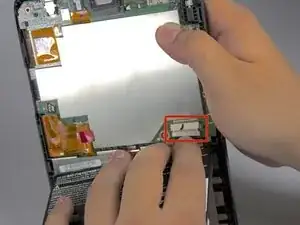
Once the battery is no longer adhered to the case, detach the dongle that connects the battery to the motherboard.
-
-
-
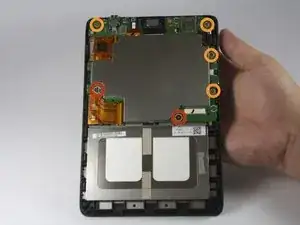
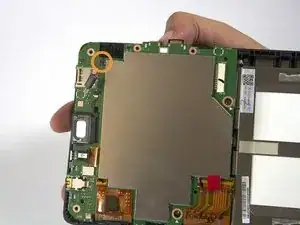
With the Phillips #00 screwdriver, remove the following screws securing the motherboard to the back panel:
-
Two 2.0 mm screws (with the bigger head)
-
Four 2.5 mm screws (with the smaller head)
-
-
-
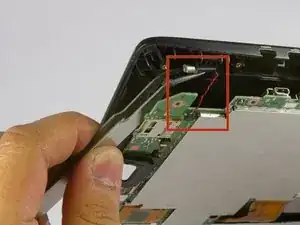
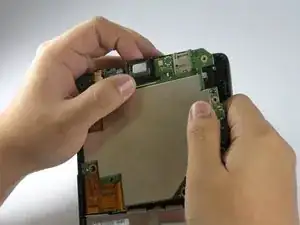
On the top right side of the motherboard, is the vibration motor. With tweezers, carefully pull the vibration motor out from underneath the motherboard.
-
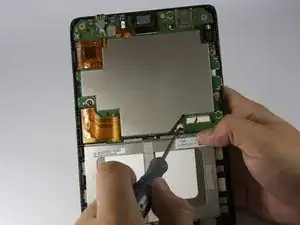
With your fingers, carefully disconnect the cable securing the vibration motor to the motherboard. Set aside.
-
-
-
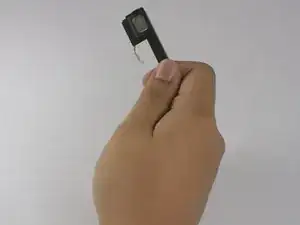
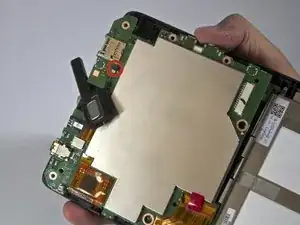
The speaker located on the top of the motherboard should easily slide out. Take note that there is still a wire connected, so do so carefully.
-
With your fingers, slowly pull out the wire connecting the speaker to the motherboard.
-
To reassemble your device, follow these instructions in reverse order.
