Einleitung

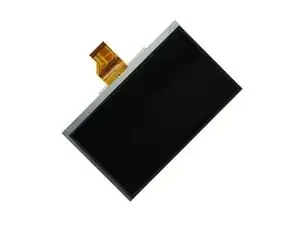
Acer Iconia B1-710 B1-711 - How to disassemble, take apart the device and replace the broken screen.


Please SUBSCRIBE to my channel ツ

  1. NWSNm2Sxgjd34SGj
    NWSNm2Sxgjd34SGj
    ZyttF1kSTFIwPfgp
    eeIpEKcY4sdIas22
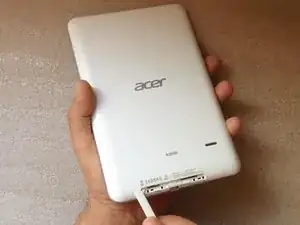
    • Switch-off the tablet.

    • Remove any SIM and/or Memory Card.

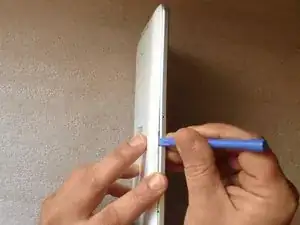
    • Start opening near to the Volume Up/Down buttons. It's more well to use a plastic opening tool to avoid damaging the cover.

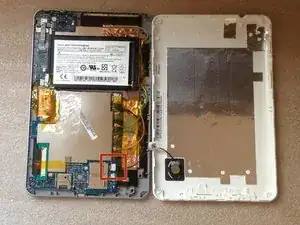
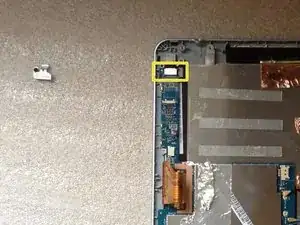
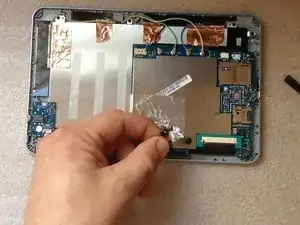
    • When lifting the cover, be careful not to tear the Loudspeaker cable at the bottom right side.

    • Disconnect the Loudspeaker cable from the Logic board.

  2. DMSNnDkAp6Fd2ZcY
    DMSNnDkAp6Fd2ZcY
    JRAslJsDehDSpMch
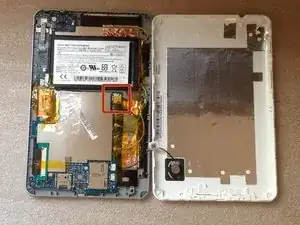
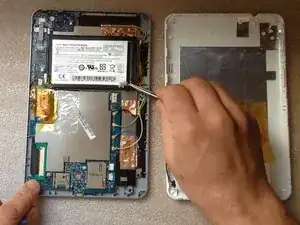
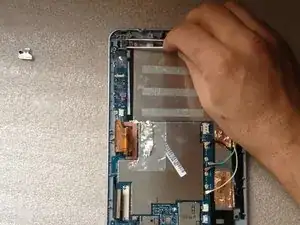
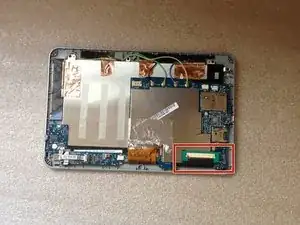
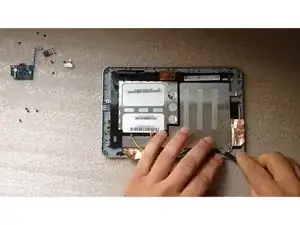
    • Before doing anything, disconnect the battery.

  3. dBkaj3RjAV1BV3LM
    dBkaj3RjAV1BV3LM
    Z4KhRSGcNgSqi1CE
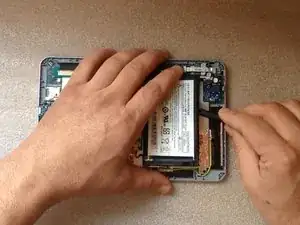
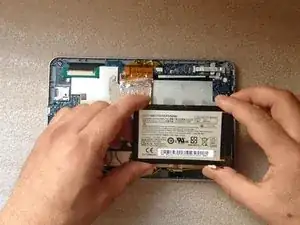
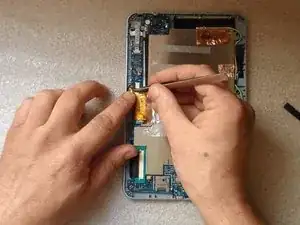
    • With a long plastic tool like a spudger, unstick the battery from the metal LCD shield.

    • Lithium Ion Battery Pack - 3.8V, 2710mAh

  4. X4ZaHIAHrMGDMOZq
    X4ZaHIAHrMGDMOZq
    TZcMSbOTTDpMl4R5
    2COvlAx5XVgnEl2Z
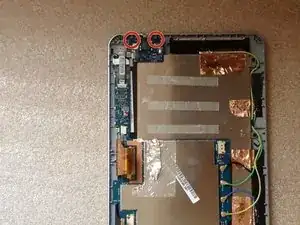
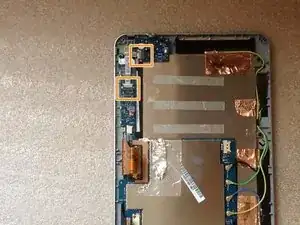
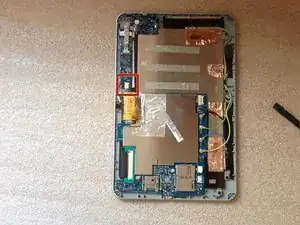
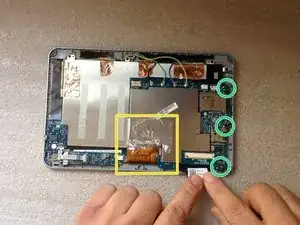
    • Unscrew 2x Philips screws

    • Disconnect and remove the Audio Jack Board flex cable.

    • Remove the board with the Audio Jack Connector.

  5. 2J4ylSrOeKInTKRo
    2J4ylSrOeKInTKRo
    TKLuNogBxFqllwld
    MEDBlP1O3LqBm1ZE
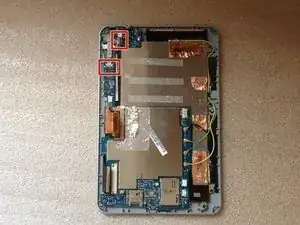
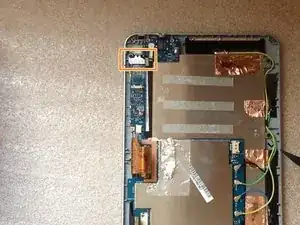
    • Remove the Audio jack flex cable.

    • Remove the metal plate which is placed on the camera connector.

    • Disconnect the camera flex cable.

  6. ANifecaDrYQRTAaB
    • Remove the camera.

  7. IN41PF4dAhJQVeAU
    IN41PF4dAhJQVeAU
    615SLNrgmR5dOuyG
    1ZlaGCHHtTprpHjo
    • Remove the tape from the microphone.

    • Disconnect the Microphone wires and remove the Microphone.

  8. j1fYxZKetcwYxZD5
    j1fYxZKetcwYxZD5
    egSnWUIvHw2HlFcs
    heyOsrBKGIJgikSu
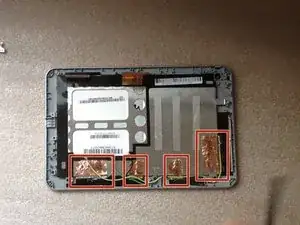
    • Remove the green rubber and disconnect the touch screen flex cable.

    • Disconnect the 4 coaxial antenna cables (Wi-Fi, GPS, 3G).

    • Carefully unstuck the metal folio from the LCD display flex cable.

    • Remove the 3x Phillips screws.

  9. kwLBHVjeDNTPylI1
    kwLBHVjeDNTPylI1
    EHCPEm13kSl5VSrX
    HKUlGBv6FGZrbKEs
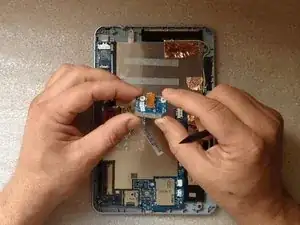
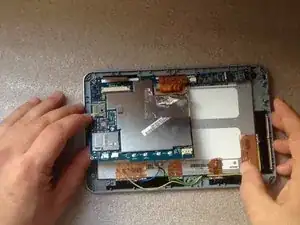
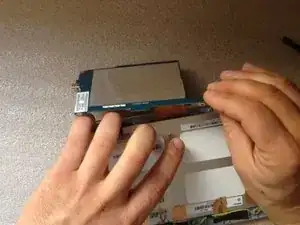
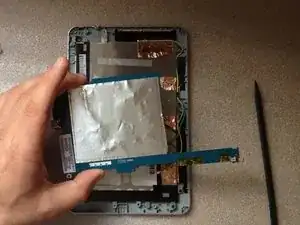
    • Lift the board from the side of the battery connector and turn it around the display connector on 360 degrees.

    • Be careful for the flex cable!

    • Disconnect the LCD display flex cable.

  10. GI2Q6FDHStvZ51OM
    GI2Q6FDHStvZ51OM
    oQgT3dkj21Luqa4O
    • This is the Logic board.

  11. yLW2jSEV11oTYELH
    yLW2jSEV11oTYELH
    XvCOFEYWi6WNOkOX
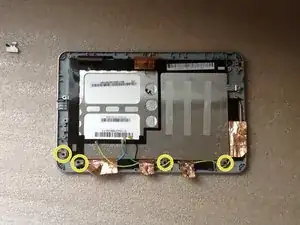
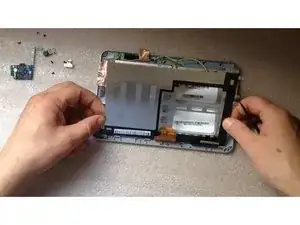
    • Careful unstuck the metal folio from the screen shield.

    • Remove the 4x Phillips screws.

  12. ESehloWDQE5OaN3k
    ESehloWDQE5OaN3k
    tgfD3xjdZZQyHpuF
    brqDd5CFOlvmdbgP
    • lift the screen shield from one side and open it like a door, then remove it.

  13. qQOdnXwRnn5SVL4h
    qQOdnXwRnn5SVL4h
    gtCp1EfHELbnY1pJ
    KuFIFvZQITpQjSFo
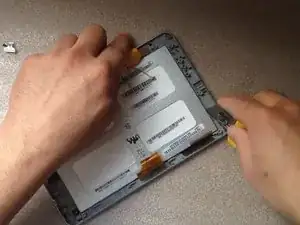
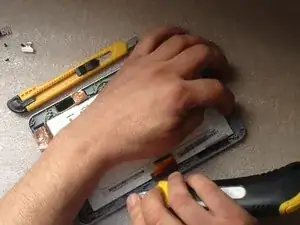
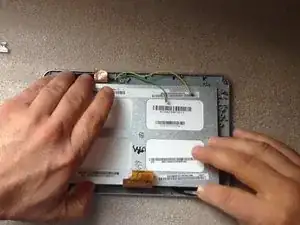
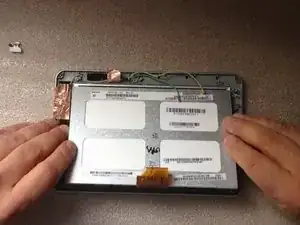
    • The LCD display is held from the metal screen frame by several locking clips.

    • Very careful using a tool with sharp edge, release the screen from the one side.

  14. wSorcE2teZdlgeuq
    wSorcE2teZdlgeuq
    cwds4iTkMyAXNTwG
    C6ZOeO3APKLVhSrw
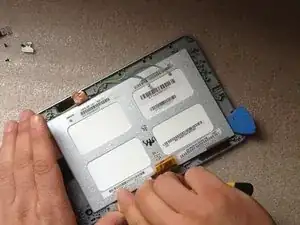
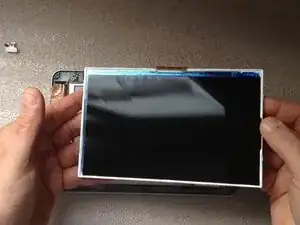
    • Lift the display up and remove it.

Abschluss

To reassemble your device, follow these instructions in reverse order.
ZFix

Mitglied seit: 09/12/13

188213 Reputation

0 Kommentare