Einleitung
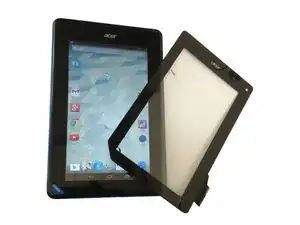
We well show you how to disassemble / take apart the tablet and how to change / replace the Touch screen. Before replacing, try to reconnect only the Touchscreen flex cable. Manual for this you can find on Acer Iconia B1 main page.
Werkzeuge
Ersatzteile
-
-
Because I can't switch-off the tablet, I'm using the reset button to do this.
-
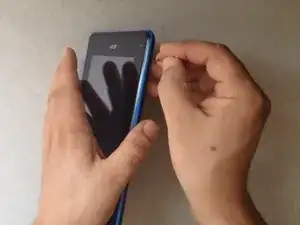
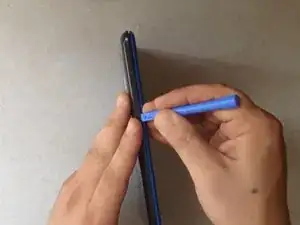
With a cutter and a plastic tool remove the back cover.
-
-
-
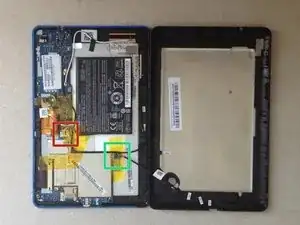
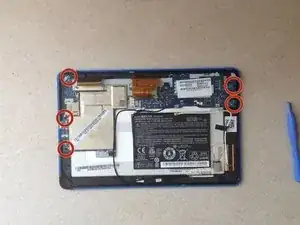
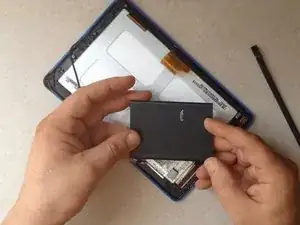
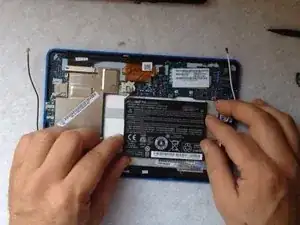
First, disconnect the battery.
-
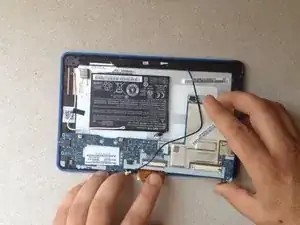
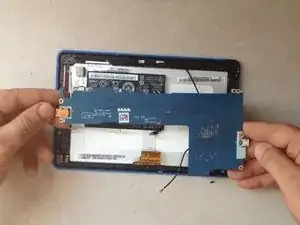
Now, disconnect the loudspeaker and remove the back cover.
-
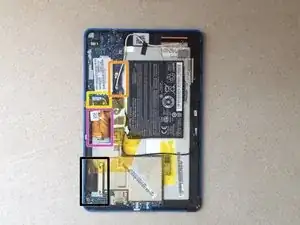
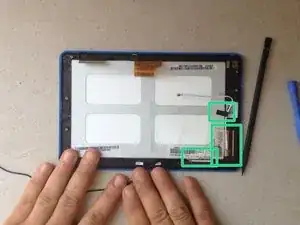
Remove all scotch tapes and disconnect the touch screen flex cable...
-
LCD display flex cable,
-
the microphone,
-
and the WiFi and Bluetooth antennas flex cables.
-
-
-
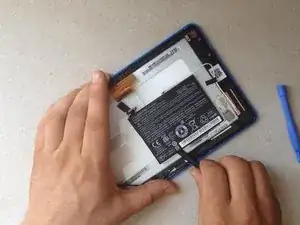
The battery is glued to the LCD display metal shield with a double sided adhesive tape.
-
Use plastic tools and carefully remove it.
-
Remove all tapes from the LCD display metal shield.
-
-
-
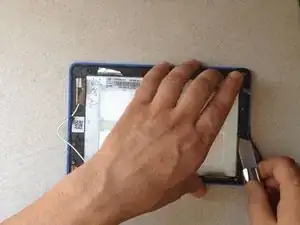
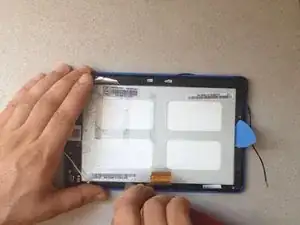
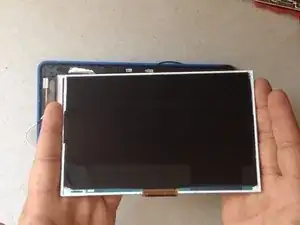
The LCD display is held by metal frame and some locking clips on it.
-
Use a cutter and a plastic tool to separate the LCD.
-
Now, install the new LCD display and reassemble the tablet.
-
-
-
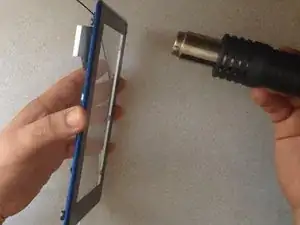
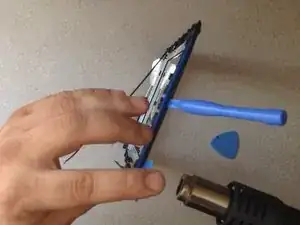
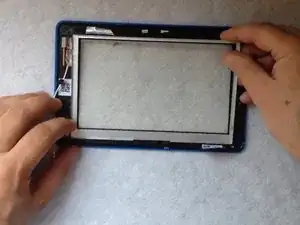
Warm up the touch screen.
-
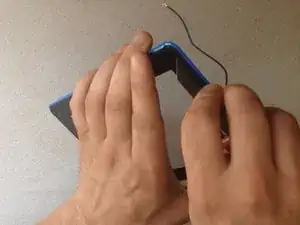
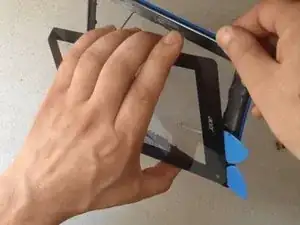
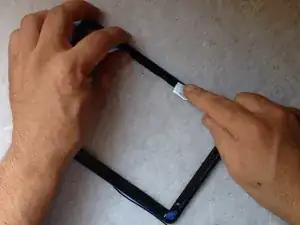
Start separating from one of the corners. With a cutter, make place for a plastic tool.
-
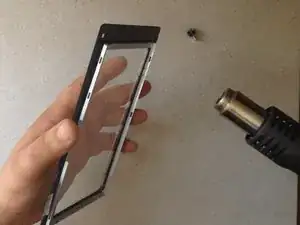
Keep warm the touchscreen to separate it easily.
-
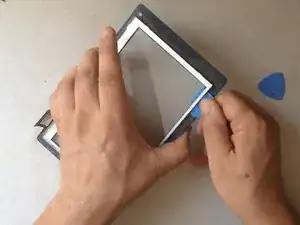
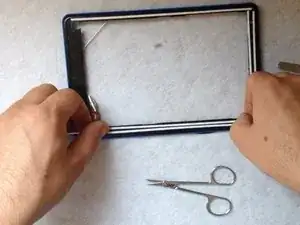
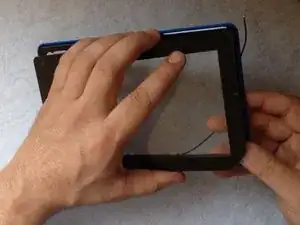
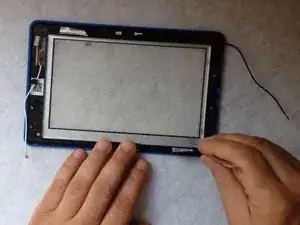
For us is important to keep only the frame.
-
-
-
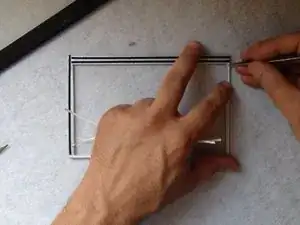
Before installing the new touch screen, clean the frame and put double side adhesive tape.
-
For the cleaning you can use an alcohol.
-
To reassemble your device, follow these instructions in reverse order.
Ein Kommentar
Hello, i have followed all these instructions but the touch screen desn't work in spite of a reset by the little button and a wipe.
Please, how can i resolve this problem?
