Einleitung
If your device no longer holds a charge, this guide shows you how to fix the problem.
Werkzeuge
-
-
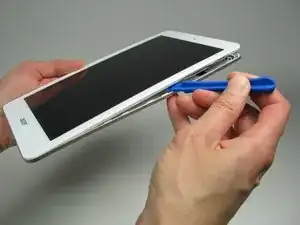
Insert the plastic opening tool into the seam between the back case and the display.
-
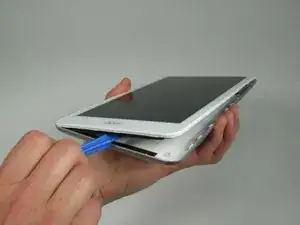
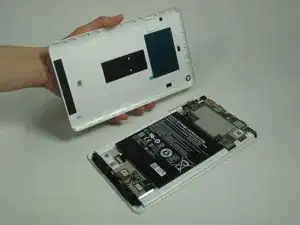
Work the plastic opening tool around the seam until the rear case separates from the display.
-
-
-
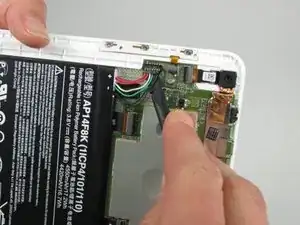
Using a spudger, work the tool under the battery connector located above the battery on the left side, and lift it free.
-
-
-
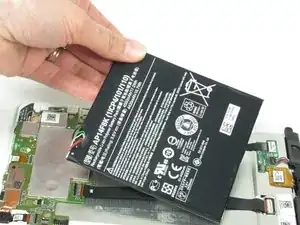
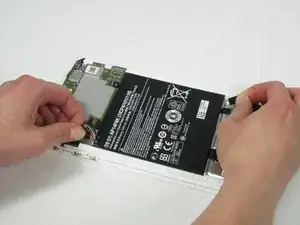
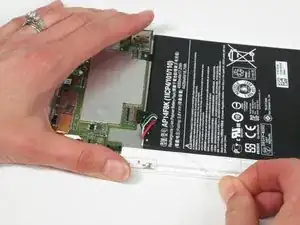
Pull firmly on the black tabs, located at the top left and bottom right of the battery.
-
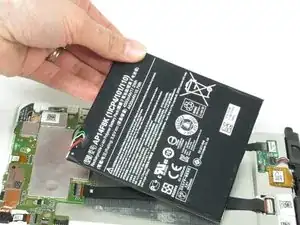
Remove the battery.
-
To reassemble your device, follow these instructions in reverse order.
2 Kommentare
The model I worked on has two flat black bands running across the battery from one side to the other. They appear to be wiring connecting each side of the electronics because they are connected to sockets on both sides. Didn't want to proceed until I have more info. I have a jpg of the setup if that would help anyone (or would help me).
Is this identical to the 8 A1 850? Not finding any instructions or videos on that particular model. I can’t see a notch or anything to use as a starting point to open the tablet. Where and how do you start to open it?
David -
