Einleitung

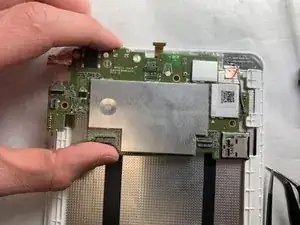
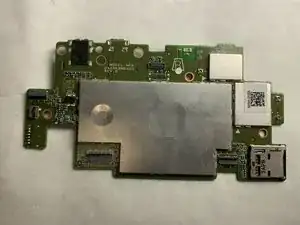
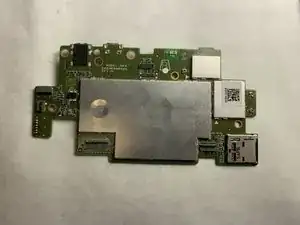
Most components either connect or interface with the motherboard in some way. Because there is a lot involved, this guide shows how to remove it properly.

  1. OPZAecVYnPCOLptH
    OPZAecVYnPCOLptH
    FXD2K3V1CA54VYAF
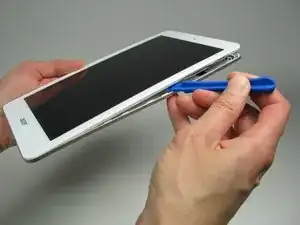
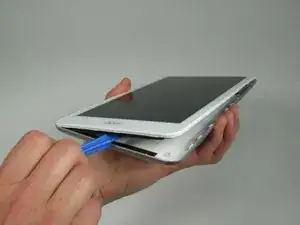
    • Insert the plastic opening tool into the seam between the back case and the display.

    • Work the plastic opening tool around the seam until the rear case separates from the display.

  2. jPPjGd1ZZbBfp62p
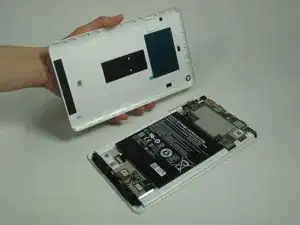
    • Separate the rear case and place the tablet face side down.

  3. GJUTdv1dxTXHGmMo
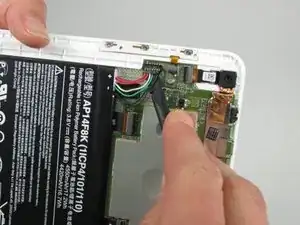
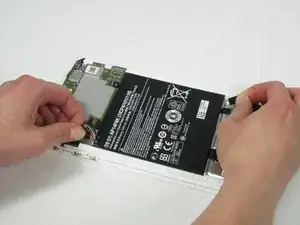
    • Using a spudger, work the tool under the battery connector located above the battery on the left side, and lift it free.

  4. IFfTtNFy1JB1iDQ4
    IFfTtNFy1JB1iDQ4
    G3JMHvpdpDU22CUE
    MD3TtNLB2yr6Kt2p
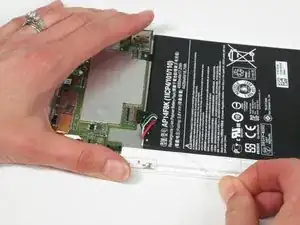
    • Pull firmly on the black tabs, located at the top left and bottom right of the battery.

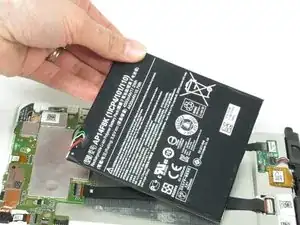
    • The clear adhesive strips attached to the tabs are quite stretchy. Don't give up; keep pulling the tabs until the battery releases. The strips will not be reusable.

    • Remove the battery.

    You should add in the PARTS needed a new compatible battery and what to look for. at the end you say do it in reverse order but said nothing about connecting the strips of the new battery.

    Pat Hanrahan -

  5. dZiXgcVZfNk1Ooki
    dZiXgcVZfNk1Ooki
    GruTCdrDM3wsm5sY
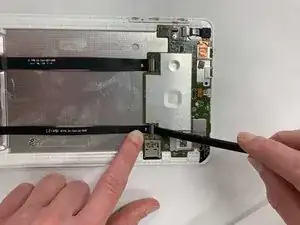
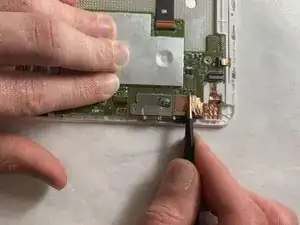
    • Using the spudger, remove the two tabs shown by placing the spudger under the gray part of the connectors and pulling on the tabs.

  6. 43gw3DhgOtNf2QWV
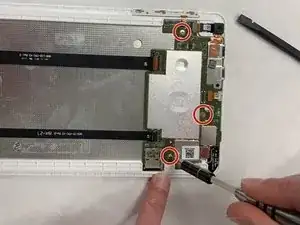
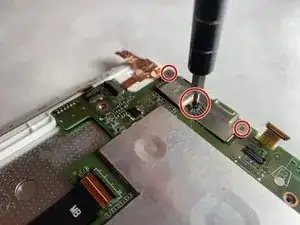
    • Use a Phillips #00 screwdriver to remove the three 2 mm screws.

  7. x1BQNt6Uf1aGefEk
    x1BQNt6Uf1aGefEk
    QtZ3wOZCuM52VC4Z
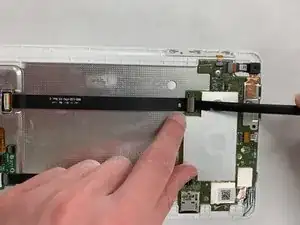
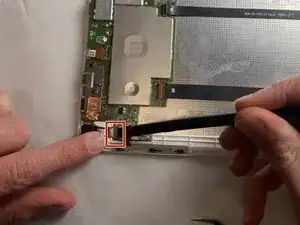
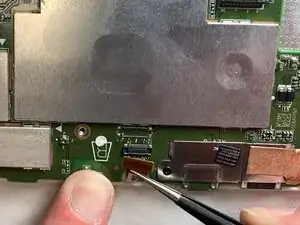
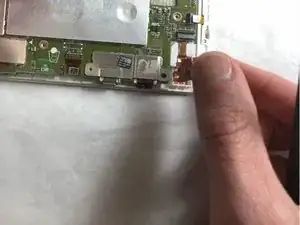
    • Using the spudger, push the tab where this belt connects to the motherboard to free it.

    • Use tweezers in order to pull the belt from its slot in the motherboard.

  8. afSfYYhNjSjIncRW
    afSfYYhNjSjIncRW
    tGppHVIXZntlBJWR
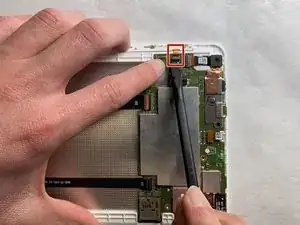
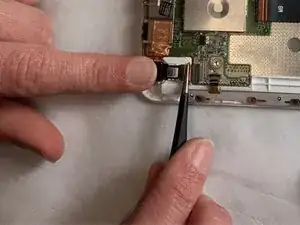
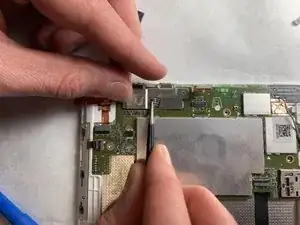
    • Using the spudger, push the tab connecting this belt to the motherboard.

    • Once the tab is pushed and the belt is free to move, use tweezers to pull it from the slot.

  9. MdiMluGsr6SpYwps
    MdiMluGsr6SpYwps
    SyD3he6WxmBWaiWu
    KNj5gv2WvGjYQJvx
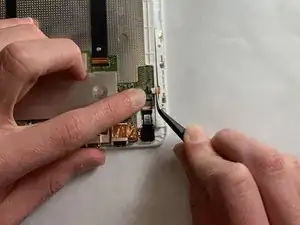
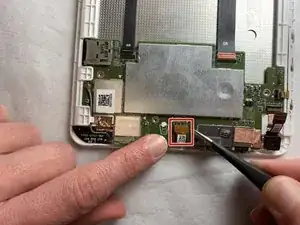
    • Using tweezers, pull upward on the end of this belt where it plugs into the motherboard.

  10. LQVHXQDIDgFEeCoH
    LQVHXQDIDgFEeCoH
    dNVZHBjRS6YLCNi2
    IUf4M36uHkVM6BmT
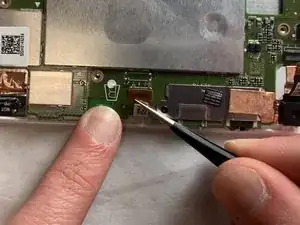
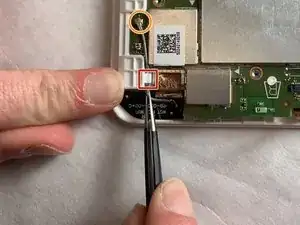
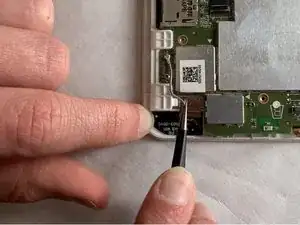
    • With the tweezers, grab the gray wire and move it from underneath the plastic piece shown in red.

    • Then place the tweezers on the end of the wire circled, and pull the piece from the motherboard.

  11. MHgQyypEWIFGh1uP
    MHgQyypEWIFGh1uP
    cXgbx2qF6rUG4AuM
    RJUMCn2E6jdg5CiY
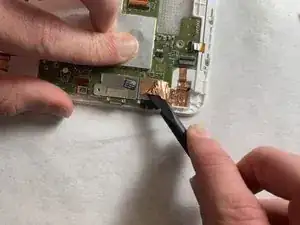
    • Use tweezers in order to lift a corner of this copper foil.

    • Then use a spudger to pull the copper foil from the motherboard.

    • If the copper foil does not remove easily, use an iOpener heating pad to release the adhesive.

  12. 5XN51CliotFRlgbi
    5XN51CliotFRlgbi
    LVf4RoGUNmtCwaCi
    • Using tweezers, remove the "void" sticker to reveal a 3 mm screw.

    • Use a Phillips #000 screwdriver to remove the three 3 mm screws.

  13. BCb31EbjcyXQEEZK
    BCb31EbjcyXQEEZK
    WgCDlIRJT5MPCfgI
    • Carefully lift the motherboard out of its slot in the rear case.

Abschluss

To reassemble your device, follow these instructions in reverse order.
Michael Buchanan

Mitglied seit: 01/04/19

361 Reputation

0 Kommentare