Einleitung
You can find digitizer for about 60 usd / 50 euros on eBay, or from other electronic part sellers...
It is not difficult. There are no resisting connectors. It takes about 2 hours, as removing the glued touchscreen could be quite long...
Ersatzteile
-
-
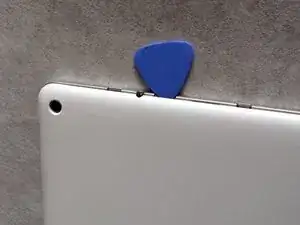
Start to unclip the back cover inserting a plastic opening tool from microSD connector.
-
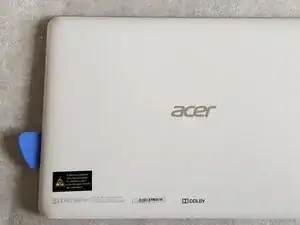
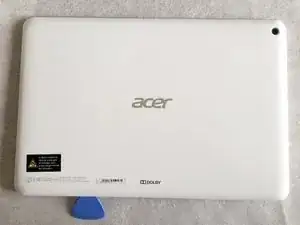
Continue to release the back cover uncliping counter-clockwise.
-
-
-
Gently pull up the flex cable to unstick it from the metal plate and from the battery pack.
-
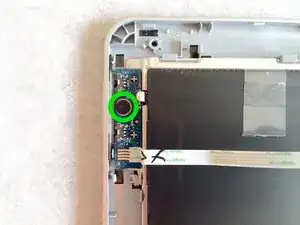
Then remove the volume buttons circuit board.
-
-
-
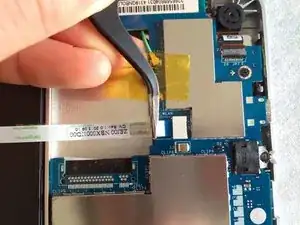
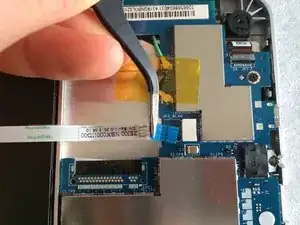
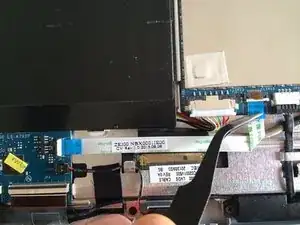
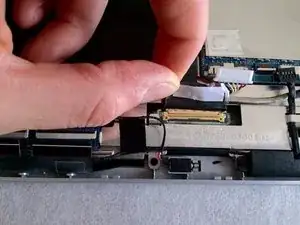
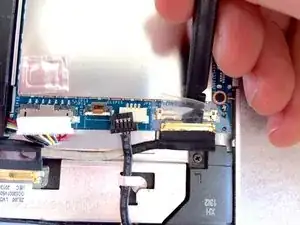
Pull out grabbing the cable connector by black taped part.
-
Push the cable connector with a spudger, at both of its extremity. Or with a large flat one on the gold part.
-
Both ways silultaneously...
-
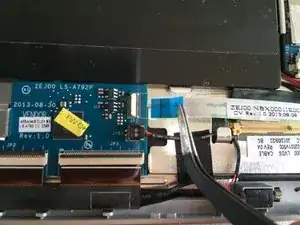
Remove the display cable.
-
-
-
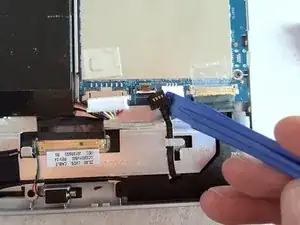
Peel off the two tape pieces securing the cable linking speakers.
-
Remove speakers and cable.
-
-
-
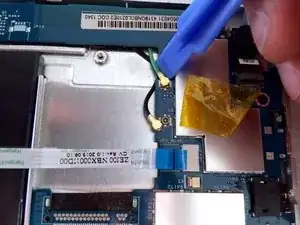
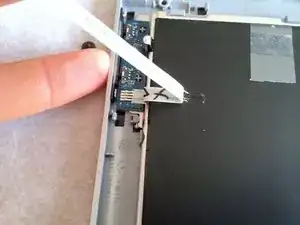
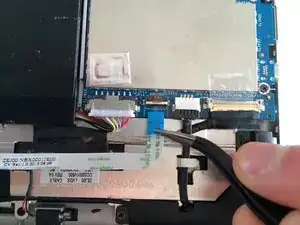
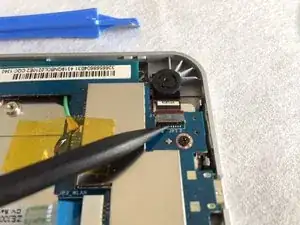
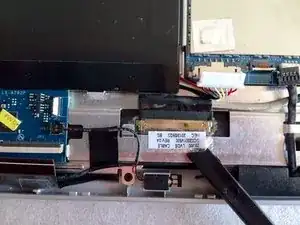
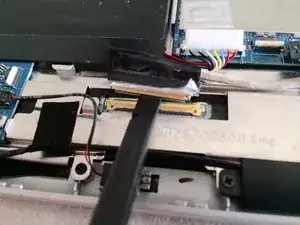
Disconnect the front facing camera with a spudger.
-
Introduce a flat spudger between the motherboard and the camera flex cable.
-
Then, rotate the spudger 90°.
-
-
-
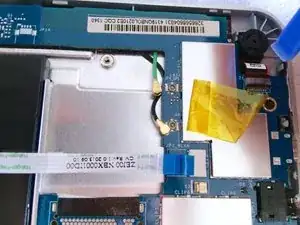
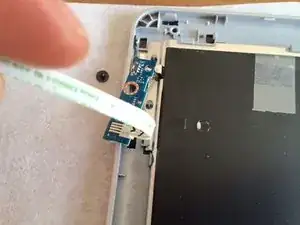
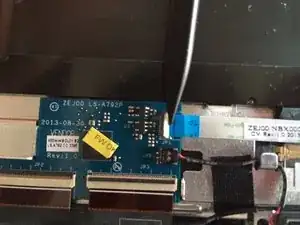
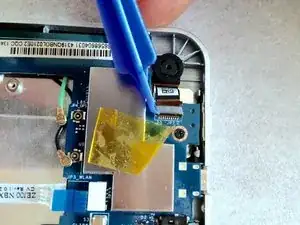
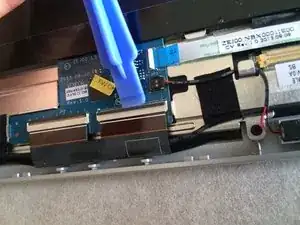
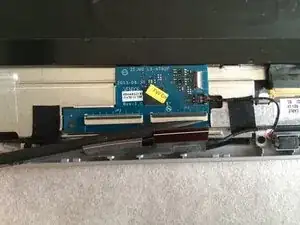
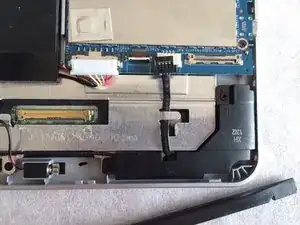
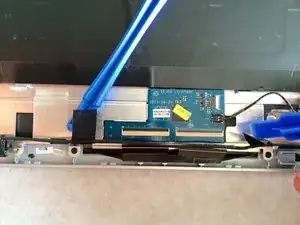
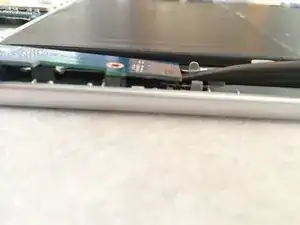
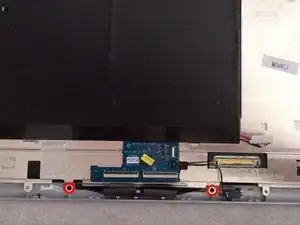
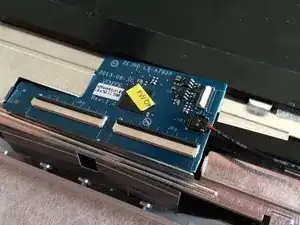
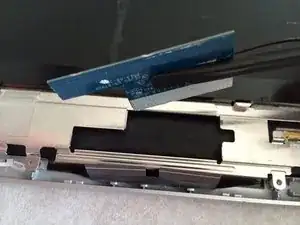
Release the touchscreen circuit board from the adhesive securing it to the display below.
-
Introduce a spudger and unstick the back of the circuit.
-
-
-
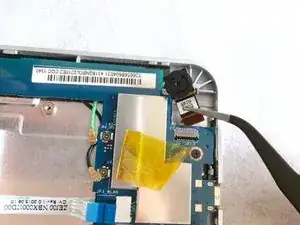
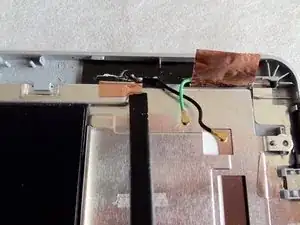
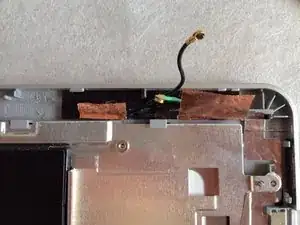
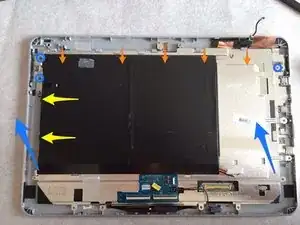
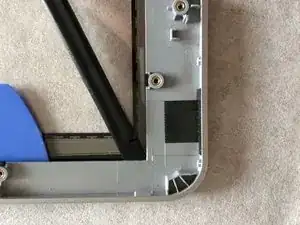
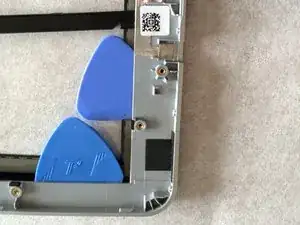
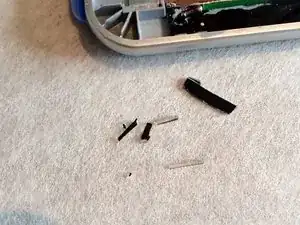
Yellow arrows : only two small clip still retain the metal plate (all screws were removed during previous steps).
-
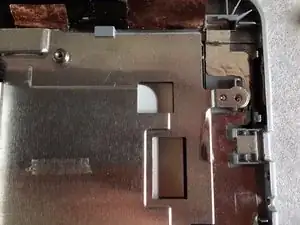
Blue arrows : lift up the metal plate until pins are released (blue circles).
-
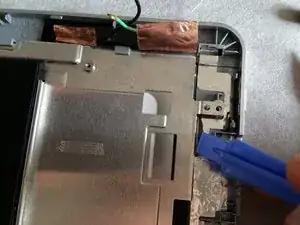
Orange arrows : pull towards you the metal plate to release the plate from top cleats.
-
-
-
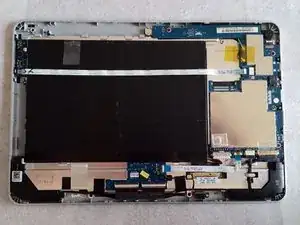
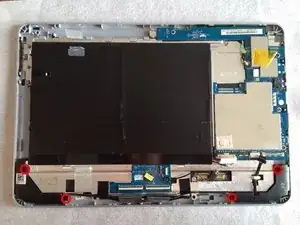
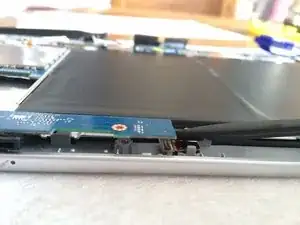
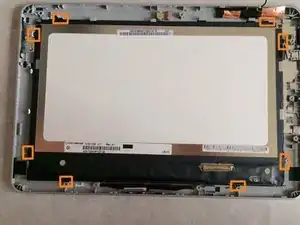
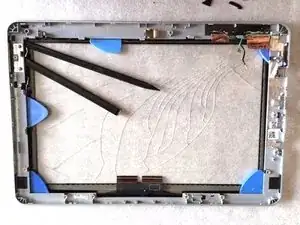
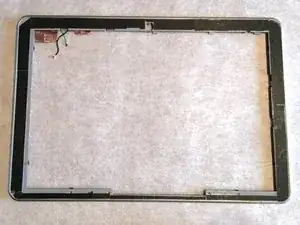
Lift off the display to remove it.
-
There are eight rubber pads which hold gently the display to the plastic frame.
-
-
-
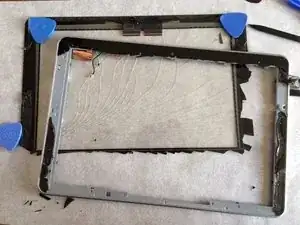
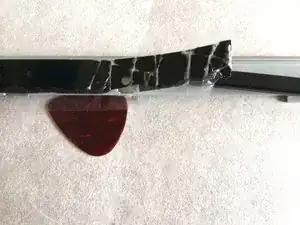
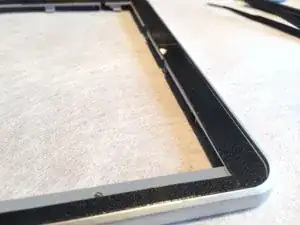
Here starts the painfull work.
-
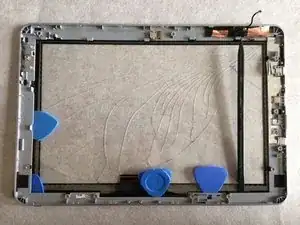
You can heat up the taped area with an hairdryer to decrease to tape resistance.
-
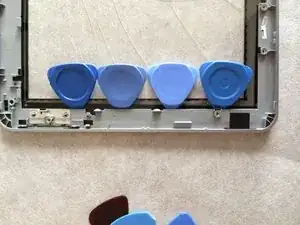
When soften, introduce plastic opening tools to separate frame and touchscreen.
-
-
-
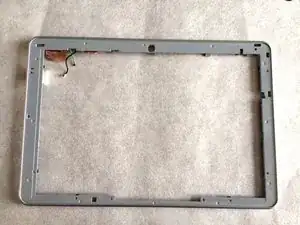
Remove all remaining tape marks before applying new tape.
-
I used standard foamed double-sided tape.
-
-
-
Peel off the interior protective plastic film from the new touchscreen.
-
Place it into the main frame.
-
Press firmly to the adhesive to tighten it!
-


To reassemble your device, follow these instructions in reverse order.

6 Kommentare
Excellent, just waiting for my battery to charge up so I can test it.
Too complicated for me, one cable broken. Better to order glass after successful dissassembly
You saved my day! It was the first time for me to repair the touchscreen of a tablet and everything works fine.
Additionally I have some remarks:
1) The named tools are useful and were needed. For the single steps it is therefore necessary to order a set of tools including the double-sided tape.
2) I repaired an A3-A11 and obviously there a some differences regarding the structure: There are two more cooper plates like screenshots 19 and 20 solid at the battery plate and two more connectors like wifi antenna.
This was not a problem because the cooper plates were stucked at the frame with a plastic peace and could be easily solved. The connectors could be also solved easily.
3) The reversed action of step 23 (assembly of metal plate) is tricky and must be done very carefully. Otherwise it could be that the back cover doesn't fit correctly.
4) The usage of a hair dryer for the removal of tape should be done carefully otherwise the frame could be warped (step 26).
sgerdt -