Einleitung
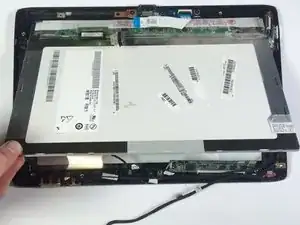
This guide will provide step by step instructions on how to replace the screen on an Acer Iconia Tab A500.
Werkzeuge
-
-
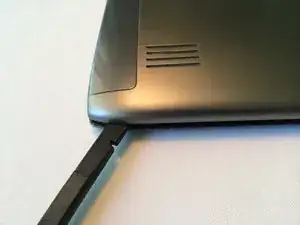
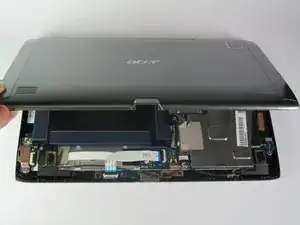
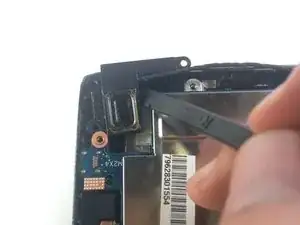
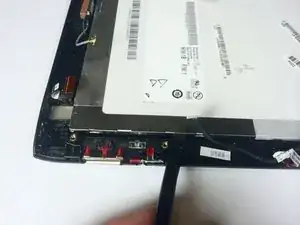
Once you have successfully pried the spudger in between the front case and back case, continue do so around the entire tablet until the back case is completely disconnected.
-
-
-
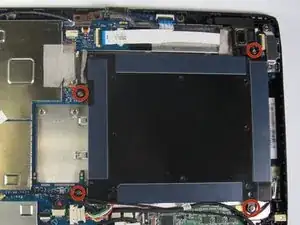
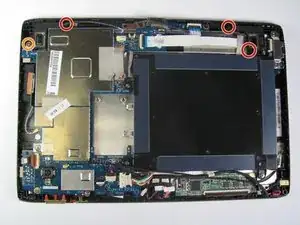
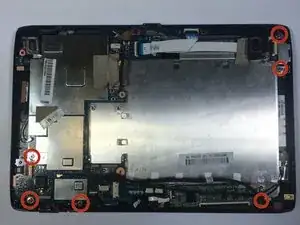
Remove the 5mm screws that are securing the battery to the rest of the tablet.
-
Use the Phillips #00 Screwdriver to remove the 5mm screws.
-
-
-
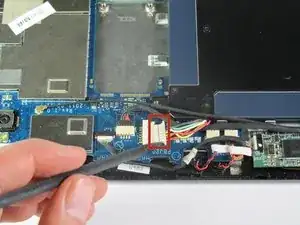
Use the sharper end of the spudger to disconnect the battery from the mother board.
-
The battery connector will slide off.
-
-
-
Locate the 4 screws and cable that hold in the two speakers.
-
Use the Phillips #1 screwdriver to remove these 2mm black screws.
-
Remove the 2mm silver screws.
-
-
-
Unfortunately, the top speaker is a wedged under the motherboard.
-
To get this speaker out, use the spudger and gently pry it out.
-
-
-
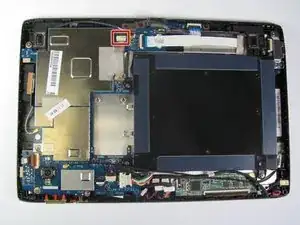
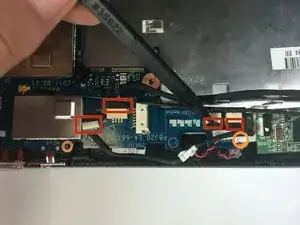
Use the spudger to detach the indicated cables.
-
Remove the last motherboard screw under the rightmost cable. It is a silver 5mm.
-
-
-
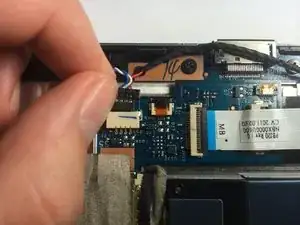
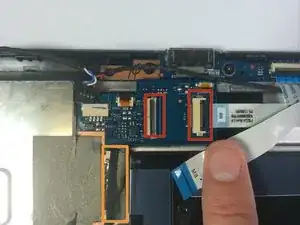
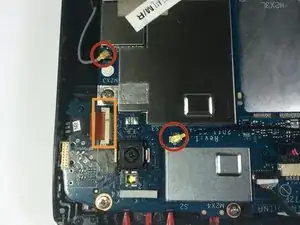
Disconnect the two gold connectors by pulling straight up on them with your fingers.
-
Like before, lift up on the black flap to detach the cable.
-
-
-
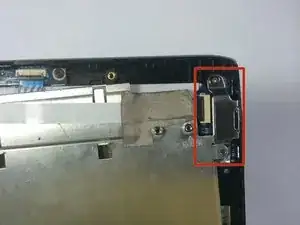
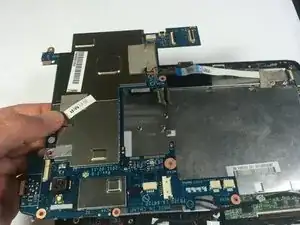
Remove this components near the edge of the tablet by unscrewing the 5mm screw holding the top in place.
-
To reassemble your device, follow these instructions in reverse order.
