Einleitung
The charging port is an essential part of the device as it allows you to recharge the battery. This guide will demonstrate charging port replacement for the Acer Iconia Tab A501.
Werkzeuge
-
-
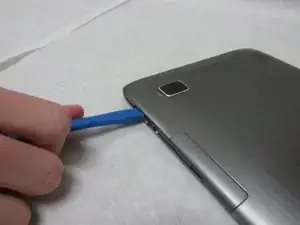
Use a plastic opening tool to carefully separate the back cover, starting at the volume buttons.
-
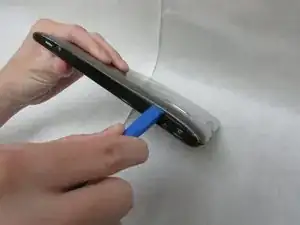
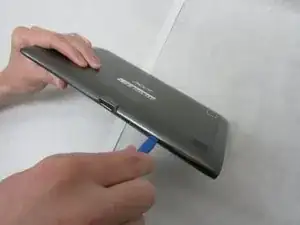
Continue separating the back cover along the short side closest to the camera and around the device.
-
-
-
When separated enough, a little more than halfway around the device, the back cover will be easy to take off.
-
-
-
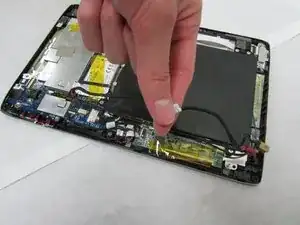
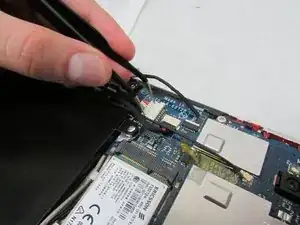
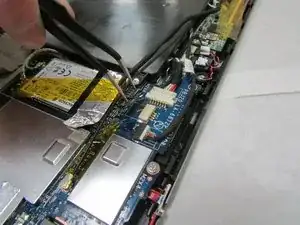
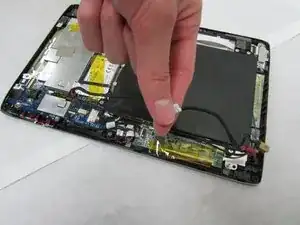
Remove any tape covering the black, braided cable connecting the charging port to the motherboard.
-
-
-
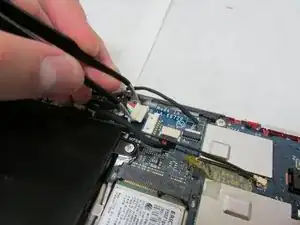
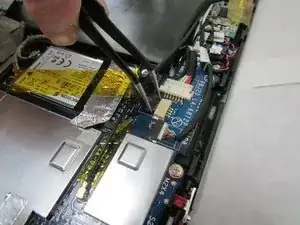
Use the angled tweezers to disconnect the motherboard-battery cable from the white connector in the middle of the side opposite the docking port.
-
-
-
Use the angled tweezers to disconnect the cable with red wires from the beige connector in the middle of the side opposite the docking port.
-
-
-
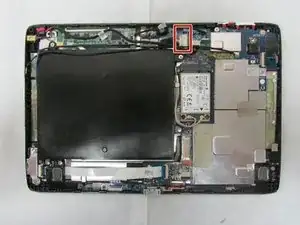
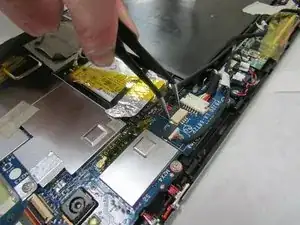
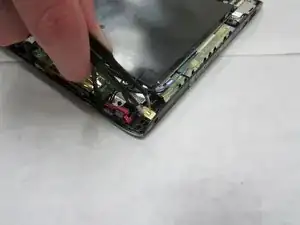
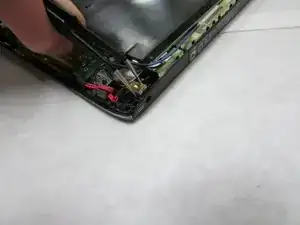
Use the angled tweezers to carefully remove the charging port, which is in the corner opposite the device's Micro-HDMI port.
-
To reassemble your device, follow these instructions in reverse order.
