Einleitung

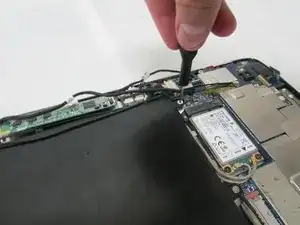
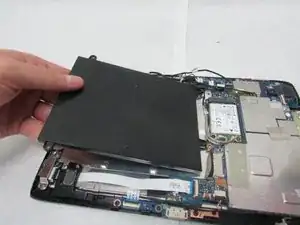
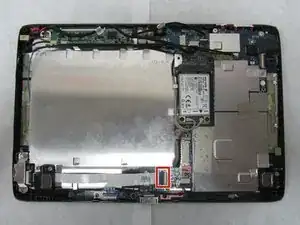
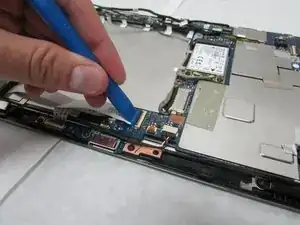
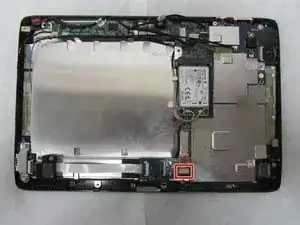
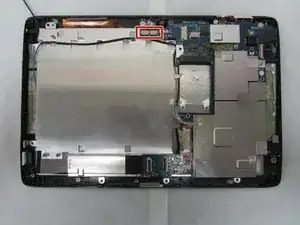
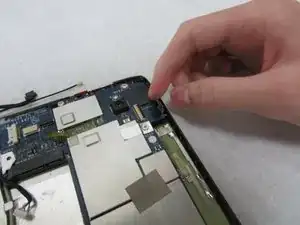
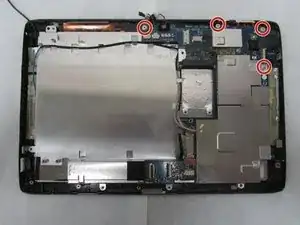
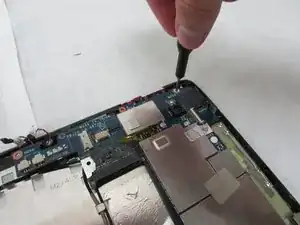
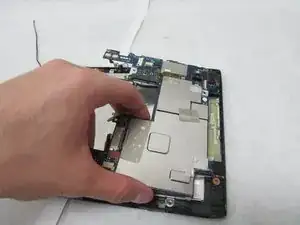
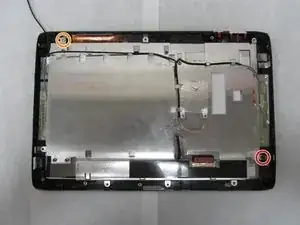
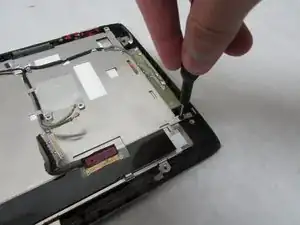
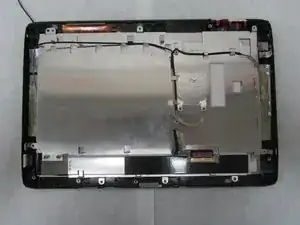
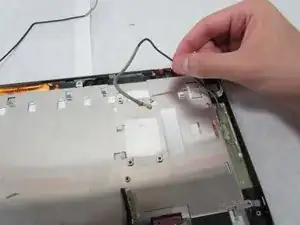
One of the most common repairs on modern devices is the screen. The screen usually cracks due to physical damage. This guide will demonstrate screen replacement for the Acer Iconia Tab A501.

  1. 4eXEkKNX1ZDBtK1y
    4eXEkKNX1ZDBtK1y
    T4B1xjJCCHvnyAWn
    mECZH6AlgV13y1YQ
    • Turn off your device before opening it.

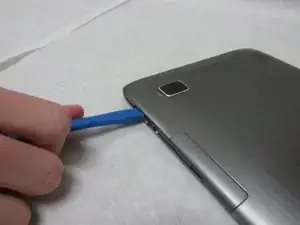
    • Use a plastic opening tool to carefully separate the back cover, starting at the volume buttons.

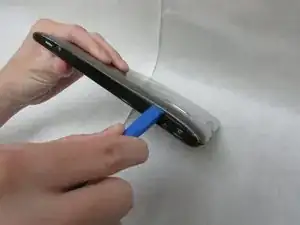
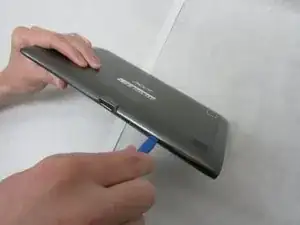
    • Continue separating the back cover along the short side closest to the camera and around the device.

  2. TJWQQdBWE5YOZHgi
    • When separated enough, a little more than halfway around the device, the back cover will be easy to take off.

    Can this be combined with the previous step? I think you could lose one of the images before to condense.

    Alex Watkins -

  3. kop2siVsGIJCQF5n
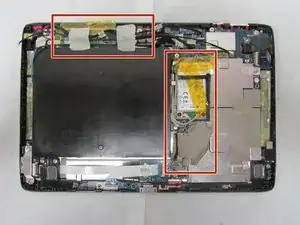
    • Remove all tape from the device.

  4. QmLMqPWNdfcFUBPT
    QmLMqPWNdfcFUBPT
    UAw1FNQXXmnOrccW
    1EDANIVTQOSvPmT4
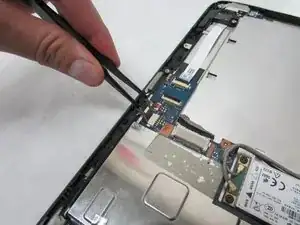
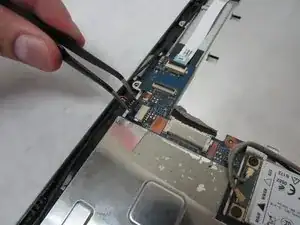
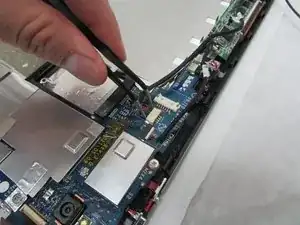
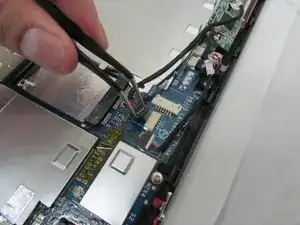
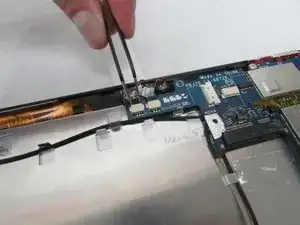
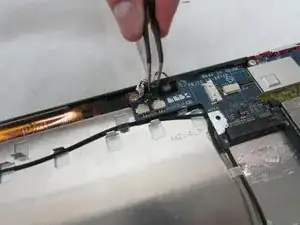
    • In the next step, be careful not to squeeze too hard or scratch the motherboard.

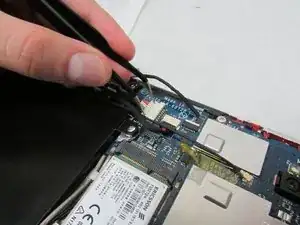
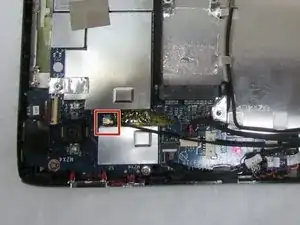
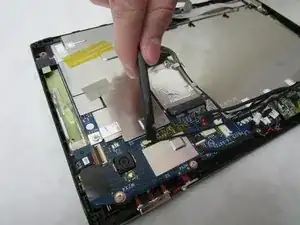
    • Use the angled tweezers to disconnect the motherboard-battery cable from the white connector in the middle of the side opposite the docking port.

  5. BqPVTmJao5FXMfDe
    BqPVTmJao5FXMfDe
    SCmnpEOXLhbvAtqk
    xLTJYIq5OXqJikOA
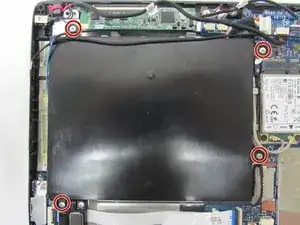
    • Use a Phillips #1 screwdriver to remove the four 4.0 mm Philips head screws connecting the battery to the motherboard.

    • Take out the battery.

  6. KXdIlxVfBnNfgTOr
    KXdIlxVfBnNfgTOr
    ZVNRZJqvcaYM2VJH
    dIoNuyQLWqtTKGHi
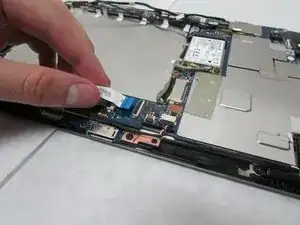
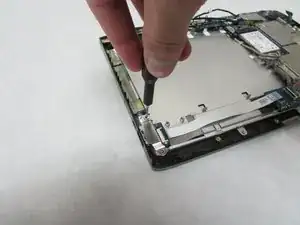
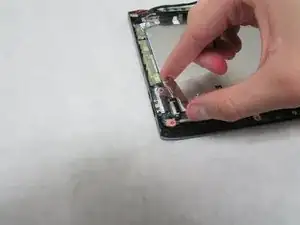
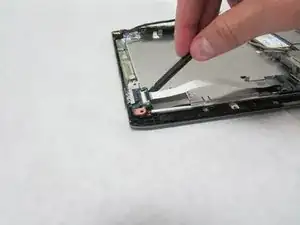
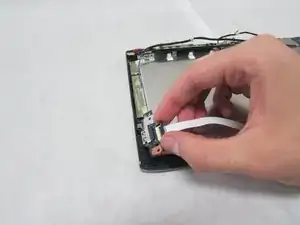
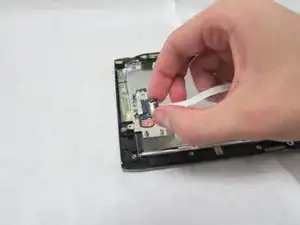
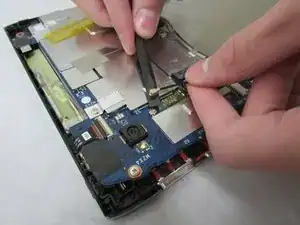
    • Use the plastic opening tool to flip up the locking mechanism on the motherboard connected to the folded, white ribbon cable.

    • Remove the folded, white cable.

  7. NN4xiKlp6okitcVL
    NN4xiKlp6okitcVL
    k2AvafbPNDZcCCv6
    nTbBx2RvWAAYrfK4
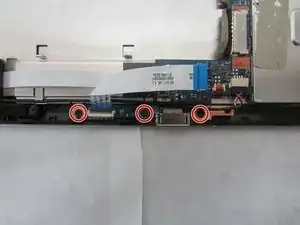
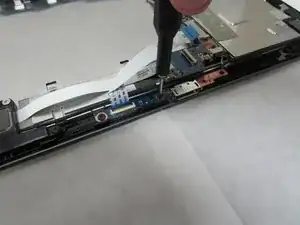
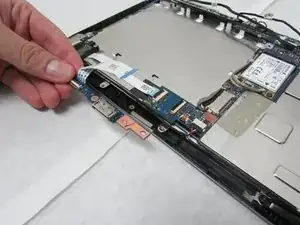
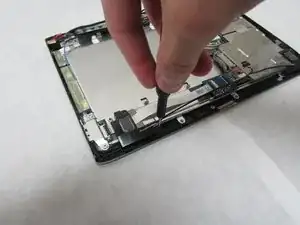
    • Use a Phillips #1 screwdriver to unscrew the three 3.0 mm Philips head screws holding the docking port in place.

    • Remove the docking port.

  8. mI2OCUNSJNl1vTwi
    mI2OCUNSJNl1vTwi
    MAHWlOT33FYUnQOI
    UG1pkEJLIMJntRCK
    • In this step, be careful not to squeeze too hard or scratch the motherboard.

    • Use the angled tweezers to disconnect the cable with red, white and green wires from the beige connector slightly in from the docking port.

  9. YIVJVCi5VKeu3Fkt
    YIVJVCi5VKeu3Fkt
    QSE1GVNtTdbWsNxr
    puwVVUJObV5f2xh6
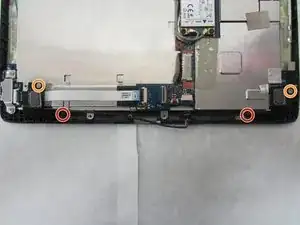
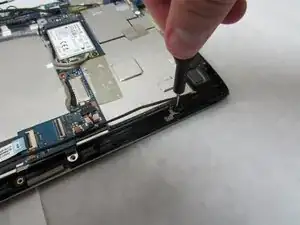
    • Unscrew the 3.0 mm Phillips head screw on each speaker using a Phillips #1 screwdriver.

    • Unscrew the 4.0 mm Phillips head screw on each speaker using a Phillips #1 screwdriver.

  10. ZX5tmKODfI2EOVFo
    ZX5tmKODfI2EOVFo
    lIJe6ymRYX3SYKSd
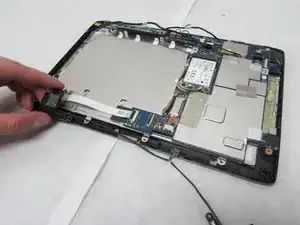
    • Remove the speakers.

  11. JO1dTwLqrtpXEXDR
    JO1dTwLqrtpXEXDR
    WUsEh1fAomnxrX35
    RNuyOsqG6LakObo4
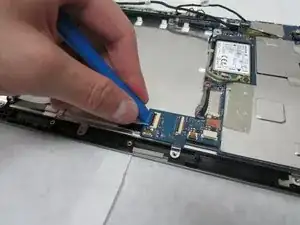
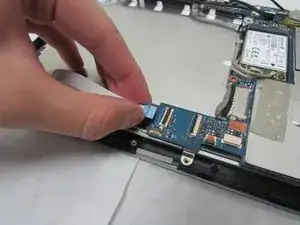
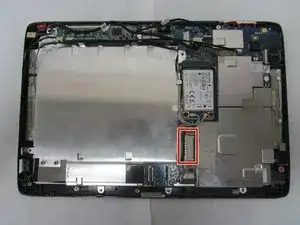
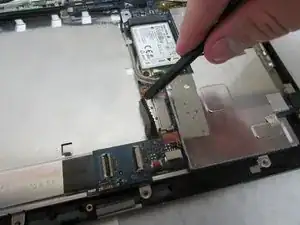
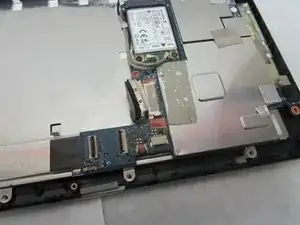
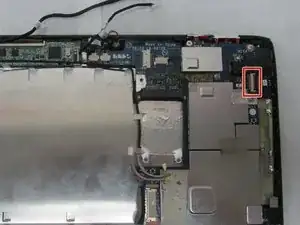
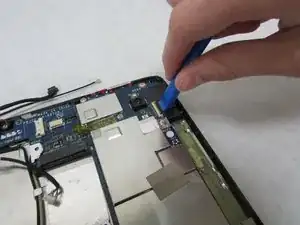
    • Use the plastic opening tool to flip up the locking mechanism on the motherboard connected to the straight, white ribbon cable.

    • Remove the straight, white ribbon cable.

  12. Q2OeBfKBDn2ddIvX
    Q2OeBfKBDn2ddIvX
    AMgWQ4tkO3GSkvQJ
    P3IsOCDu12LpCC1I
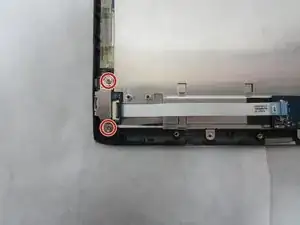
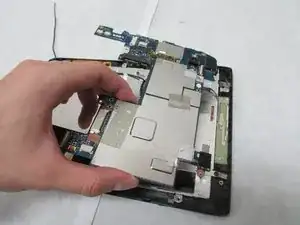
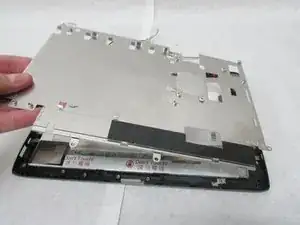
    • Use a Phillips #1 screwdriver to remove the two 4.0 mm Philips screws attaching the metal plate, USB board, and device.

    • Remove the metal plate.

  13. T1kHCyiEasrwvyEy
    T1kHCyiEasrwvyEy
    v56FtXj3vVVhxgg1
    eSaNJgUvayBxrVTs
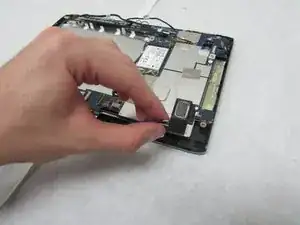
    • Use the Halberd Spudger to carefully pop up and take out the ports.

  14. bL1PTUiL2ur4NvrE
    bL1PTUiL2ur4NvrE
    VZEUWqUWEExtcBsF
    6MYWWkZvRLGKUbZZ
    • Use care in the next step.

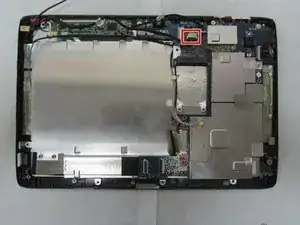
    • Use the wide, flat end of the standard Spudger to disconnect the display connector from the large, metal port next to the battery space.

  15. PGuKeEJRRk3NxPsh
    PGuKeEJRRk3NxPsh
    BHnVIWlPUiKMkgS6
    rsAHO2Jnq5djDk45
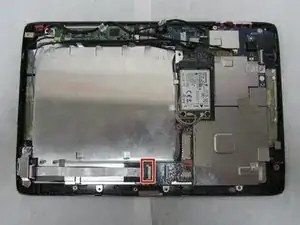
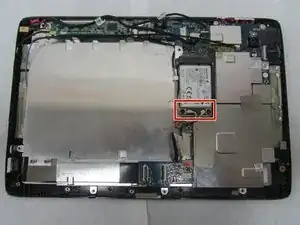
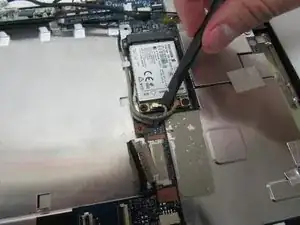
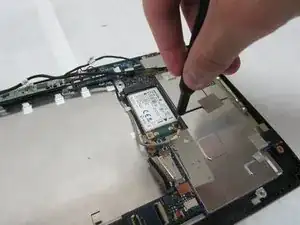
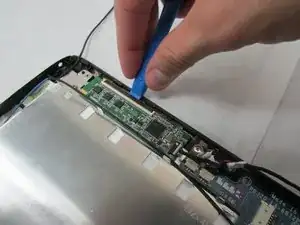
    • Use the flat end of the standard Spudger to disconnect the two small, rotatable connectors attached to the wireless adapter.

  16. FQ3bpaLfnVUcCW41
    FQ3bpaLfnVUcCW41
    qrYA4Kikp23ThPYF
    jGyKSvJqJS4hp4se
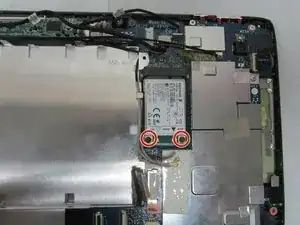
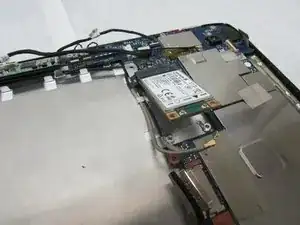
    • Use a Phillips #1 screwdriver to remove the two 3.0 mm Philips head screws holding the adapter down.

  17. o2tmCUNGROHxwNrZ
    o2tmCUNGROHxwNrZ
    gmEjVSAYBSEP2Mwd
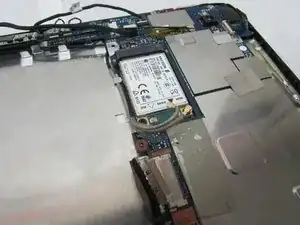
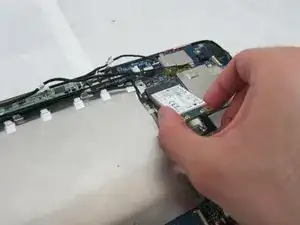
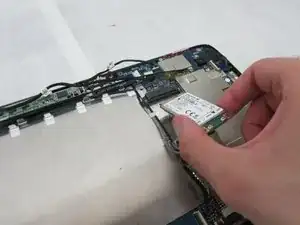
    • Carefully slide the adapter out to remove it.

  18. a5TLvj1CKuVbsfjT
    a5TLvj1CKuVbsfjT
    FMyCyiaejTHVgWyN
    eJ5YqjJQHGGXnixR
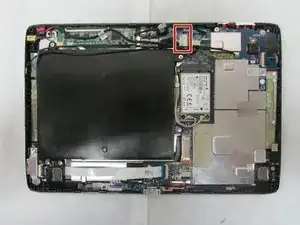
    • Use the wide end of the standard Spudger to take off the rotatable connector to the 3g antenna below the rear-facing camera.

  19. 1fWRfAWhxJaGwWDH
    1fWRfAWhxJaGwWDH
    KjPkB1WCD5b26Vl5
    y2LqurXvGbrq1UPy
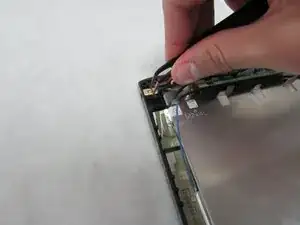
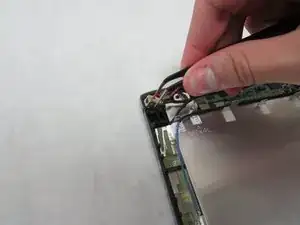
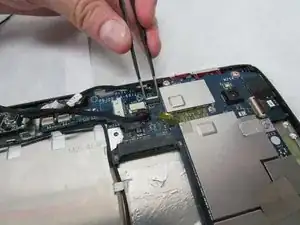
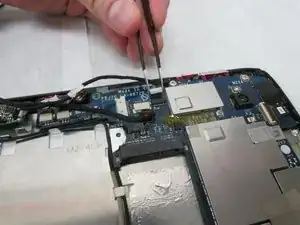
    • In the next step, be careful not to squeeze too hard or scratch the motherboard.

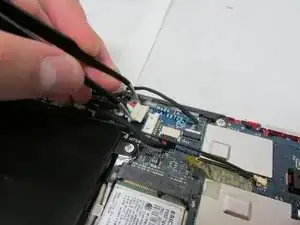
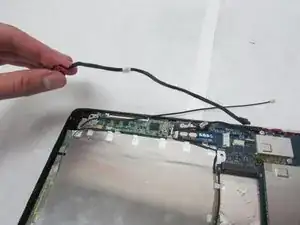
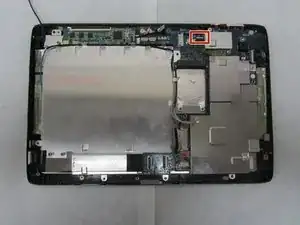
    • Use the angled tweezers to disconnect the cable with red wires from the beige connector opposite the docking port.

  20. RdETogXrSXWDUlJc
    RdETogXrSXWDUlJc
    fQ1Gln6MlIUvBIbJ
    aAFIoUNPw5MMayYS
    • The charging port may be taped from underneath and need a bit of force to take out.

    • Use the angled tweezers to remove the charging port.

  21. 2AjNfNqlVDxCHlVl
    2AjNfNqlVDxCHlVl
    NwIZfrKZMf5gtrNg
    k2pk5VFBashB3wHj
    • In this step, be careful not to squeeze too hard or scratch the motherboard.

    • Use the tweezers to remove the white touchscreen connector with multi-colored wires from the black port just below the power buttons on the motherboard.

  22. jcS5BPfn6n1KasJF
    jcS5BPfn6n1KasJF
    Xr1nnEVERZcZPeFD
    5MrvrUJ5ULQSx32A
    • Use the plastic opening tool to flip up the locking mechanism for the wide, white port for the thin, orange-brown touchscreen cable just above the charging port.

    • Remove the touchscreen board.

  23. h5MbYjayPdrBdtRA
    h5MbYjayPdrBdtRA
    juFV4sfuV1mZKiqx
    DfUJKEHFyWcknd3n
    • In this step, be careful not to squeeze too hard or scratch the motherboard.

    • Use the angled tweezers to disconnect two microphone connectors, which are above the orange-brown touchscreen connector and next to the battery space.

  24. YxUgxQ3CcittIBLG
    YxUgxQ3CcittIBLG
    RuOWFgYVeKVmwCDt
    ix1x5v3oy41kbXKL
    • Use the plastic opening tool to flip up the locking mechanism to the white front camera port just above the rear-facing camera.

    • Disconnect the camera cable from the motherboard.

  25. wqZRS2HbsBLhhVwv
    wqZRS2HbsBLhhVwv
    Lnq3FTg1fNUsnSRZ
    • Use a Phillips #1 screwdriver to unscrew the four 4.0 mm Phillips head screws holding the motherboard in place.

  26. PHcXwKdpEJ4eJa4S
    PHcXwKdpEJ4eJa4S
    OZYDtNxLuvSyjnxo
    • Remove the motherboard.

  27. CNo2xXKlWTDthoII
    CNo2xXKlWTDthoII
    bIQUBQWGqXvQvsUW
    qqeQecqJ5HuDtPBF
    • Remove the two microphones in the middle of the side opposite the docking port.

  28. umjZP6V6CE2wWdtR
    umjZP6V6CE2wWdtR
    vTKgHg6aWIJRAqea
    • Use the Phillips #1 screwdriver to unscrew the 3.0 mm Phillips head screw holding the thin metal plate to the device near the Micro-HDMI port.

    • Use the Phillips #1 screwdriver to unscrew the 4.0 mm Phillips head screw near the orange-brown touchscreen cable.

  29. fl2hNNZAH2PHj1Ej
    fl2hNNZAH2PHj1Ej
    JjJa16MeBJrydx1k
    • Move all wires off of the thin, metal plate.

  30. e645Hsr5PtArLSKQ
    • Remove the metal plate.

  31. DCFpsNyNSuAmlyuC
    DCFpsNyNSuAmlyuC
    N4VnlfpfeaBQWfgP
    rF5m1gt4RQHPgag4
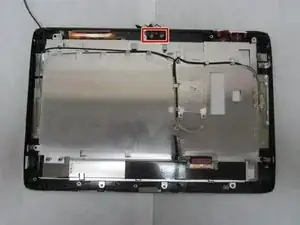
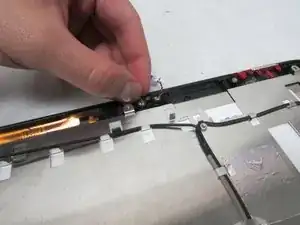
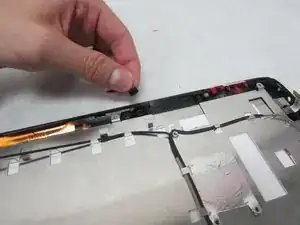
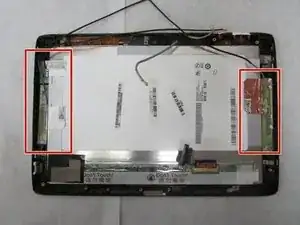
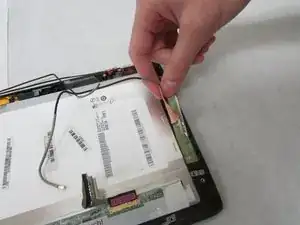
    • The antennae in the next step are attached with adhesive.

    • Remove the three antennae along the shorter sides of the device.

  32. bm25CCq4FUHGZjMZ
    bm25CCq4FUHGZjMZ
    FURvZC6IMflgrSGX
    yGEpA5eFDhW3JVtk
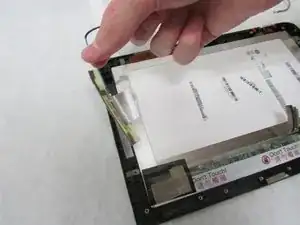
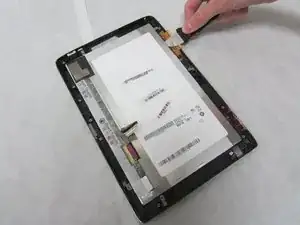
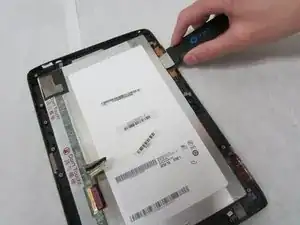
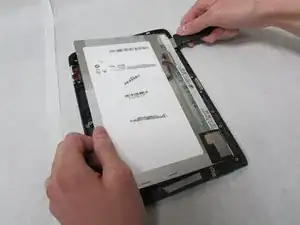
    • Carefully insert the Jimmy between the display and the glass to break the glue seal.

    • Move the Jimmy all the way around the device.

  33. SjgPB6jPWxYtDEPL
    SjgPB6jPWxYtDEPL
    YdW4CTXjtVdSQVPj
    tYepqYqEQuMxmWrW
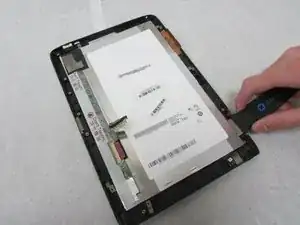
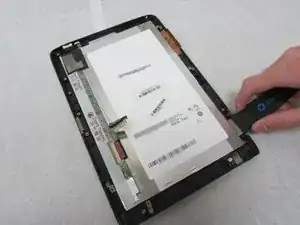
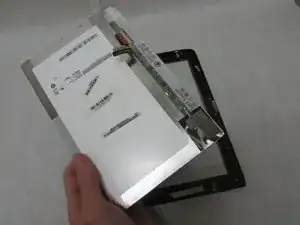
    • Continue moving the Jimmy around the device until the glue no longer holds the display in place.

    • Remove the display.

    Should the first step here be combined/condensed into the previous step?

    Alex Watkins -

  34. ntQrRfTbBBmT2lY2
    ntQrRfTbBBmT2lY2
    h5uWVH2eZc1fUQSK
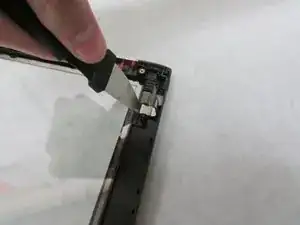
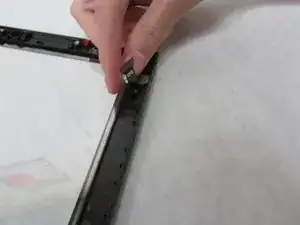
    • Use the Jimmy to carefully remove the front camera from the front cover of the tablet.

    Does the user need to do something with the glass at the end?

    Alex Watkins -

Abschluss

To reassemble your device, follow these instructions in reverse order.
Daksh Malhotra

Mitglied seit: 08/07/19

1383 Reputation

0 Kommentare