Einleitung
Is your camera broken, preventing it from taking quality photos? If so, here is a guide to fix the problem. Be cautious when removing and handling the fragile camera.
Werkzeuge
-
-
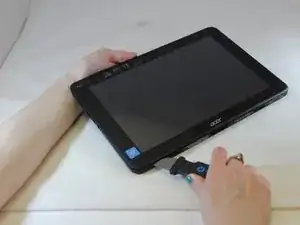
Make sure the device is turned off and disconnected from any power source.
-
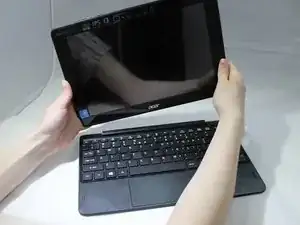
To disconnect the tablet from the keyboard attachment, open the laptop and lift the tablet component up from the keyboard dock.
-
-
-
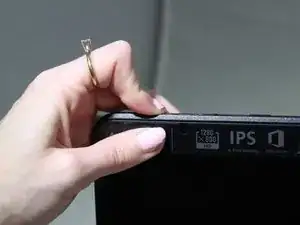
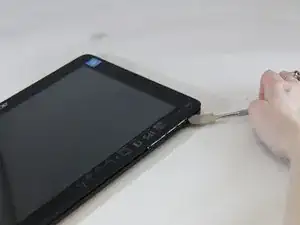
Starting from the corner of the tablet, use a jimmy to create a gap between the screen and the back covering.
-
Insert a metal spudger in the gap that you created with the Jimmy.
-
Slowly maneuver the metal spudger along the perimeter of the tablet to pry the screen and back covering apart.
-
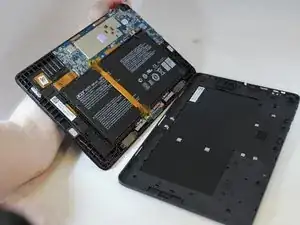
Separate the back covering from the screen.
-
-
-
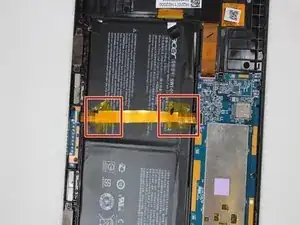
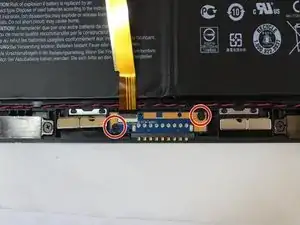
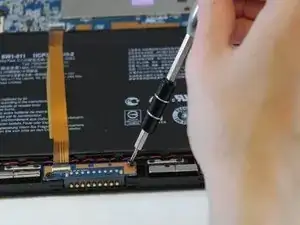
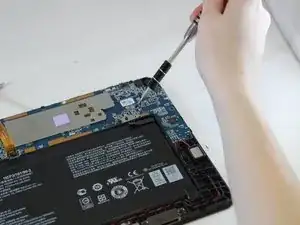
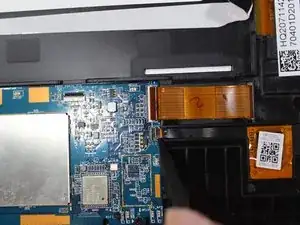
Using the Phillips #00 screwdriver, unscrew the two 2mm screws at the bottom of the tablet and open the ZIF latch.
-
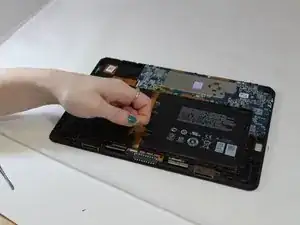
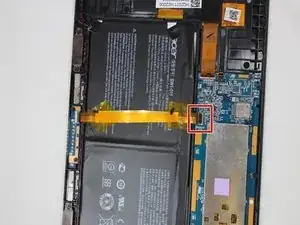
Gently remove the gold ribbon cable covering the battery and set it aside.
-
-
-
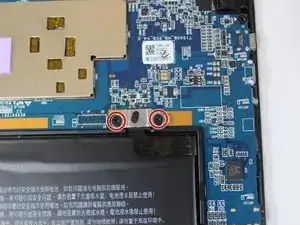
Using the Phillips #00 screwdriver, unscrew the two 2mm screws at the top right of the battery.
-
-
-
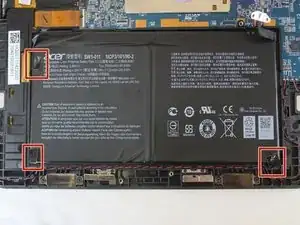
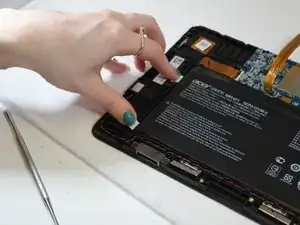
Peel the three shiny black stickers from the battery (top left, bottom right, and bottom left), but keep them attached to the motherboard.
-
-
-
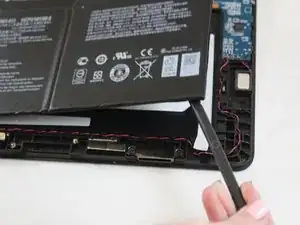
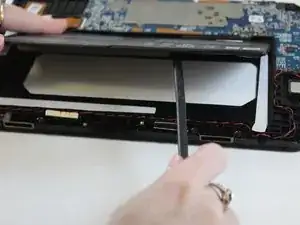
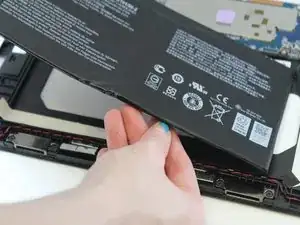
Use the spudger to separate the battery from glue that holds the battery to the screen. Carefully pry the battery from the tablet.
-
-
-
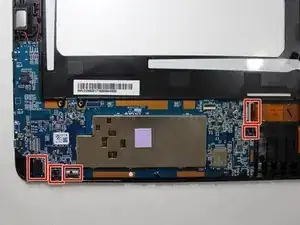
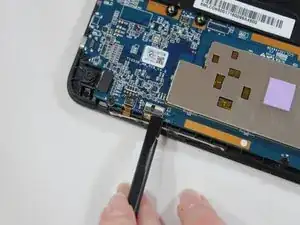
Using a spudger, disconnect the two ribbon cables on the top right and the three on the bottom left of the motherboard.
-
-
-
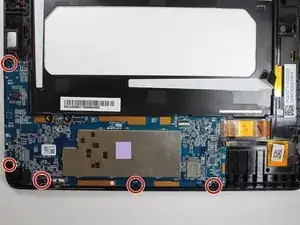
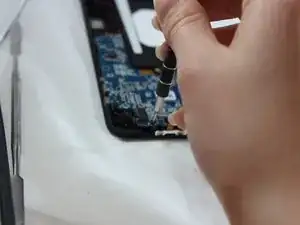
Use a Phillips #00 screwdriver to remove the five 2mm screws from the motherboard. There are two on the left edge and three on the bottom edge of the motherboard.
-
-
-
Using the spudger, pry the speaker from the right side of the tablet.
-
Lift the red and black wires attached to speaker on right side out of the track to where it connects to motherboard and the speaker on the left side.
-
Using the spudger, pry the speaker from the left side of the tablet.
-
-
-
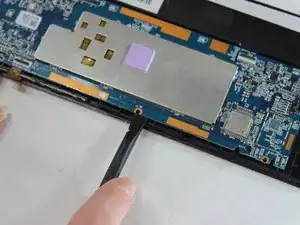
Use a spudger to create a gap between motherboard and back covering.
-
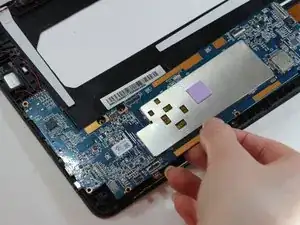
Using the spudger, gently pry the motherboard away from the back covering.
-
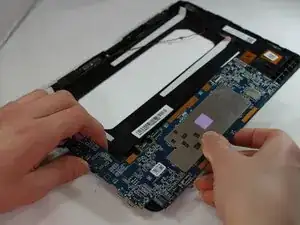
Gently lift and remove the motherboard and speakers from tablet.
-
-
-
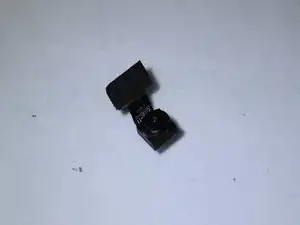
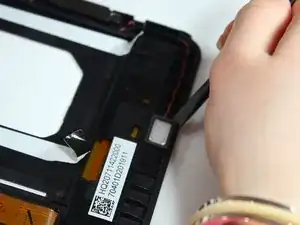
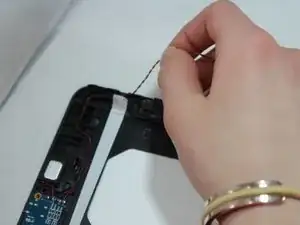
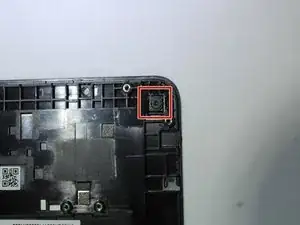
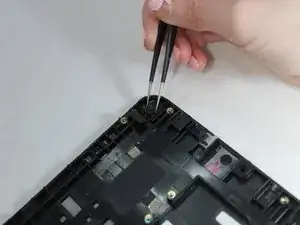
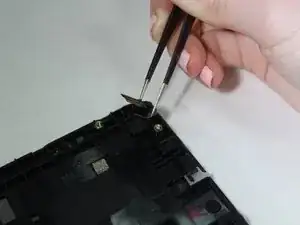
Use tweezers to grab the camera's edges and gently lift the camera up from tablet backing.
-
Remove the camera from the device.
-
To reassemble your device, follow these instructions in reverse order.
