Einleitung
If you need to access the inside of your Acer Predator G9 791, use this guide to replace the bottom cover.
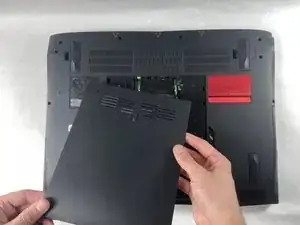
Removing the bottom cover gives you access to the battery, the motherboard, and most other components in the laptop.
Before you begin, make sure that the laptop is fully powered down and disconnected from its charger.
Werkzeuge
-
-
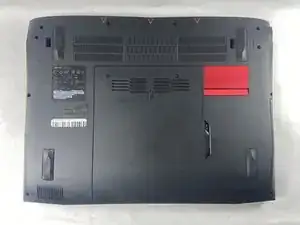
The service panel can be located on the bottom of the device. It is shown here as the panel located in the middle of the device, going from the upper vents to the bottom of the device.
-
-
-
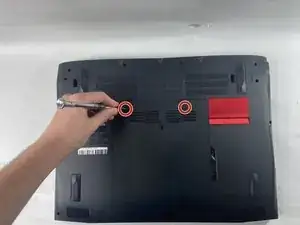
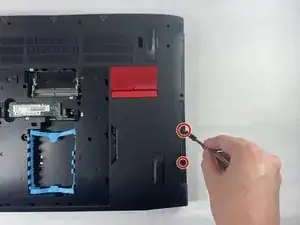
Loosen the two Phillips #0 screws.
-
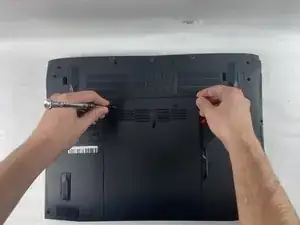
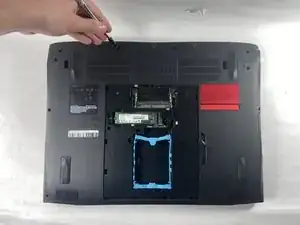
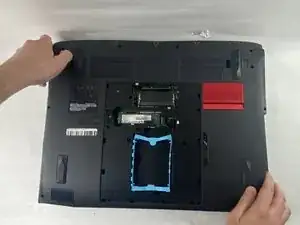
Pull up slightly on the top of the panel to help fully separate the screws from the rest of the device.
-
-
-
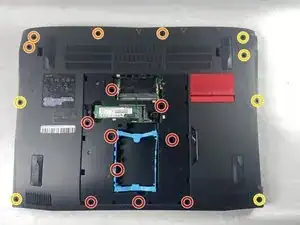
Remove the nine 4.5 mm Phillips #0 screws from the panel.
-
Remove four 14 mm Phillips #0 screws.
-
Remove six 7 mm Phillips #0 screws.
-
-
-
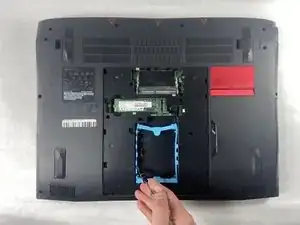
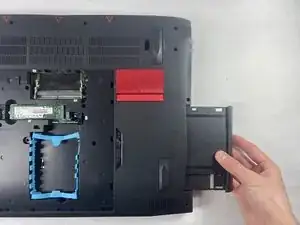
Slide the "unlock" slider up located to the right of the service panel and pull the disc tray out.
-

To reassemble your device, follow these instructions in reverse order.