Einleitung
Is your screen cracked or not properly displaying images? Are there dead pixels or dark spots on your screen? If so, the screen may be faulty and needs to be replaced. Follow the instructions in this guide to remove and replace the screen assembly in the Acer Spin 3 SP315-51-79NT laptop.
Werkzeuge
-
-
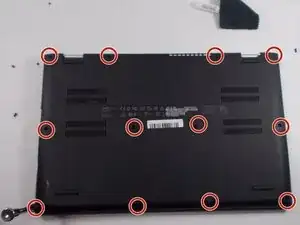
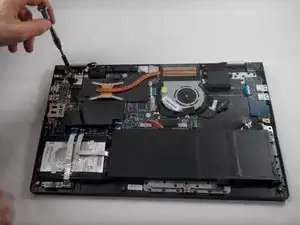
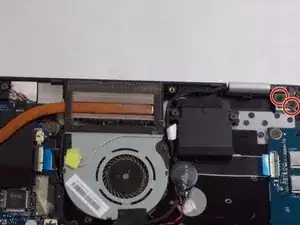
Using the Phillips #1 screwdriver, remove a total of four screws from the hinges (two on each hinge).
-
-
-
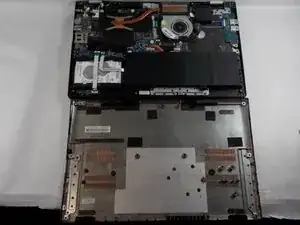
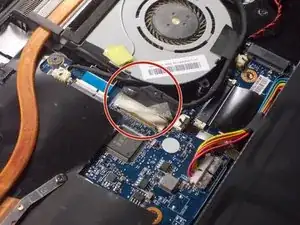
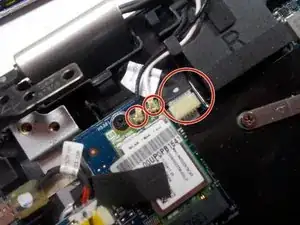
Remove wires connecting to motherboard.
-
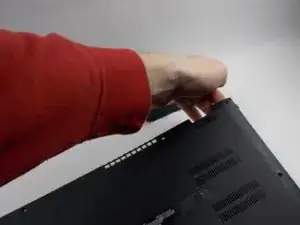
You can then simply pull the two halves of the computer away from each other.
-
Abschluss
To reassemble your device, follow these instructions in reverse order.

