Einleitung

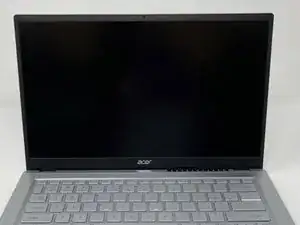
Acer Swift 3 2022 Model Number: N20C12

If your screen is cracked, doesn't turn on, or has any other issues, use this guide to help replace the screen. The screen is the piece of hardware that displays the graphics. Before attempting to replace it, try restarting your computer. Broken screens are a nightmare for anyone. Sending them in can put you in an unnecessary predicament, so fix it at home with the simple steps below. For more information view our troubleshooting page.

Problem: You can only do it once.

  1. U6pFcVvydOOIY5nA
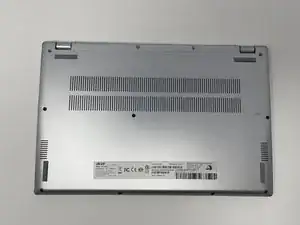
    • Be sure to power off the laptop before starting.

    • Flip the device over so the bottom panel is facing up.

  2. TFBXJ1e1DKKTqSXM
    TFBXJ1e1DKKTqSXM
    RkAMOyJCquMjZk6I
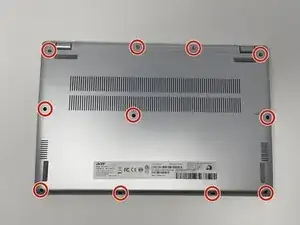
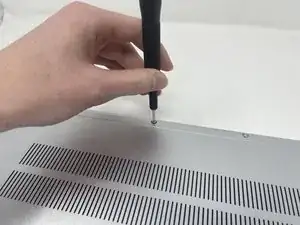
    • Remove the eleven 5 mm screws from the back of the device using a TR6 Torx screwdriver.

  3. tDWEsqN2Sy6gyImV
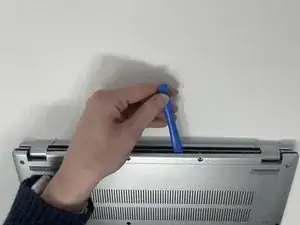
    • Use the iFixit opening tool to pry open the back of the device.

    • Remove the bottom cover from the laptop.

  4. voEGFQGk1XT2IGGG
    voEGFQGk1XT2IGGG
    H1OyWgsxjAR4QdIY
    JUBqoRYyfmY6SEms
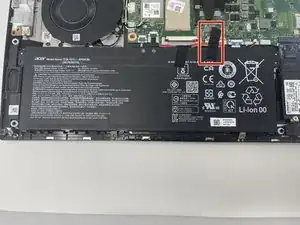
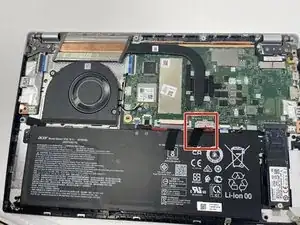
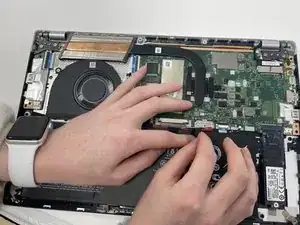
    • Peel back the strip of black tape.

  5. BQKZ1nb63RRroTUT
    BQKZ1nb63RRroTUT
    K3rRECZtBUiL6xlY
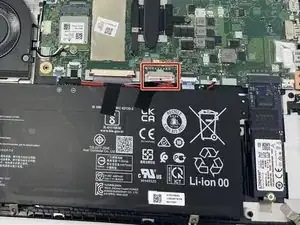
    • Unplug the group of wires by pulling the white plastic piece towards yourself.

    • Be careful, this piece can be easily damaged.

  6. 3JYLH6UHcAVqnlbS
    3JYLH6UHcAVqnlbS
    EZhPqBCqgmNHAplH
    sHqmaaBF3EcEoDLP
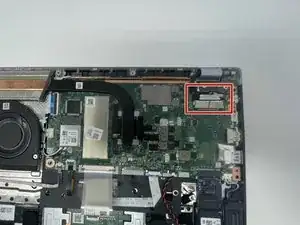
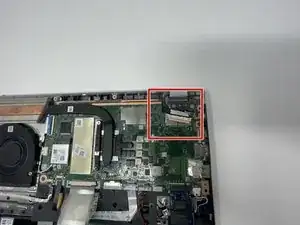
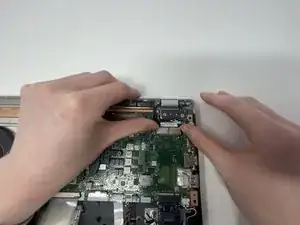
    • Remove the EDP Cable located on the top right by pushing away from you.

  7. mSDqQHkLhaPaEyfF
    mSDqQHkLhaPaEyfF
    IeZwDg6k6QCBE3Fp
    uk5UmnMsKbt5xpRm
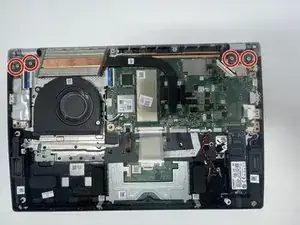
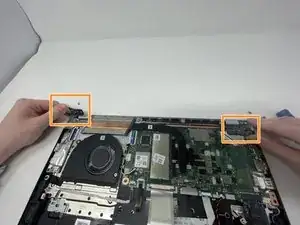
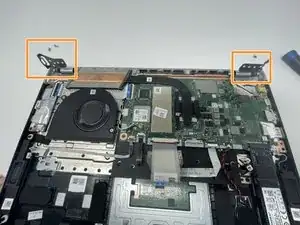
    • Remove the four 4.5 mm screws on the metal plates located on the top left and right hand corner using the JIS #1 screwdriver.

    • Flip up the metal plates.

    • The metal plates will be tight/hard to move.

  8. MKgNwhGNVnJgvNdI
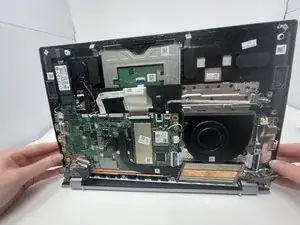
    • Open computer to a 90 degree angle by lifting the keyboard and sliding it out.

    • Place keyboard to the side so the screen is face up and the only thing in front of you.

  9. RfqTZOJIRS42Lfyx
    RfqTZOJIRS42Lfyx
    QhC6FsY2SHLGDysY
    JcBmSWUEDruLUVvk
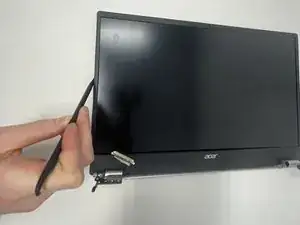
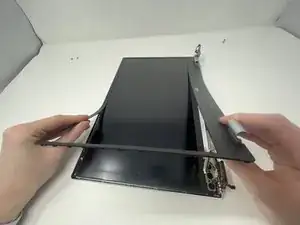
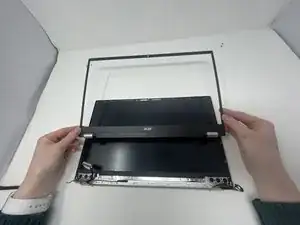
    • Insert the spudger between the computer screen and the black bezel.

    • Slide around the whole perimeter of screen.

    • Peel the bezel off.

  10. CGxsDuwspgHXcM4Q
    CGxsDuwspgHXcM4Q
    jbH6ELxLEYqbKB4u
    BL6OCXEcxc35BChI
    • Disconnect the other end of the EDP Cable located next to the camera with the spudger.

  11. aaDeMZ3qw1iXFuFJ
    aaDeMZ3qw1iXFuFJ
    YyuUSEgfoDtJ2lb1
    AQP3gBKdbUaAS1j5
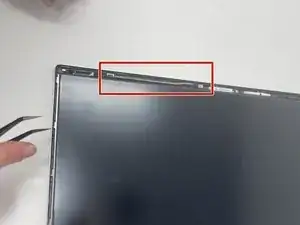
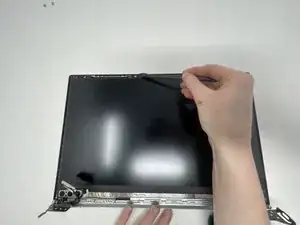
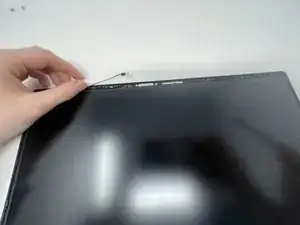
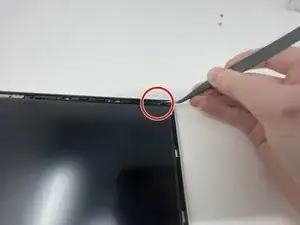
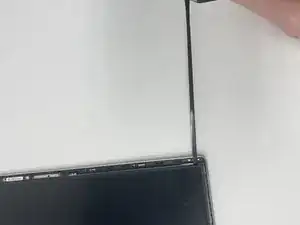
    • Using the curved, fine-tipped tweezers, unstick the tape from the top of the case.

    • Once the tape is unstuck, pinch it with the tweezers and pull in the opposite direction.

    • Repeat on the other side.

    • The tape will stretch. You might have to regrip it.

    • You may only do this once. The tape will no longer be effective.

  12. 5NdTKpwAAfmbvyvl
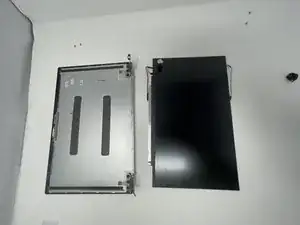
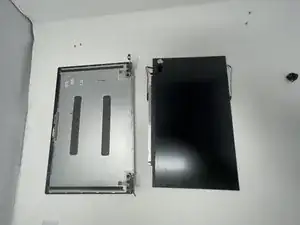
    • Remove screen.

    • There will be some wires connected to the bottom of the screen. Pull them out carefully with the screen.

Abschluss

To reassemble your device, follow these instructions in reverse order.
Anna Miller

Mitglied seit: 26/09/22

735 Reputation

0 Kommentare