Einleitung

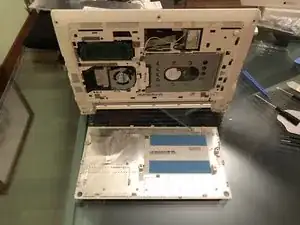
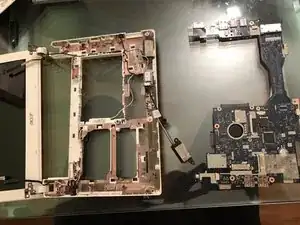
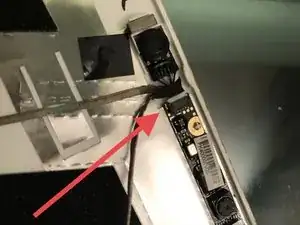
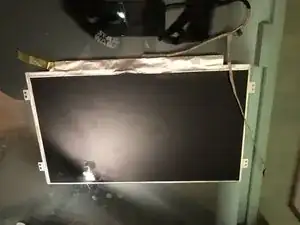
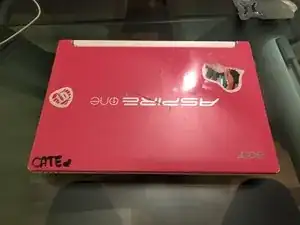
Use this disassembly guide to learn how to disassemble certain parts of your Acer laptop.

  1. 21SuJTMwEeQldWfE
    21SuJTMwEeQldWfE
    FFXuFT1Y3DkaMPWk
    m5jWE3SqbX4UlG3S
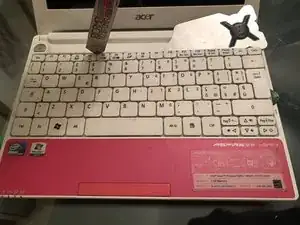
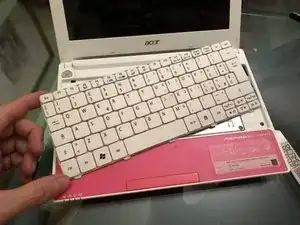
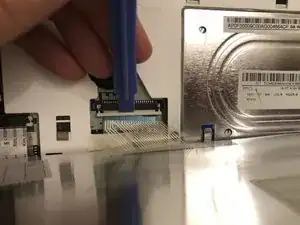
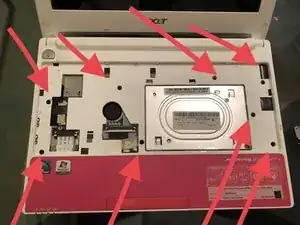
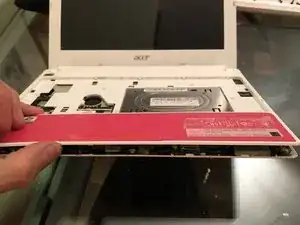
    • Remove the keyboard by using a lever-like motion with thin tools on the joints along the keyboard.

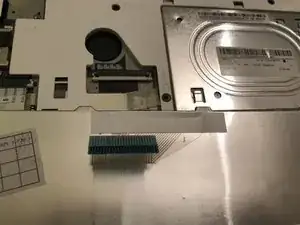
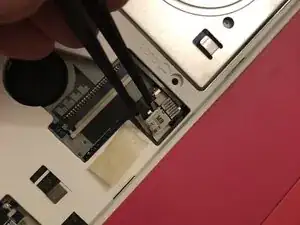
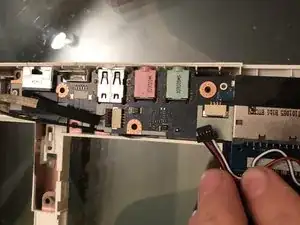
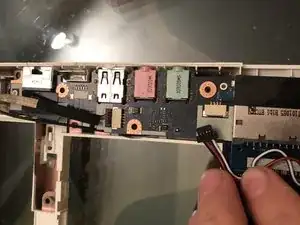
    • Carefully lift and disconnect the flat cable from the motherboard

  2. JfeeGhyq2BXgLkPD
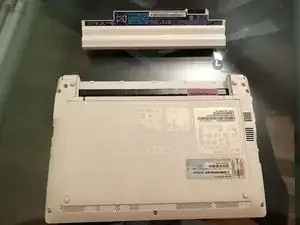
    • Disconnect the battery

  3. mRfPfIepqUQhsvlT
    mRfPfIepqUQhsvlT
    DiAg4y4HejUxYhUV
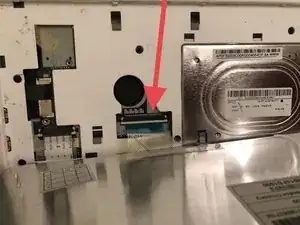
    • Unclip and disconnect the connector to remove the keyboard

  4. UoUO3XC16ba6MDWU
    UoUO3XC16ba6MDWU
    YiVgTUhR4dSPoGnM
    iYfIJVgZ2MyYP4xr
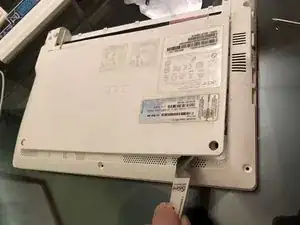
    • Remove the eight screws that secure the lower shell.

    • We recommend the use of a flat tool to help you out.

    • Now it's possible to remove the lower shell

  5. aA1qEM1V3FtxSyvA
    aA1qEM1V3FtxSyvA
    NwA2kILIHWhvMtuE
    aaObMPyxB1OTKGks
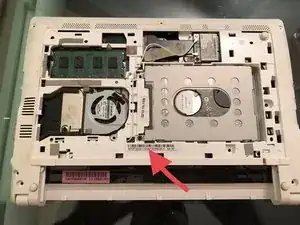
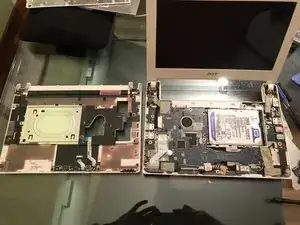
    • Remove the screw that hold the hard drive in place

    • Disconnect the flat cable

    • Using a thin tool, unclip the hooks that hold the upper shell to the middle shell by separating them.

  6. WCOj5F6cyfYEIOIs
    WCOj5F6cyfYEIOIs
    vdHuwuKCHBrWKkOD
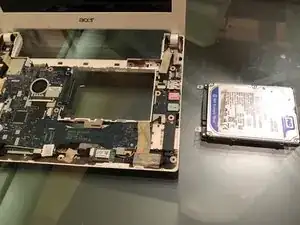
    • Seperate the top case shell

    • Remove the hard drive

  7. mmVTup2onxEc5uqx
    mmVTup2onxEc5uqx
    pxNXC1gKtlSSynBA
    JOEvLgWqVR4nAWQf
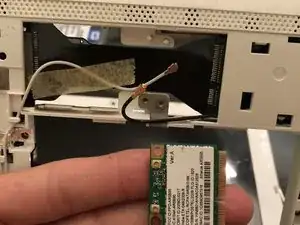
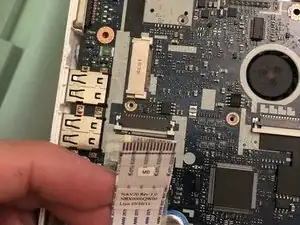
    • Disconnect the WiFi card

    • Disconnect the display cable

  8. TOVFM64Sek13ZuqD
    TOVFM64Sek13ZuqD
    CWGROSNWNWOapV3T
    rPwYTJ1W3sjUW1vX
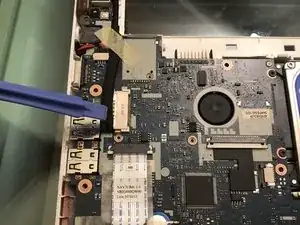
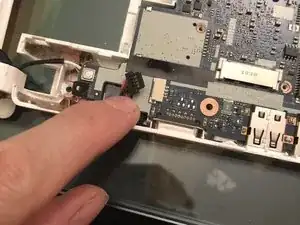
    • Unclip the connectors

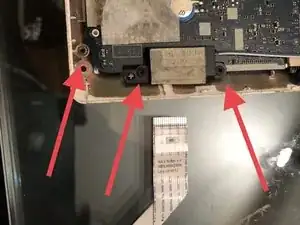
    • Remove the 3 screws securing the card in place. Remove the card after it is free

  9. Zp5HrUE1RqeZLMVx
    Zp5HrUE1RqeZLMVx
    QZBmhwh4mGhPZixZ
    KWE5F2xyAfqFcCRm
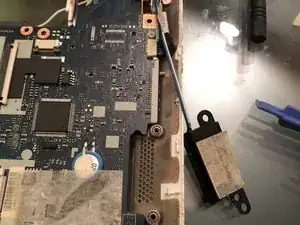
    • Remove the speaker

    • Release the connectors

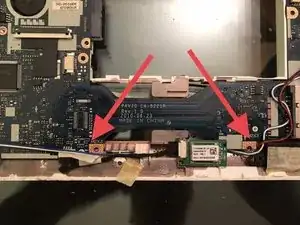
    • Remove the 2 screws that secure the motherboard to the laptop

  10. 1bAup4IkPClVZUCo
    1bAup4IkPClVZUCo
    EynSSWt3fIwLy6tX
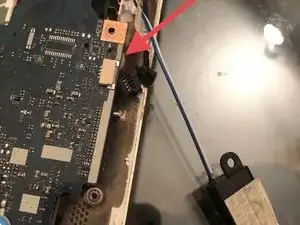
    • Release the connectors

    • Carefully remove the motherboard from the laptop

  11. rwxF1gGXRVCKWvZR
    rwxF1gGXRVCKWvZR
    1pi26ohYLmhtpioZ
    rwf4NNbFvSCF2qej
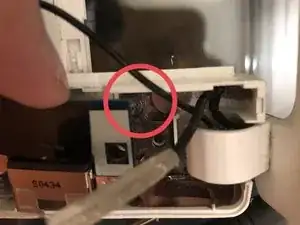
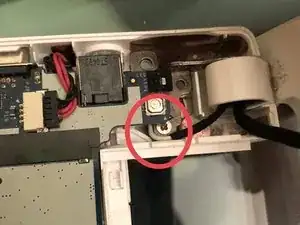
    • Remove both of the left and right screws holding the display assembly to the laptop

  12. ksPN6ZC3qfiqDQit
    ksPN6ZC3qfiqDQit
    jTXcMDJbGxQDcg4X
    1L1CsTyx4mTLjPpJ
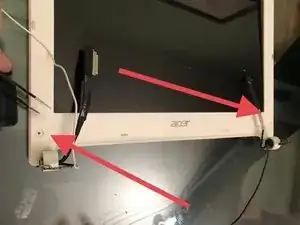
    • Remove the adhesive that covers the 2 screws.

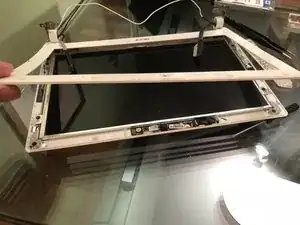
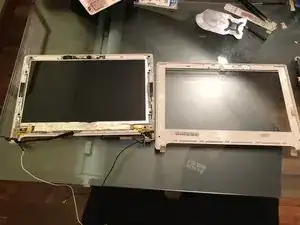
    • With an opening pick or Jimmy, seperate the bezel from the LCD assembly.

    • Remove the bezel

  13. ae6mxvJbgw1ecW1G
    ae6mxvJbgw1ecW1G
    DhRClSmAKyCVb5ta
    5pxxTN6CpNUPwmNg
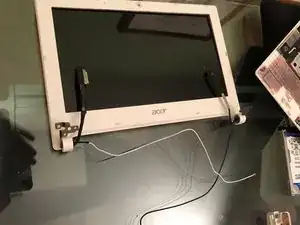
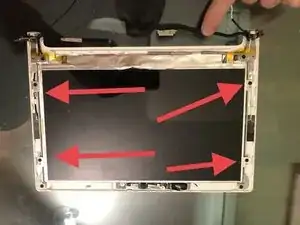
    • Remove the 4 screws on the display

    • Disconnect the display cable

    • Remove the LCD

Abschluss

To reassemble your device, follow these steps in reverse order.
Smilzo

Mitglied seit: 09/11/13

10799 Reputation

0 Kommentare