Einleitung
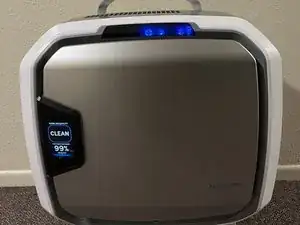
The AeraMax Pro AM III air purifier is a great appliance to have at your home or any place of comfort; the purpose of the air purifier is to pull in unwanted particles from the air in a specific room. Purified air is then circulated back into the room and the filtration process repeats several times an hour, continually boosting indoor air quality. In this guide, I will walk you through a step-to-step process of how to effectively change the air filter in your personal air filter. Before starting the process, I recommend that all readers read through the operation manual which is featured in the following guide. Although this guide is specific to the AeraMax Pro AM III, the process is similar to all air filters. This replacement guide will assist any reader to change their own air filter when it comes to a time your air filter is not performing as it should be.
Make sure you have the right air filter because filters are not universal and are specific to the appliance. The specific air filter can be found on the organization's home page here.
-
-
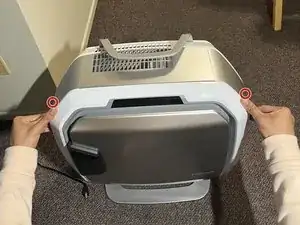
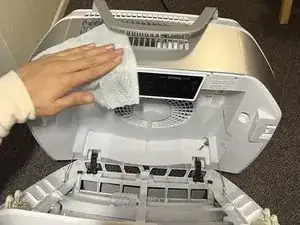
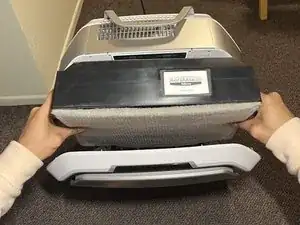
If the access panel is locked, use the key to unlock it and open it by pressing the levers on both sides.
-
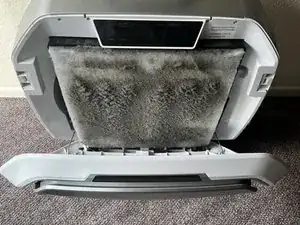
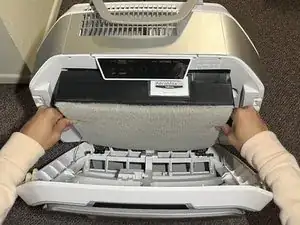
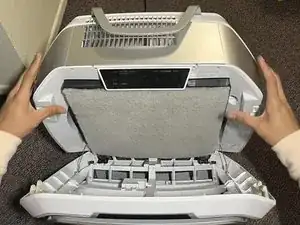
Use your hands to remove the old filter.
-
-
-
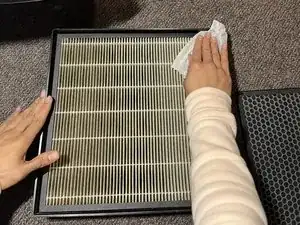
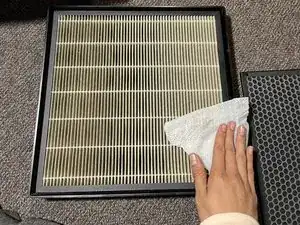
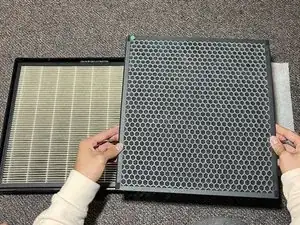
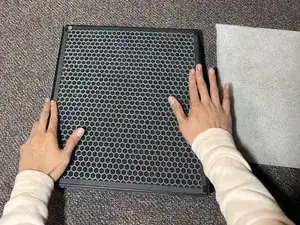
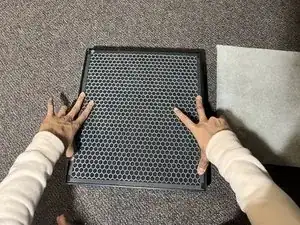
Insert the carbon filter into the filter cage that you wiped down and make sure the corners are aligned with the filter cage.
-
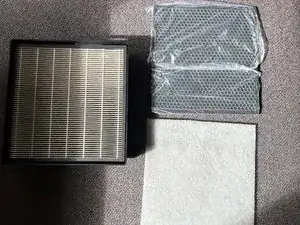
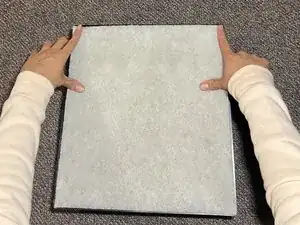
Take your new HEPA filter and make sure the stickers are aligned and the corners of the pre-filter are fleshed down until it sticks to the carbon filter.
-
-
-
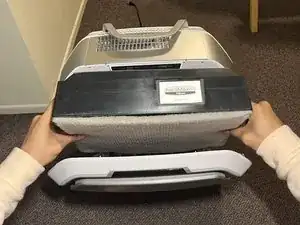
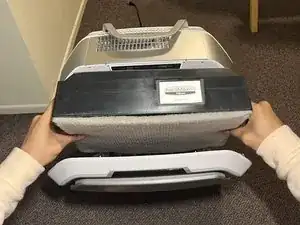
Insert your filter cage back into the access panel and make sure that the filter label is visible and facing upwards.
-
-
-
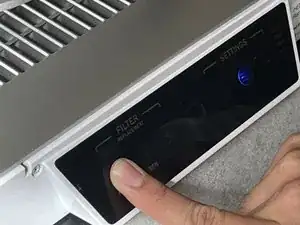
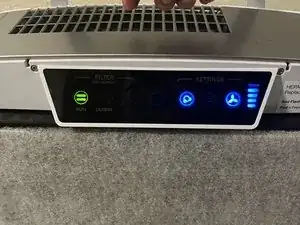
Press the HEPA Setting for three seconds until the icon turns green.
-
Close the access panel.
-
