Einleitung

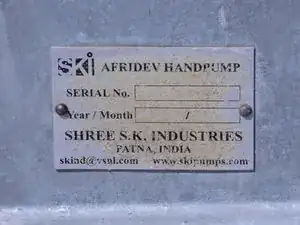
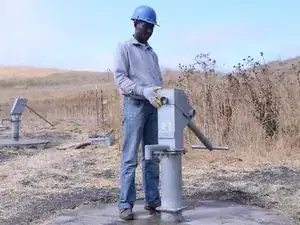
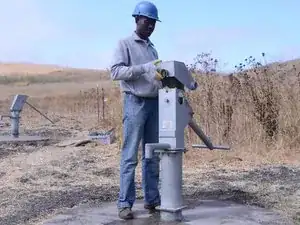
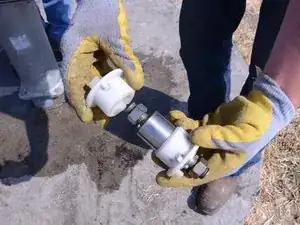
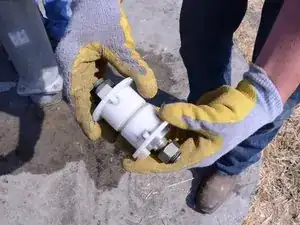
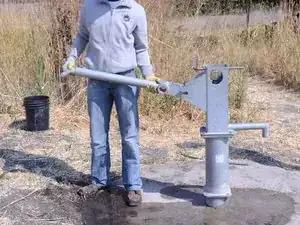
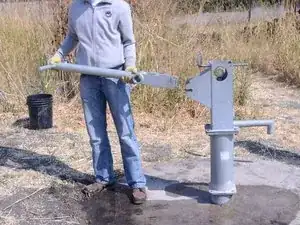
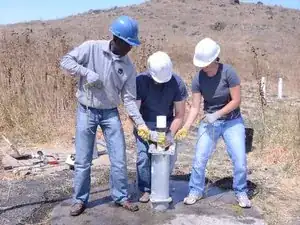
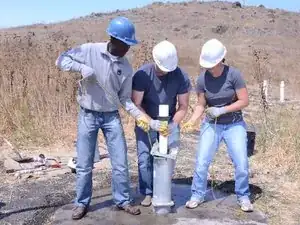
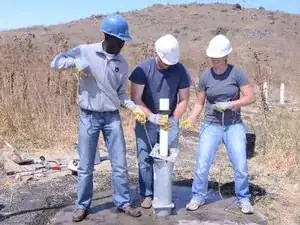
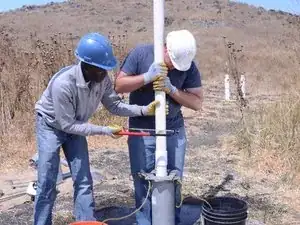
Use this guide to lift the casing pipe of an Afridev pump out of the pump in order to repair a broken or damaged segment of the pipe.

  1. FhPbCTNvohW3y6Ce
    FhPbCTNvohW3y6Ce
    waXx4TtWIhXF1BnF
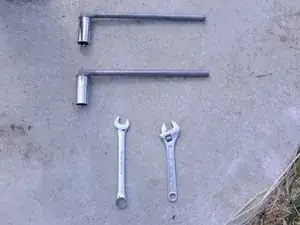
    • Assemble the required tools, including the Afridev tool and crescent wrenches.

  2. gJrvuPQEkX1UumLA
    gJrvuPQEkX1UumLA
    FYeV5eQbwykFiGWJ
    qUA1IloNsXRdp26B
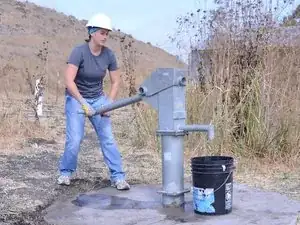
    • Perform a water test on the pump, by raising and lowering the handle a full 40 strokes. A properly performing pump will yield greater than 10 liters.

  3. IWA1LIds4LCSOdNf
    IWA1LIds4LCSOdNf
    C5MEHDf2OafhsRHo
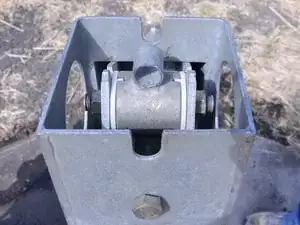
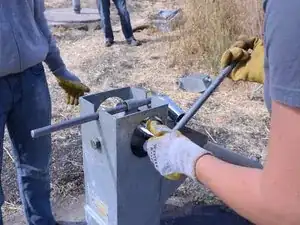
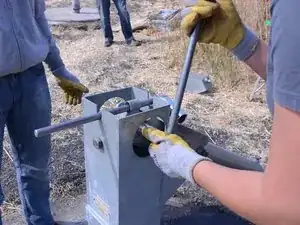
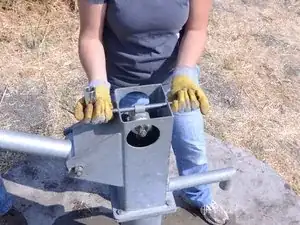
    • Loosen the bolt on front of the face plate with the Afridev tool.

    • Remove the plate from the pump by lifting it straight up.

  4. wrEawT23OkuYMc5y
    wrEawT23OkuYMc5y
    5kDOChRTUEaaIsdJ
    rqq3ijWHpeFkjHXJ
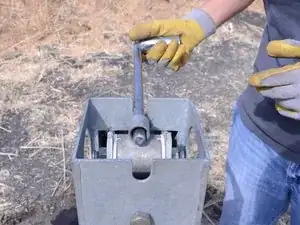
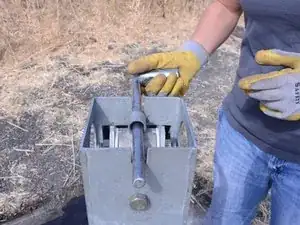
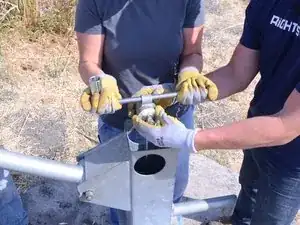
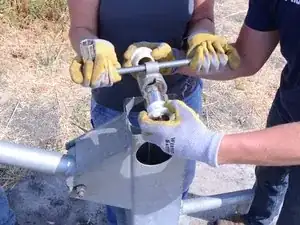
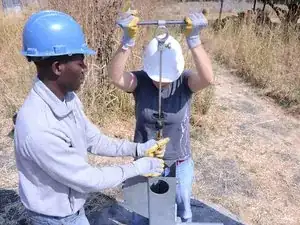
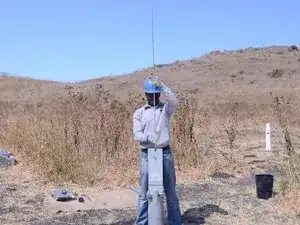
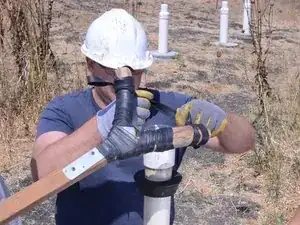
    • Insert the T-handle into the top cylinder of the exposed pump rod.

  5. pgG5VmlTyhKxOHpw
    pgG5VmlTyhKxOHpw
    amyGDp5JbAlFaHAL
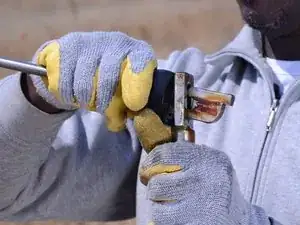
    • Loosen the 2 bolts on either side of handle.

    • It is not necessary to remove the bolt at this time; however, take caution to not let the bolt fall out of the handle.

  6. BGMVmB3GKVkfVQfk
    BGMVmB3GKVkfVQfk
    aXnBFwWQVSLgXX5L
    TnOOubFGMJtHHG6p
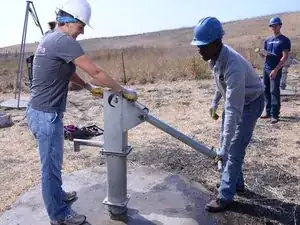
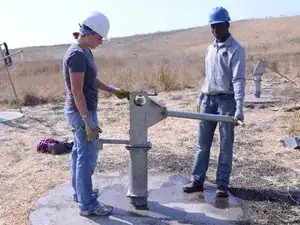
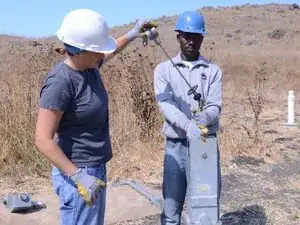
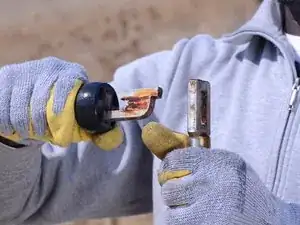
    • Loosen the 2 bolts on either side of the head to remove the handle from the pump rod.

    • It is not necessary to remove the bolt at this time; however, take caution to not let the bolt fall out of the handle.

  7. nNxmxoNQDVDXMcFG
    nNxmxoNQDVDXMcFG
    dHqn6KCLWQk2ChXC
    • Lift the handle to a horizontal position.

  8. pYELvZHDGJE6VNQX
    pYELvZHDGJE6VNQX
    hPRlGvX4RbcN5Sgh
    COKQQcdWLsbMls5D
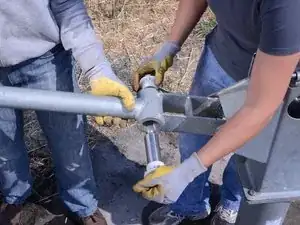
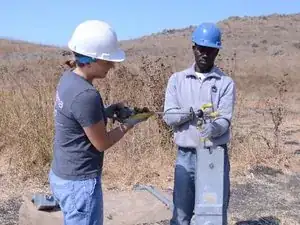
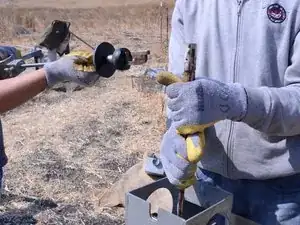
    • While one person lifts up on the T-handle, remove the bolt and connection pieces.

  9. KhlCA6Mptm4bGw3N
    KhlCA6Mptm4bGw3N
    jjgUiFhJ1QsRn4Y5
    N5HOJbGvWS1kZUJx
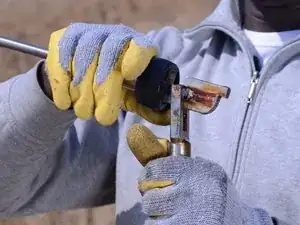
    • Remove the bolt and connection pieces from the handle.

    • Set the bolt pieces in a sanitary place, such as a bucket, to prevent contamination.

  10. vc35hWOSsVT6mRVV
    vc35hWOSsVT6mRVV
    ZOSLdTRFFOLG5KFC
    • Remove the handle from the pump.

    • Be sure to set the handle in a sanitary place to prevent contamination.

  11. fKaRXnbxuKtDXYJl
    fKaRXnbxuKtDXYJl
    5TRXmYEXSPHQg6yW
    • Grab firmly on the T-handle and lift the pump rod straight up.

    • Expose the first connection of the pump rod, and support the portion below the connection.

  12. MqPNnBxCohePfr1l
    MqPNnBxCohePfr1l
    GSGQ1WLlSCR4JaYr
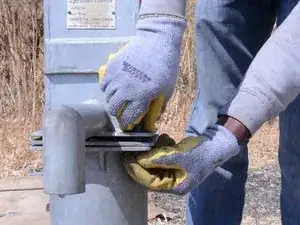
    • While holding the pump rod below the first connection tightly, lower the first portion of the rod to a horizontal position.

  13. 5HAXoRm4L2YnLRQo
    5HAXoRm4L2YnLRQo
    lBYGVRO5RJUsVBGA
    AZgsmJJTAOSgoG3Z
    • Unhook the first connection by pushing it out and down, then pulling it away from the rest of the rod.

  14. kuvbcanDV5QGYlXR
    kuvbcanDV5QGYlXR
    NZH2g1GH6Z2sSKlA
    McjjH4DbstuHfPOG
    • Repeat steps 11-13 for the remaining sections of pump rod.

    • Be sure to set the pump rod segments above the ground to avoid contamination.

  15. rIKkUZlLp3q3bWDW
    rIKkUZlLp3q3bWDW
    ipncZfllpoF23RQC
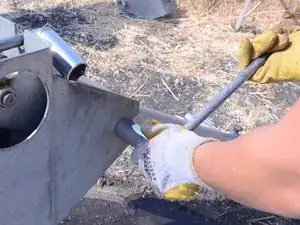
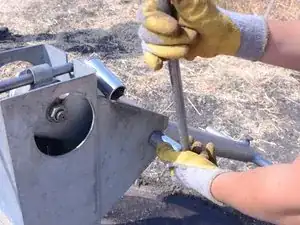
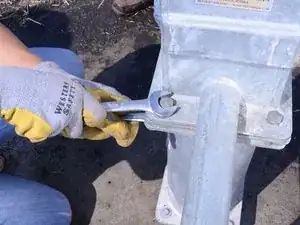
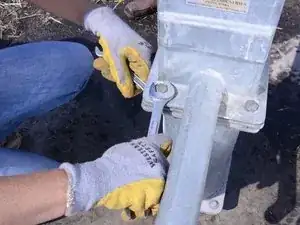
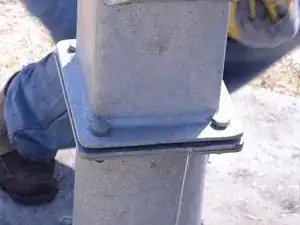
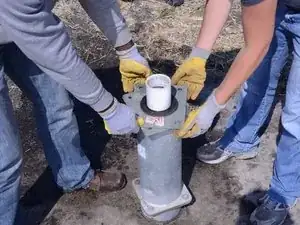
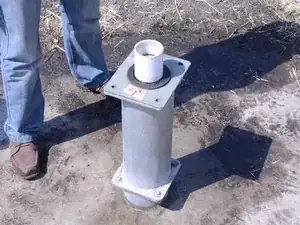
    • Place one wrench on the top side of the top base of the tank spout.

    • Place another wrench on the underside of the bolt in order to get more leverage.

    • Pull the top wrench to the right, and the bottom wrench to the left.

  16. kBAJ5DYHSRSTKvyG
    kBAJ5DYHSRSTKvyG
    5UKbDbcmDbZSaTd4
    uLUaliQhw14HHFPm
    • Remove the loosened bolt from the pump.

    • Repeat this procedure for the 3 remaining bolts.

  17. glvmmUMV64at3lgC
    glvmmUMV64at3lgC
    stZHvkuZutxtabWZ
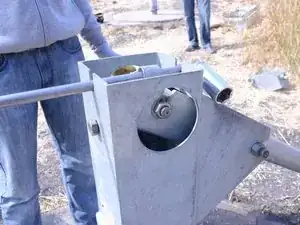
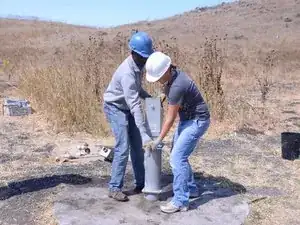
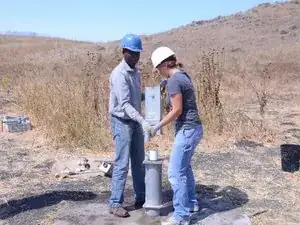
    • Lift the tank straight up to remove it from the pump.

    • Be sure to place the tank in a sanitary place to prevent contamination.

  18. SaVqALysiLpMlAth
    SaVqALysiLpMlAth
    oXESDcgC2BamEyMv
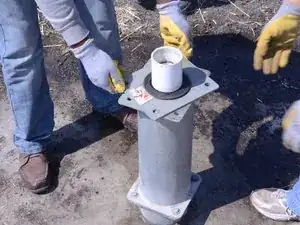
    • Slightly twist the head flange until the corners overhang the top of the tank, far enough so that you can grab them.

  19. 2dED4r1mrouKaiMP
    2dED4r1mrouKaiMP
    WckySxv63yFm3Brc
    ROYVrNCXk4vefWoT
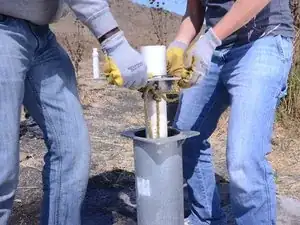
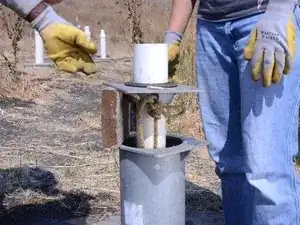
    • Lift the top plate to expose the casing pipe.

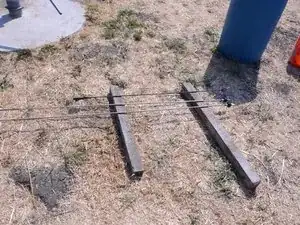
    • Place a piece of wood or brick underneath the top plate to hold it in place.

  20. IPj5VAYLe4SrVLkS
    IPj5VAYLe4SrVLkS
    QvgOM5SHTqxjOgS2
    SlfX64D5HhdqPFj6
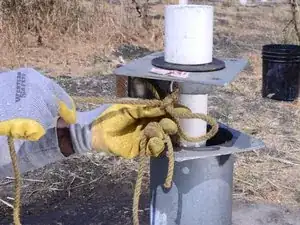
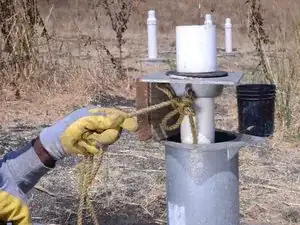
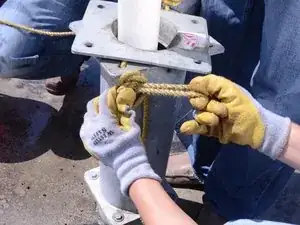
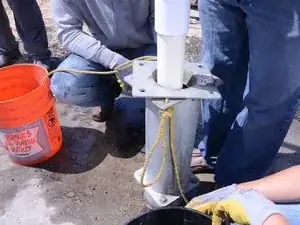
    • Untie knots from the flange, holding on to the loose ends of the rope.

  21. YIgJcJLkGbeQMPBi
    YIgJcJLkGbeQMPBi
    bySFxCS5USmlVAcs
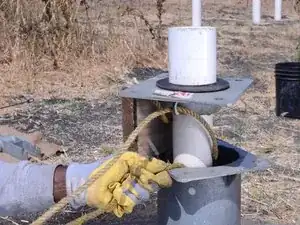
    • With two people holding each end of the rope, remove the support underneath the top plate and lower the plate.

    • This may require a bit of force, since the plate may be attached tightly.

  22. GIRhYWTRGtGPRJDX
    GIRhYWTRGtGPRJDX
    L3stZIreHx2nEy6Y
    wsDQw1PZXlXWDhg1
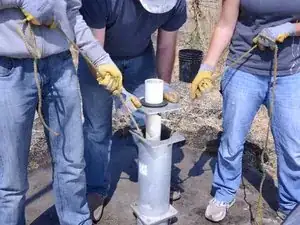
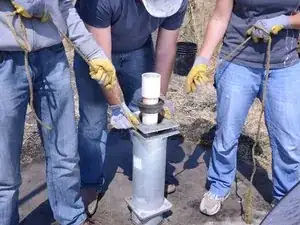
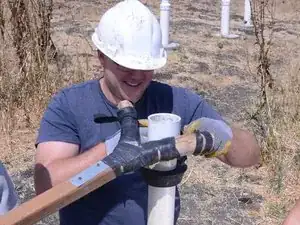
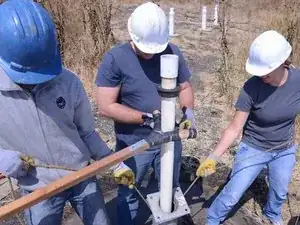
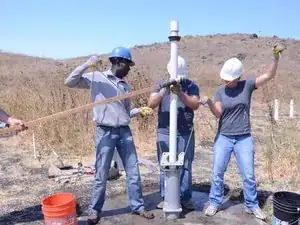
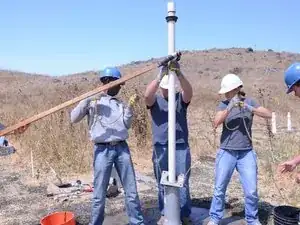
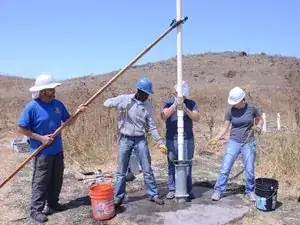
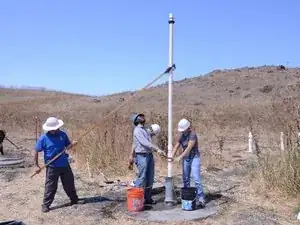
    • Lift the casing from the borehole, simultaneously pulling up on the ropes to support the casing.

  23. UrWW5pAbVihDdcTJ
    UrWW5pAbVihDdcTJ
    JrikIfNH2nk55dTK
    VaqUmJ1EucsKr5Mn
    • Slip a casing support over the casing.

  24. 4aAwxOAbKkIux6Hi
    4aAwxOAbKkIux6Hi
    VIlB6lY1gvFYMNnF
    YN3qqErt4DdMt1wR
    • Continue lifting the casing, supporting the top portion with the casing support, as needed.

  25. qhxsVjd5NNbkKOLu
    qhxsVjd5NNbkKOLu
    EvKxIAiw1nefa12O
    dKfEbv4ACsNvK42o
    • When you reach the portion of the casing that needs to be repaired, tie the casing support ropes onto the frame.

  26. 2syaTQrJ3hAHAXTk
    2syaTQrJ3hAHAXTk
    EBZalYhlGTaAJXDg
    • While supporting the casing, make the necessary repairs to the casing pipe.

Abschluss

To reassemble your device, follow these instructions in reverse order.

Jake Devincenzi

Mitglied seit: 18/04/11

116297 Reputation

Ein Kommentar

It is much easier to lift the riser pipe AFTER you removed the foot valve. Removal of the foot valve requires use of the foot valve fish tool, being attached to the original rods (without using the piston and rod) and carefully lowered into the riser main. When it reaches bottom, turn it up to about 90 degree and see if it drops any during that turn. Then pull up sharply to remove the foot valve from its seat, and proceed with removing all the rods, fish tool and foot valve. When the foot valve comes off the seat, you may hear water running down the riser pipe, this is not a problem. That water was just being held above static water level by the working foot valve.
Larry Bentley -