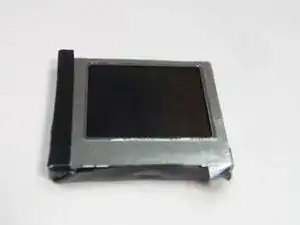
Einleitung

  1. XdqPZA4M3RZNjynt
    XdqPZA4M3RZNjynt
    ONgh6GsOPF1shtj4
    bxqJ1J2AKyQUGrpO
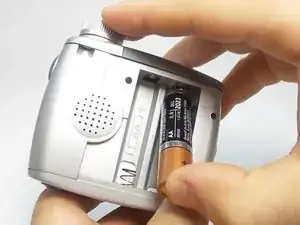
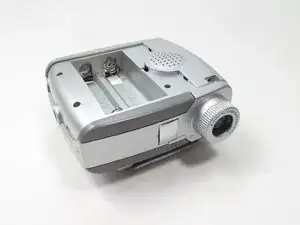
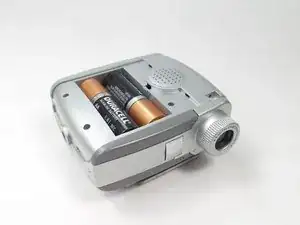
    • Remove the battery cover.

    • Remove the batteries.

  2. hdQECFDpVVdF2heT
    hdQECFDpVVdF2heT
    3dsSsjSb2nDvmUCx
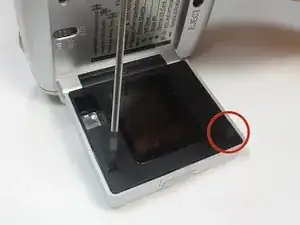
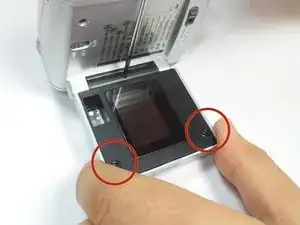
    • Remove the sticky black dots.

    • Remove the three black 4mm screws from the flip screen. Use a Phillips head screw driver.

  3. aBZNlYLiUW5SEmJ5
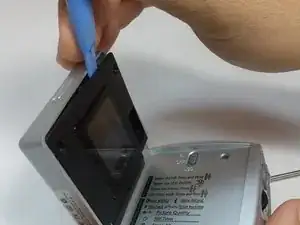
    • Using an opening tool, separate the cover from the screen.

    • The cover won't completely come off. This will happen in the next step.

    • Don't be afraid to use a little more force.

  4. dI2AIEfR3Fdc1JjX
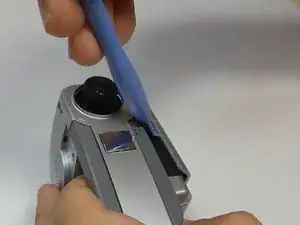
    • Using an opening tool remove the outside cover of the flip screen.

    • Move the cover towards the lens and then away from the screen.

  5. nNMYOUKWVmsBhZYR
    nNMYOUKWVmsBhZYR
    CYRsS6jslGqiWMsq
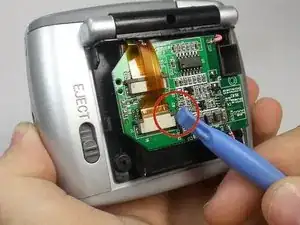
    • With the cover off, push the brown locking mechanism up, so the picture cable can be remove.

    • You only need to unplug the bottom cable in the picture.

  6. 1AKuJTLU1mWDiKGs
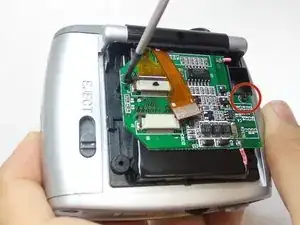
    • Remove the two black screws from the circuit board.

  7. 3dBWYKOE2Heh5Zal
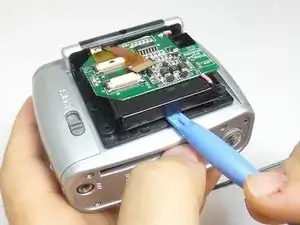
    • With the opening tool, pop up the screen assembly.

    • The screen is glued to the black cover. Use more force if needed.

  8. ywYAGcumSR6L5y11
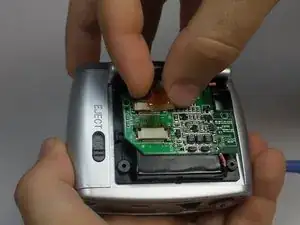
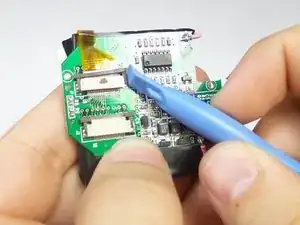
    • As in step 5, push up the brown locking mechanism of the remaining cable.

    • Unplug the picture cable.

  9. HvXiIOiNt2bdNucd
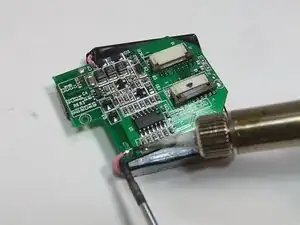
    • Turn the circuit board over and with a soldering gun remove the two wires on each end.

    • Use a screwdriver to pull the loosened wire away.

  10. JjgNLBrevAKrQJ1N
    • With the wires no longer holding the circuit board and screen together, remove and replace the broken screen.

Abschluss

To reassemble your device, follow these instructions in reverse order.
Gyozo Aba Hivatal

Mitglied seit: 21/01/15

561 Reputation

0 Kommentare