Einleitung
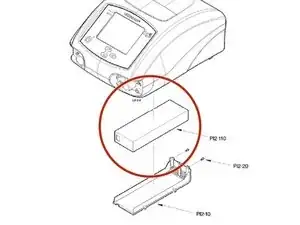
When the battery warning alarm cannot be properly reset from the simple troubleshooting and the voltage from the battery is severely low, it may be necessary to replace the battery. This repair guide will aid the user through the process of replacing the battery in the ventilator.
The repair guide information is mentioned in following sections of the user repair manual as well:
· Chapter 2 – 2.1.1 Cleaning the Device
· Chapter 2 – 2.4.1 Opening and Closing
· Chapter 5 – 5.1.1 Removal/Installation of the Battery
Werkzeuge
Ersatzteile
-
-
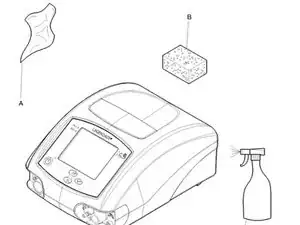
Using a cloth or a sponge slightly dampened with a bactericide or germicide solution, gently clean the outside of the device.
-
-
-
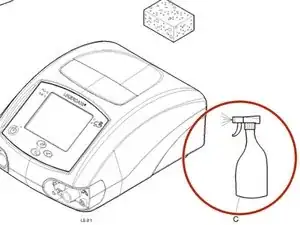
If necessary, spray the device lightly with the germicide solution, taking account of the requirements discussed in the preliminary operations.
-
-
-
Before you start the battery replacement process, make sure that the device has been placed in a clean and open environment.
-
-
-
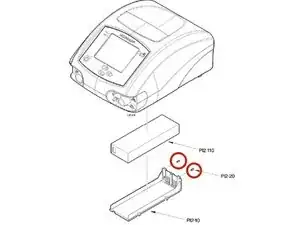
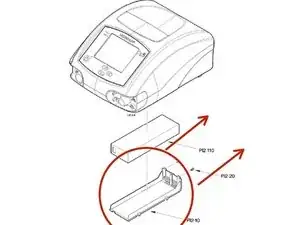
Remove the battery cover carefully by holding the rails and pulling toward the rear of the device.
-
-
-
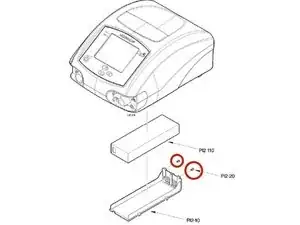
Confirm that all elements line up together. Then, reattach the battery cover with the attachment screws that were removed in Step 2.
-
-
-
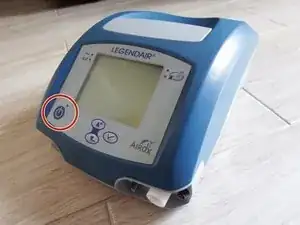
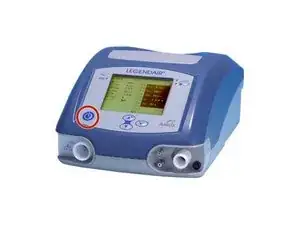
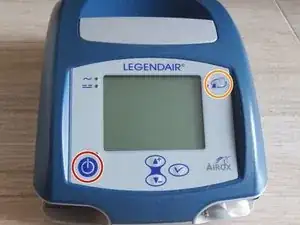
Switch the device to "Set Up Mode" by pressing the On/Off switch.
-
Hold the menu key until the menu options appear on the screen.
-
Select the "MAINTENANCE" option with cursor.
-
Select "Voltage control" and verify that the voltage of the battery is 28.5±1V.
-
Perform the final inspection procedures by confirming that every screw is secure before putting back into service.
