Einleitung

In this guide, we will show you how to remove and replace the Status-Light Board.

  1. woUoVXuY4LfnMMQA
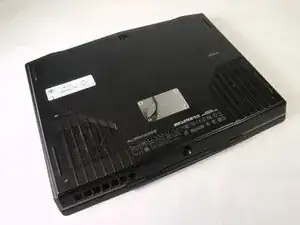
    • Turn the computer off.

    • Disconnect the charging cable from the computer.

    • Failure to unplug the charging cable could result in electric shock and serious injury.

    • Flip the computer upside down.

  2. i1yGLvNOQHUOAPKK
    i1yGLvNOQHUOAPKK
    XLgPdKYiTLxiOHdU
    lgPXQgoW4Fpd1Cux
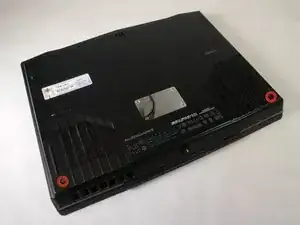
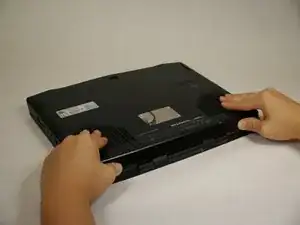
    • Loosen the two 6.35 mm size 1 Phillips screws on the back cover.

    • The two screws are spring loaded and will not separate from the cover.

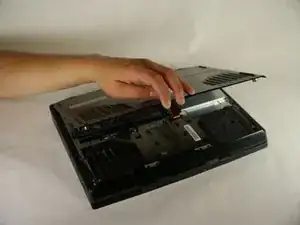
    • Slide the back cover towards you and then lift upwards to remove.

  3. XmuUYDBhhSeSPR4G
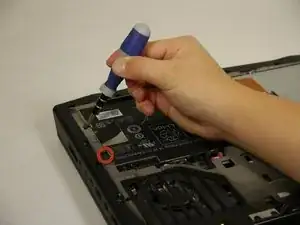
    • Loosen the two 6.35 mm size 1 Philips screws attaching the battery to the laptop.

    • The two screws are clipped into the battery and will not detach.

  4. vAlCcXCyQQXTOZNL
    vAlCcXCyQQXTOZNL
    jkBQV3UchA4xGHIO
    KrFDqULjTNjNpHTv
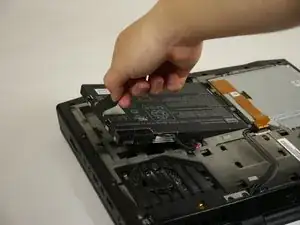
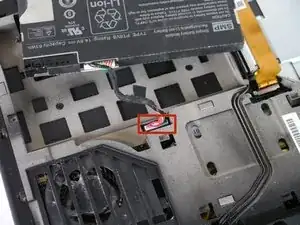
    • Pull up on the black tab on the battery to reveal the connection between the battery and laptop.

    • Pull up on the white connector to disconnect it from the laptop.

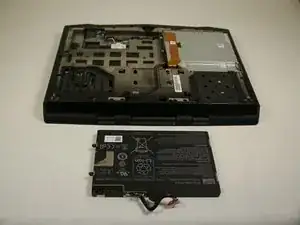
    • The battery is now free to remove from the laptop and can be set aside.

  5. KLNIUy4xLXyxJhHN
    • WARNING: Before working inside your computer, read the safety information that shipped with your computer and follow the steps in Before You Begin.

    • Turn the palm-rest assembly over.

  6. 33YBCgJJiqoIQCIr
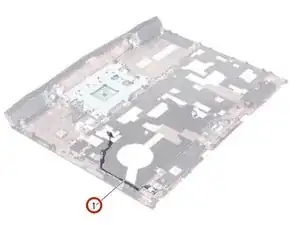
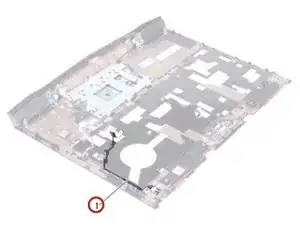
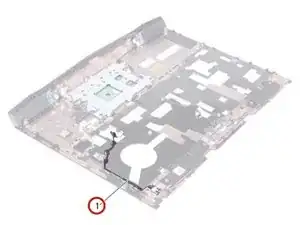
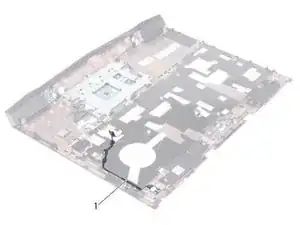
    • Note the routing of status-light board cable and remove the cable from the routing guides.

    • NOTE: If the status-light board cable is under the speakers cable, remove the speakers cable first and then remove the status-light board cable.

  7. 1YxK4XluDUXEmqJc
    • Turn the palm-rest assembly over.

  8. jBiNSGGrDspZihCm
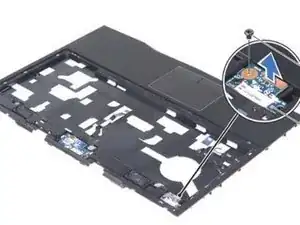
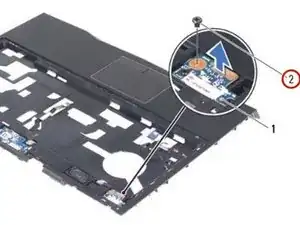
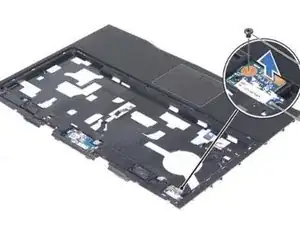
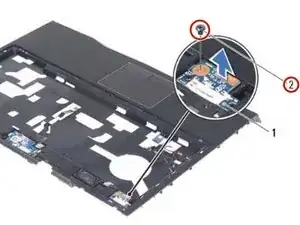
    • Remove the screw that secures the status-light board to the palm-rest assembly.

  9. 63xqBhZ5V1rLgk6Y
    • Carefully lift the status-light board and release its cable from the slot on the palm-rest assembly.

  10. kCW3JIKNFdsniW16
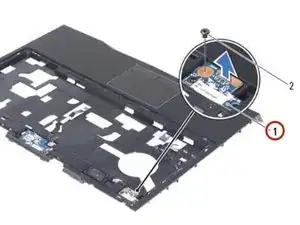
    • Slide the NEW status-light board cable through the slot in the palm-rest assembly.

  11. XxiGKlTInH6KreLE
    • Align the slot on the status-light board with the alignment post on the palm-rest assembly.

  12. nYfFPRTgAN3UeQLt
    • Replace the screw that secures the status-light board to the palm-rest assembly.

  13. yXIWHdCNUJae3OYP
    • Turn the palm-rest assembly over.

  14. VFPcRDUneoVpPJiN
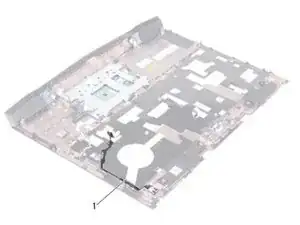
    • Route the status-light board cable through the routing guides on the palm-rest assembly.

Abschluss

To reassemble your device, follow these instructions in reverse order.
Terrence15

Mitglied seit: 18/12/17

78652 Reputation

0 Kommentare