Einleitung

This guide illustrates the steps needed to locate, remove, and replace the CD drive in an Alienware M18x gamer laptop.

  1. YPu1CBgPXArnXuK5
    • Flip the laptop over and slide the battery release latch to the right.

  2. LnymYimyniEjboCl
    LnymYimyniEjboCl
    XORMCVgRqKgKl3DE
    • Remove battery.

  3. cMWoMWcZ3w2NFyNC
    cMWoMWcZ3w2NFyNC
    ZPGEuipVpSLwZJF6
    EOvCMXkMgTR5hGXl
    • Turn the computer over.

    • Slide the battery latch over and lift the battery out.

  4. Exr4wMTNeELiPCu4
    • Unscrew the four 3mm screws with a J000 screwdriver.

  5. UGALHFYaGCm4m4iW
    UGALHFYaGCm4m4iW
    jfbNNTnAepxCxhT1
    • Use the iFixit opening tool to lift the bottom cover off.

  6. wJBtdxqlSpDHWIGW
    wJBtdxqlSpDHWIGW
    vTgCgRIvmOnKAPSg
    • Remove the two 4mm screws with the J000 screwdriver.

    There are 5 screws that retain the plastic frame around the keys.

    derrontume -

  7. 3J66ZPpqGZhwUKP4
    3J66ZPpqGZhwUKP4
    uiLO3V6qUtKpD4GV
    PRoEkL4peLysIBBu
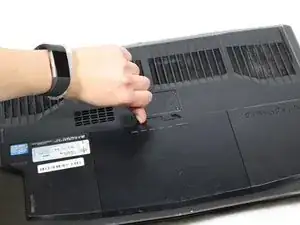
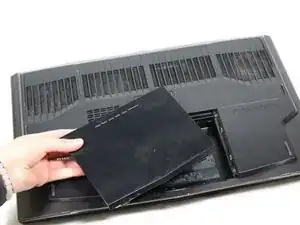
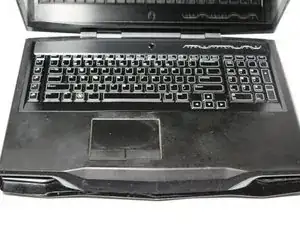
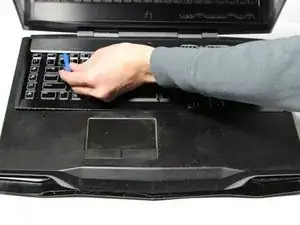
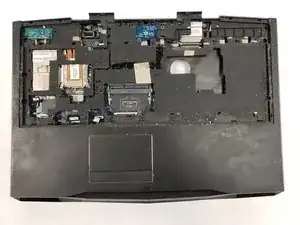
    • Turn the laptop right-side up, and open the laptop.

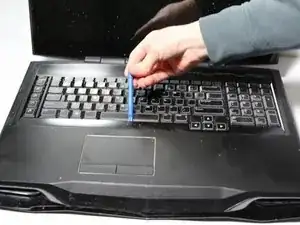
    • Use the plastic pryer tool to loosen the flat piece surrounding the keys by gently prying it upwards from the laptop's base.

    • Make sure to go around the entire perimeter of the piece to loosen all areas of it.

  8. bhgUK4EnASSvmV2C
    bhgUK4EnASSvmV2C
    nYpbrkoY2EG2HRYI
    2dWohPVTh1nF6QwS
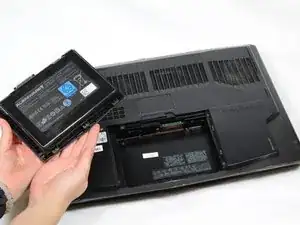
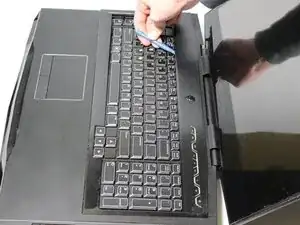
    • The piece is now free from its fastenings to the base of the laptop, and can be lifted off.

    • This piece is still connected to the laptop via power cable. Be sure not to lift it off too far or with too much force, as doing so could potentially rip or damage the cables.

  9. BeBbFdO543GKJFpL
    • Gently remove the power cable with your hands or with the help of a prying tool.

  10. cla5LTXckGYGdHZb
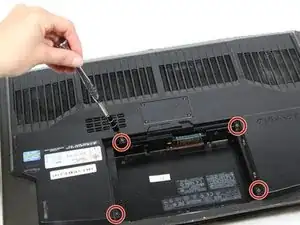
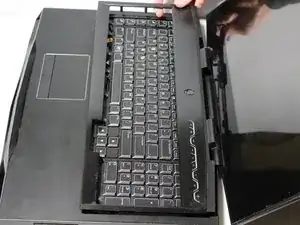
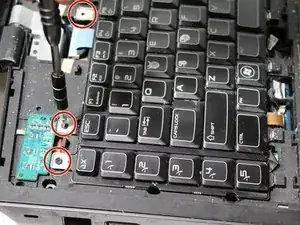
    • The keyboard's 3mm fastening screws are now exposed and can be removed with a J000 screwdriver.

  11. PpULj2E34rBbghMG
    PpULj2E34rBbghMG
    1UPeYA5xIGKMNSDQ
    • As before, the keyboard is now unfastened but still connected to the base via cables.

    • Flip the keyboard over towards the edge of the laptop to expose the locations of the connectors. Avoid tugging on the cables when you do this.

  12. G5KUSSMjQ5FAFjct
    G5KUSSMjQ5FAFjct
    VojOnEJrbvns5EqS
    OEZTPQRfsEDgZVvy
    • Locate and remove the first connector cable.

    • Use a prying tool to assist in unplugging the cable.

  13. AK22wWQPWOeqSSJC
    AK22wWQPWOeqSSJC
    K2DFU6OmidXakyQ5
    jRfcxmtqdVGKhGJa
    • Locate and remove the second connector cable.

    • Again, use a prying tool to help remove.

  14. kAHCsNAjNJFKcnOF
    kAHCsNAjNJFKcnOF
    gbBiysPKc1EheYVA
    bDEqioKUUVRADfPE
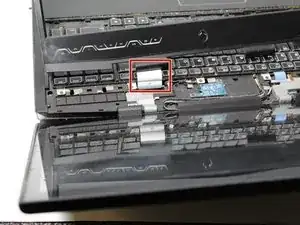
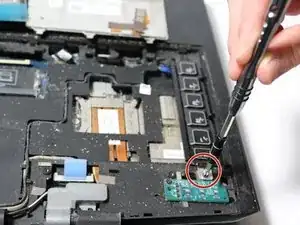
    • The left section of the keyboard is connected by a single screw and two connector cables.

    • Remove the 4mm screw with a J000 screwdriver.

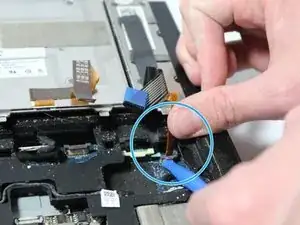
    • Remove the connecting cables with a prying bar.

  15. sS6COY4HahomXLjG
    • All sections of the keyboard are now free to be taken off and replaced!

  16. mVHYyGjYmofsTEuq
    mVHYyGjYmofsTEuq
    s2pruiO34lW2GLuR
    bwVxZOcETXMfVmsI
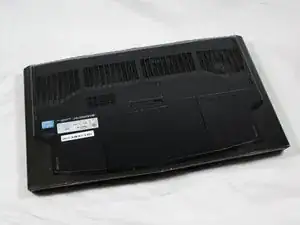
    • Computer should be upright.

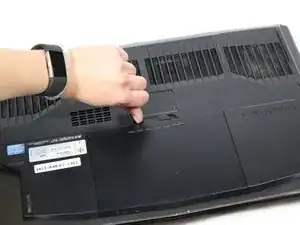
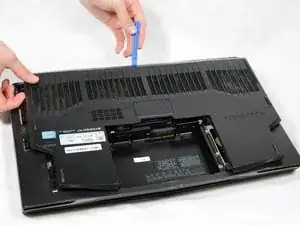
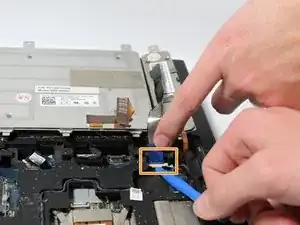
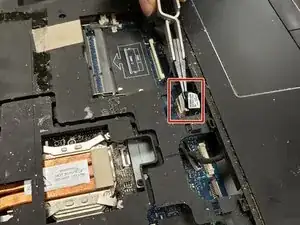
    • Find the connecting tab that is holding the laptop's top section in place.

    • Disconnect the tab with needle-nose pliers.

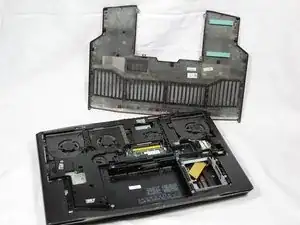
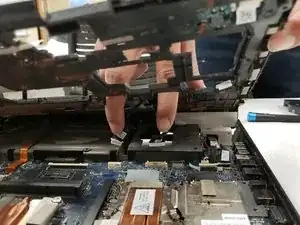
    • Lift the panel up slowly to gain access to the internal parts.

  17. LycHmVByKBNL6CLS
    LycHmVByKBNL6CLS
    KTwJSJAKYvuNmrbh
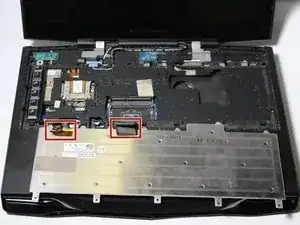
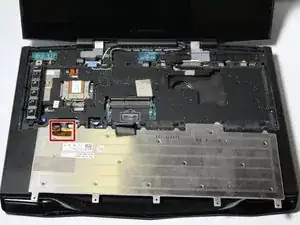
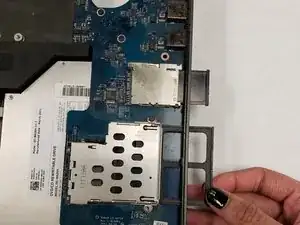
    • Track down the blue USB board. The CD Drive is covered by this board.

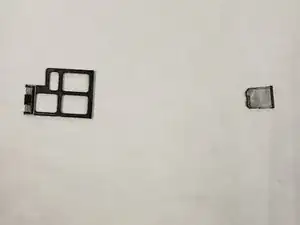
    • Locate the card holders' edges, and then gently pry each one from its socket

  18. SK1mRQWgcUo4VHwZ
    SK1mRQWgcUo4VHwZ
    O62AwpOf3FE4pkro
    4mCEPN2fGGVrwMRH
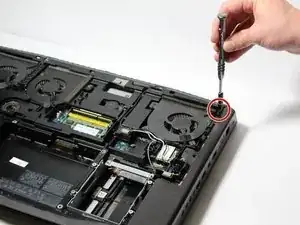
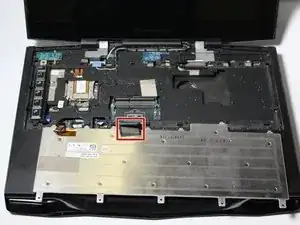
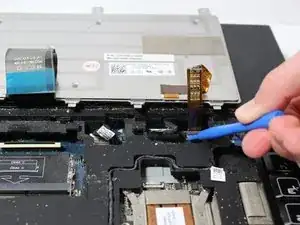
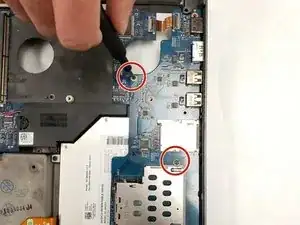
    • With a screwdriver, remove the screws holding the USB port board in place.

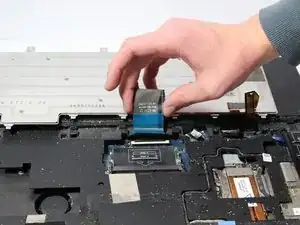
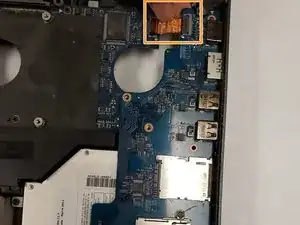
    • To remove all connections from the board, disconnect the orange tab.

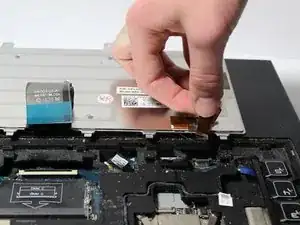
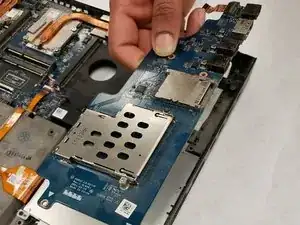
    • In order to access the CD Drive, raise the board.

  19. dkQdWfvBrcKfvlrs
    dkQdWfvBrcKfvlrs
    1eFIyVY2rJUdaMvm
    GvhLKaLf2WuRU6TV
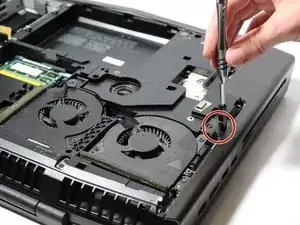
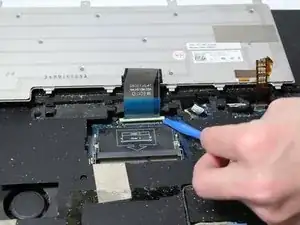
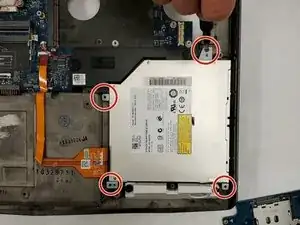
    • The CD Drive housing should be free of the four 3mm screws.

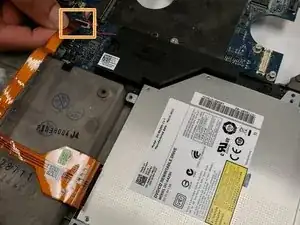
    • The orange connector's thin end should be disconnected from the motherboard. The CD Drive should still be attached to one end of it.

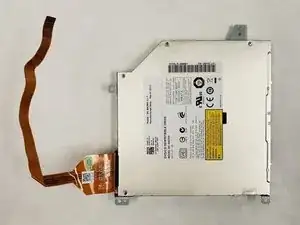
    • From the laptop, gently remove the CD drive.

Abschluss

To reassemble your device, follow these instructions in reverse order.

Anu Kadampelil

Mitglied seit: 06/04/19

112 Reputation

0 Kommentare