Einleitung
Follow this replacement guide if you are experiencing issues with the user interface of this device (e.g. buttons are not working, LEDs are dead, no voice recognition).
Werkzeuge
-
-
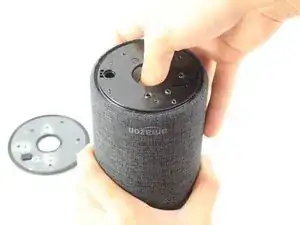
Remove the rubber layer beneath the device.
-
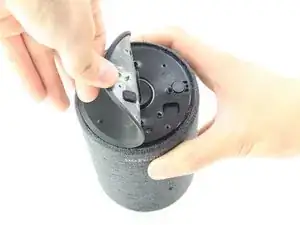
Look for the crater beneath the rubber layer and place your thumb on it. Hold down and lift off the cover with your other hand.
-
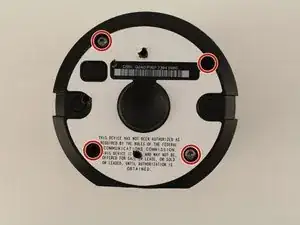
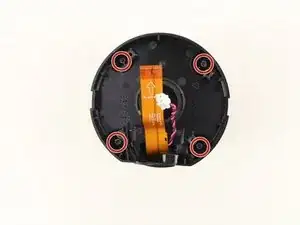
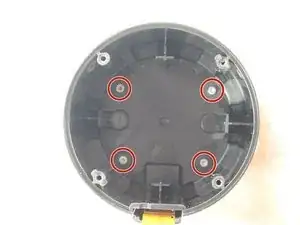
Remove the four 8.0 mm T8 Torx screws on the lid.
-
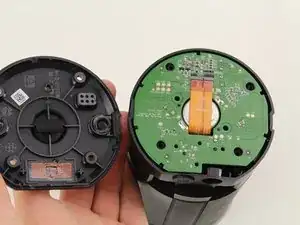
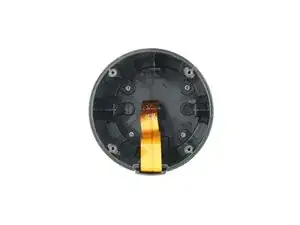
Remove the lid from the device.
-
-
-
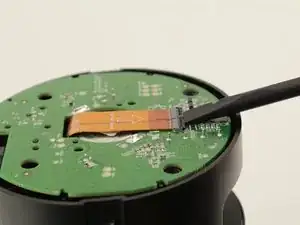
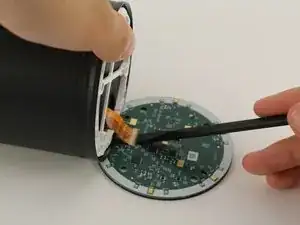
Use a spudger to flip up the small flap on the ZIF connector.
-
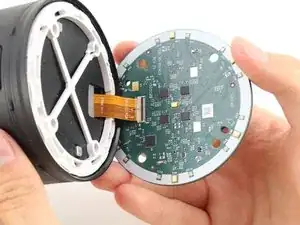
Gently pull the ribbon cable out of the ZIF connector.
-
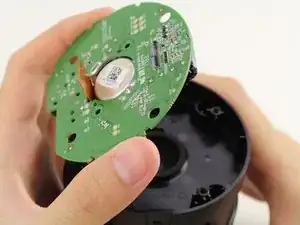
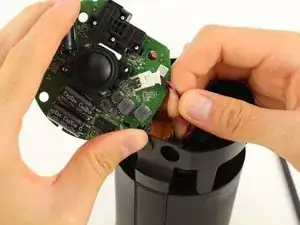
Lift the AMP Board gently while sliding the ribbon cable out through the center hole to reveal another set of wires underneath the board.
-
-
-
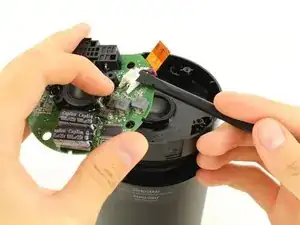
Use a spudger to lift up one of the small flaps on only one side of the female connector.
-
Pull on the wire toward the lifted side until the male connector is disconnected.
-
Remove the AMP Board.
-
-
-
Remove the four 30.0 mm T8 Torx screws in the corners.
-
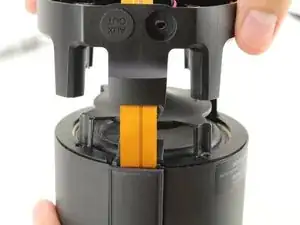
Remove the large plastic piece on top of the subwoofer while threading the ribbon cable and male connector through the hole.
-
-
-
Remove the lid on top of the subwoofer.
-
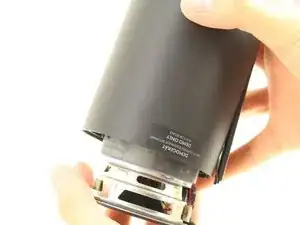
Flip the device over and let the subwoofer fall into your hand.
-
-
-
Remove the four 16.0 mm T8 Torx screws underneath the speaker.
-
Flip the device over while supporting the front panel side.
-
Remove the front panel cover by lifting it.
-
-
-
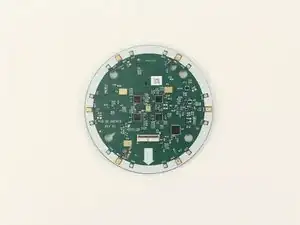
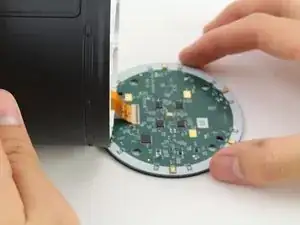
Lift the MIC board over and lay it down against a surface.
-
Use a spudger to flip up the small flap on the ZIF connector.
-
Disconnect the ribbon cable from the MIC board and pull the board away.
-
To reassemble your device, follow these instructions in reverse order.
Ein Kommentar
Is there a place to buy a replacement MIC Board?

Removing the rubber layer does not actually seem to be necessary.
jrhifixit -
Where do you get the replacement Pcb
niall.mcgee1 -
Rubber base removal not necessary.
Screws for first few steps may be T10, but a quality T8 driver may also work
Vicente Laluz -