Einleitung
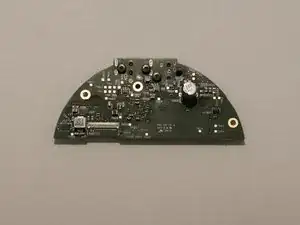
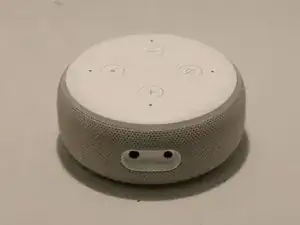
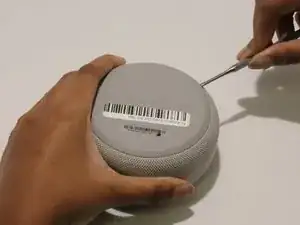
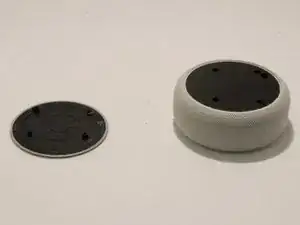
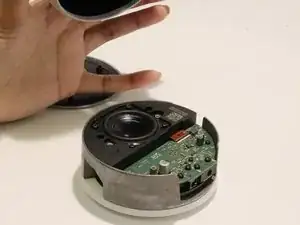
If your Amazon Echo Dot 3rd Generation is experiencing hardware issues, but the app is still functioning, your motherboard may need to be replaced. Follow this guide to do so.
The motherboard, or main board, of the Echo Dot is the control center from which your device takes all its commands. If your main board is not functioning properly, it will need to be replaced.
Before replacing the main board, check your device for other causes of disruption. For example, if you find that Alexa is not responding to you, but the lights are functioning, you may be experiencing a speaker issue.
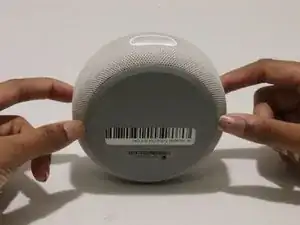
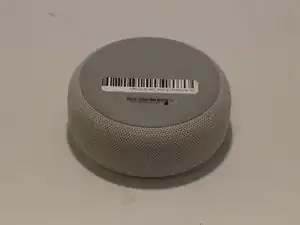
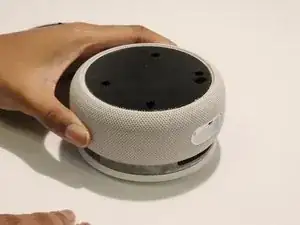
Before attempting, make sure the Echo Dot is turned off and unplugged from the external power source.
Werkzeuge
-
-
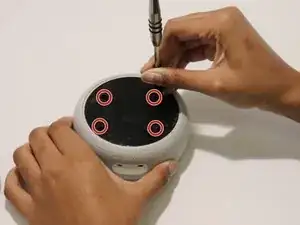
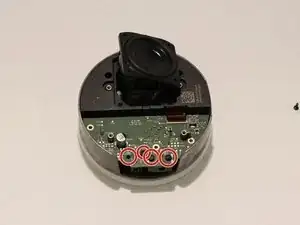
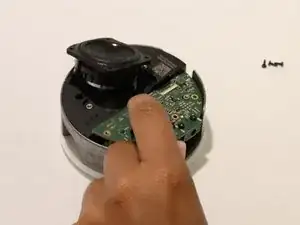
Remove the four 6.2 mm screws from the motherboard using a T5 Torx screwdriver.
-
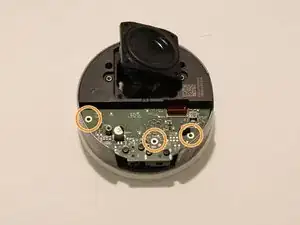
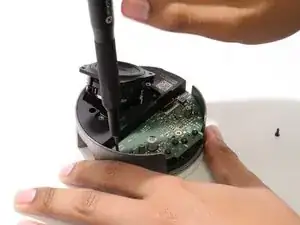
Remove the three 9.4 mm screws from the motherboard using a T5 Torx screwdriver.
-
-
-
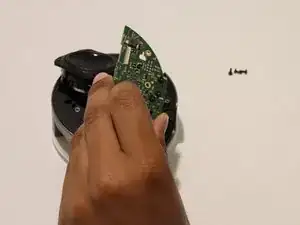
Remove the connecting head linking the motherboard to the device using a pair of tweezers.
-
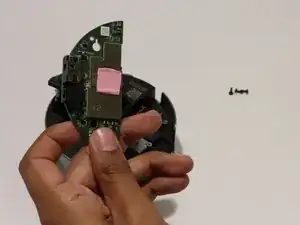
Remove the old motherboard and replace it with the new one.
-
To reassemble your device, follow these instructions in reverse order.
