Einleitung
-
-
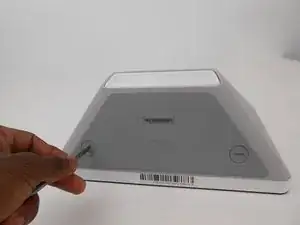
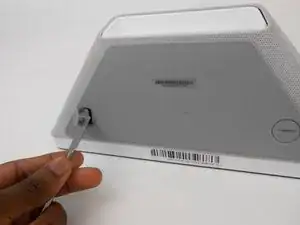
Turn the two screw plugs counterclockwise with a metal spudger until they are 90 degrees from their original position.
-
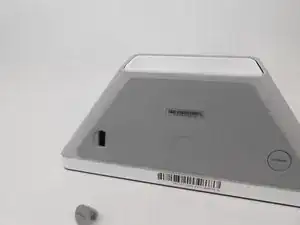
Pull each of the plugs out.
-
-
-
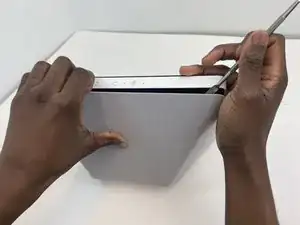
Use the metal spudger to pry and create space between the sound foam and the frame.
-
Once you have sufficiently pried the foam from the frame on each side, detach the sound foam from the frame with your hands.
-
-
-
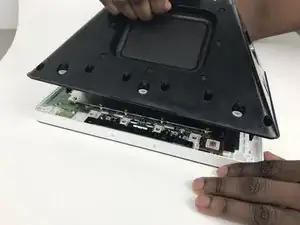
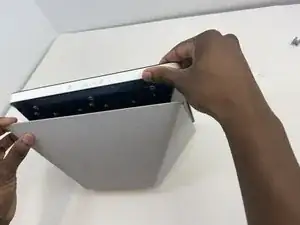
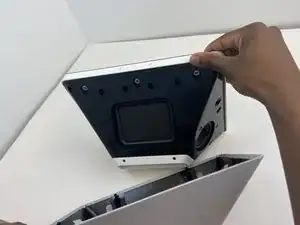
Firmly grasp the white trim of the front piece with one hand while the other pulls back on the black back portion of the device.
-
The front and back pieces should now be separated as shown in the second picture.
-
-
-
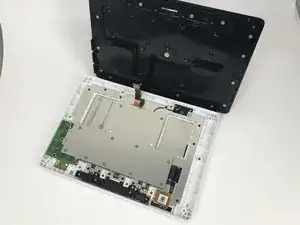
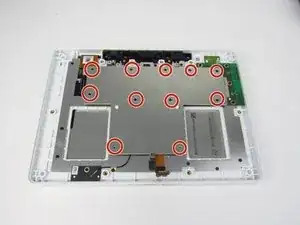
Remove all the 4mm length screws in the indicated areas using a TR6 torque screwdriver.
-
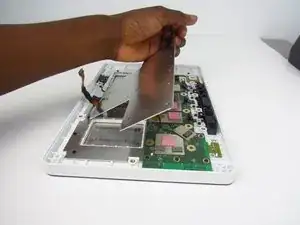
To reveal the motherboard of the device, gently pry off the metal plate away from the rest of the device.
-
-
-
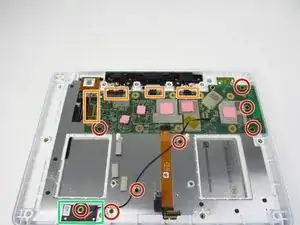
Remove all 8 of the 4 mm screws from the indicated areas using the TR6 screwdriver.
-
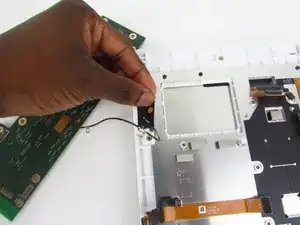
Using your hands, gently detach the connected areas from the motherboard. To do so, simply pry the adhesives off with your fingers.
-
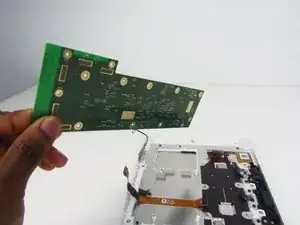
Carefully detach the adhesive. Make sure the wire attached to the adhesive stays attached when removing the motherboard. To do so, gently hold the wire in place.
-
To reassemble your device, follow these instructions in reverse order.


Since you didn’t use prerequisites, my comments on these steps have not transferred. Please be sure to see where I gave feedback and apply here.
Alex Watkins -