Einleitung
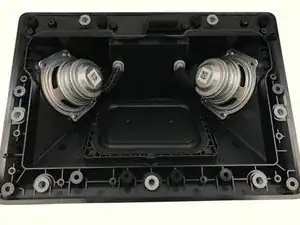
This guide serves to illustrate how to replace the speakers in this device. It is demonstrated in a few, moderate level steps that can be replicated using a couple different screwdrivers.
Werkzeuge
-
-
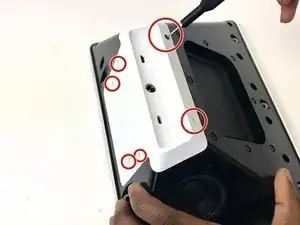
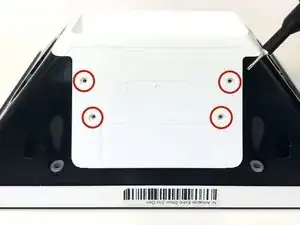
Unscrew the white case using the TR1 screwdriver bit to remove the 4mm screws.
-
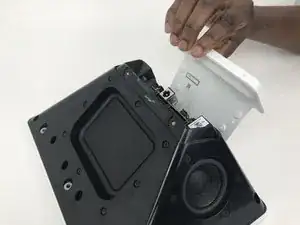
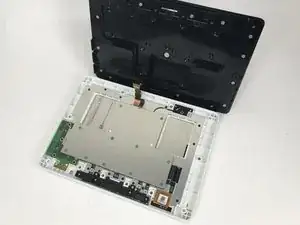
Pull on the top until the case becomes fully dislodged.
-
-
-
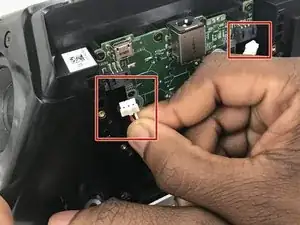
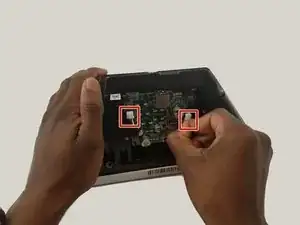
Pull out the two white plugs by firmly grasping them and pulling in a downward motion until they become disconnected.
-
-
-
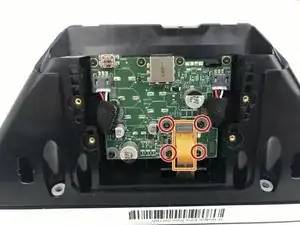
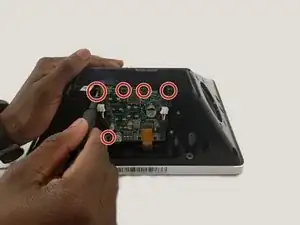
Unscrew the 4mm, red-marked screws with the TR6 screwdriver bit.
-
Detach the ribbon from the circuit board by grasping from the top of the ribbon and pulling away from the board.
-
-
-
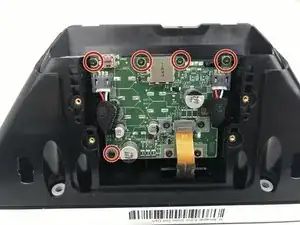
Unscrew the red-marked, 4mm screws with the J1 screwdriver bit.
-
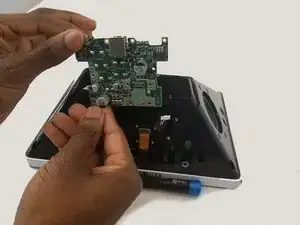
Carefully slide the sound card up and out of the black casing.
-
-
-
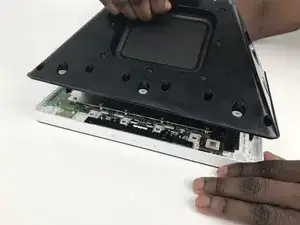
Firmly grasp the white trim of the front piece with one hand while the other pulls back on the black back portion of the device.
-
-
-
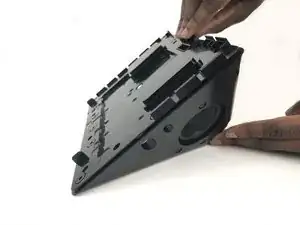
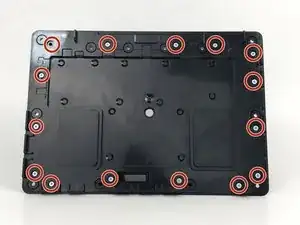
Unscrew all the indicated screws with the screwdriver.
-
Carefully remove the plate from the device.
-
-
-
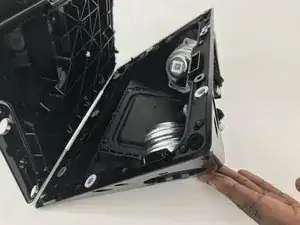
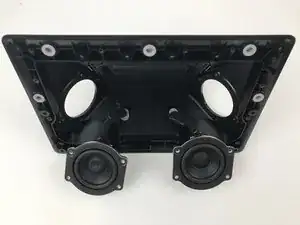
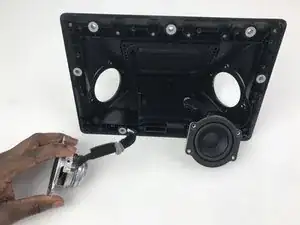
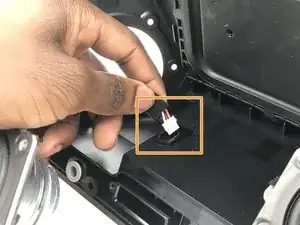
After unscrewing the speakers, gently pull out the foam covered attachment indicated in the orange box.
-
-
-
Insert the white circuit box into the back plate the old speaker was removed from as indicated in he orange box.
-
Repeat on the other speaker if needed.
-
To reassemble your device, follow these instructions in reverse order.


Why is markup on the spudger? It should be used to highlight components of the device. Please demonstrate your hands completing the screwing and using the spudger. However, note that iFixit prefers you only use the metal spudger when absolutely necessary.
Alex Watkins -