Einleitung
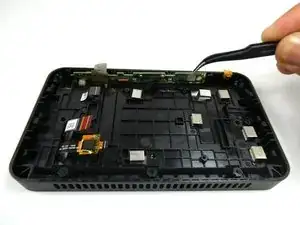
Follow this guide to replace the Amazon Echo Show microphone. The microphone of the Amazon Echo Show is responsible for picking up audio signals. Replacement requires precision and patience, especially when working with small screws and fragile ribbon connectors.
Werkzeuge
-
-
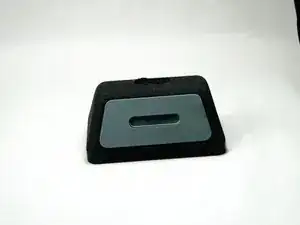
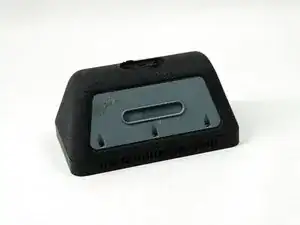
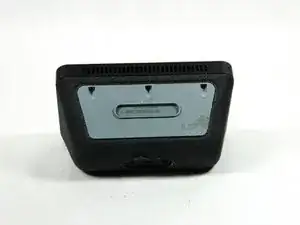
Orient the Amazon Echo Show 5 so that the display is face down.
-
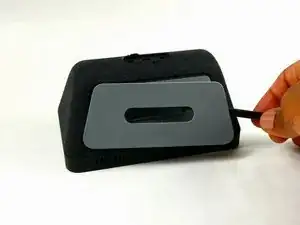
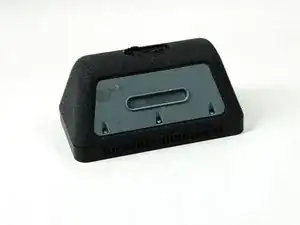
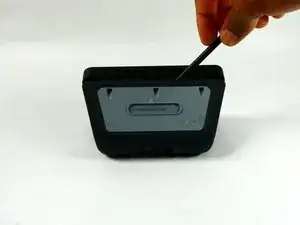
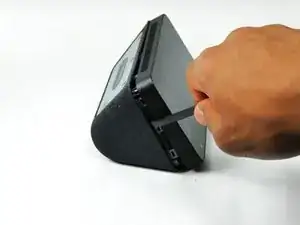
Use a spudger to remove the grey bottom cover.
-
-
-
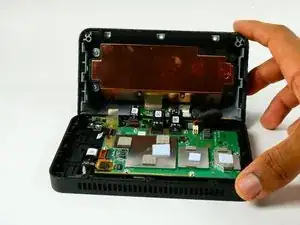
Carefully open the device by folding it open along the top edge where the camera is located.
-
-
-
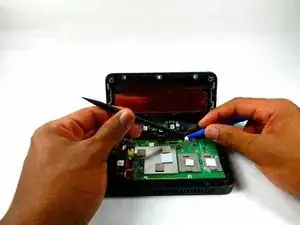
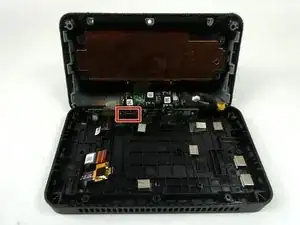
Remove the red and black power connector connecting to the motherboard with either a prying tool or your hands.
-
-
-
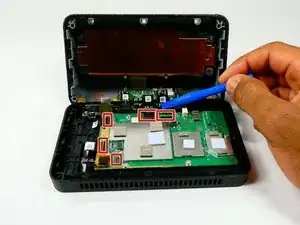
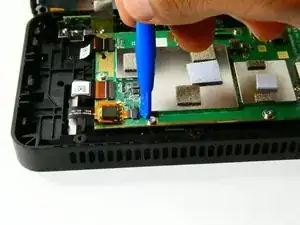
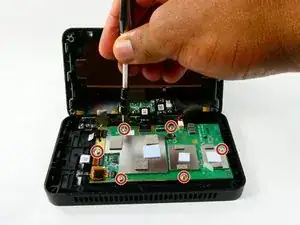
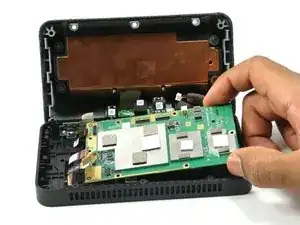
Remove the six 4 mm screws that are used to hold down the motherboard using a T6 Security Torx Screwdriver.
-
-
-
Use the Philips #000 Screwdriver to remove two 4mm screws that hold down the metal bracket.
-
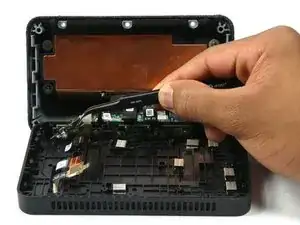
Use tweezers to remove the metal bracket by lifting it up and towards yourself.
-
-
-
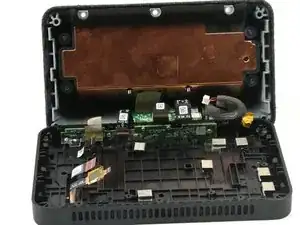
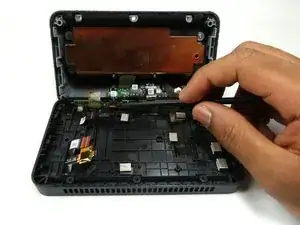
Use a spudger or your fingernail to remove the ribbon connector which connects the speaker housing board to the microphone board.
-
-
-
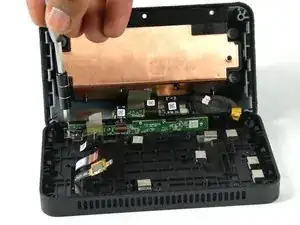
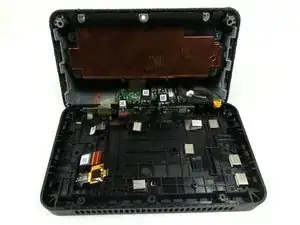
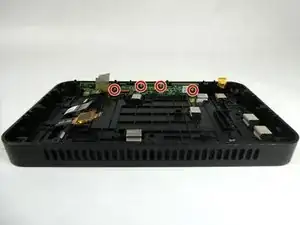
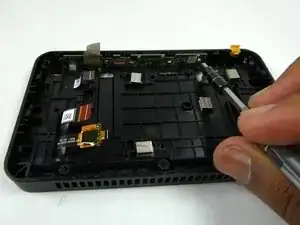
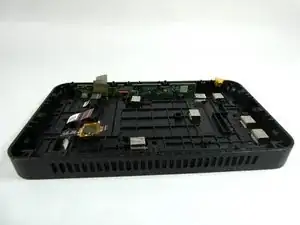
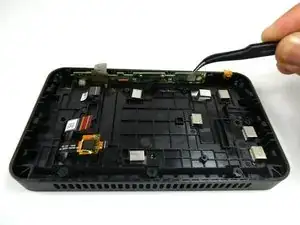
Use the Philips #000 Screwdriver to remove the four 4 mm screws that attach the microphone board to the case.
-
To reassemble your device, follow these instructions in reverse order.
