Einleitung

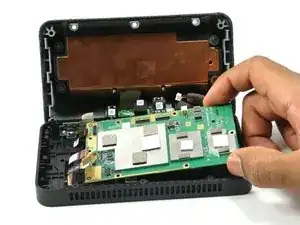
Follow this guide to replace the Amazon Echo Show motherboard. The motherboard of the Amazon Echo Show is responsible for managing most functions of the device. Replacement requires precision and patience, especially when working with the ribbon cables.

  1. lYJlZtZM622cqScp
    lYJlZtZM622cqScp
    YlkMDbOUFChZLj64
    KxD5CqVNYtLNyw1v
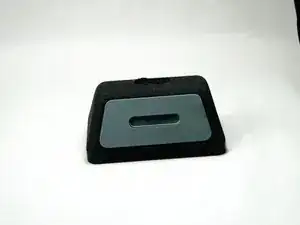
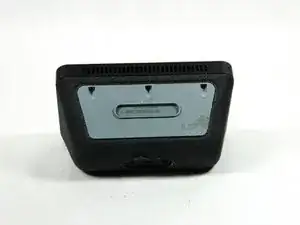
    • Power off and unplug the Amazon Echo Show 5. Failure to do so could result in injury or damage to the device.

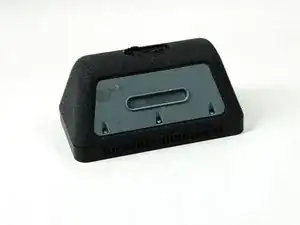
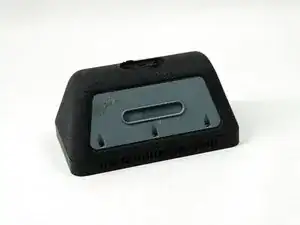
    • Orient the Amazon Echo Show 5 so that the display is face down.

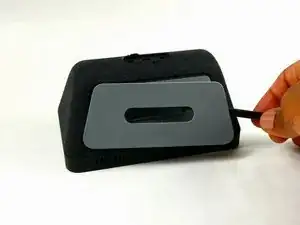
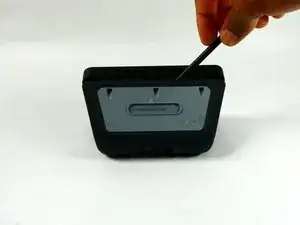
    • Use a spudger to remove the grey bottom cover.

    • During reassembly, adhesive needs to be applied to secure the bottom cover.

  2. xW5Cgq6iWWQpLBgG
    xW5Cgq6iWWQpLBgG
    yrbgGfZjqPqcLwU2
    • Remove the three screws with a T6 Torx screwdriver.

  3. MrYrPj6FuYIbsBYQ
    MrYrPj6FuYIbsBYQ
    W11SGrAZJ2fh5Jqx
    bFvSVfoKwBk1nWnP
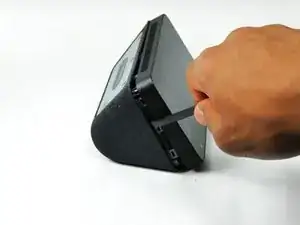
    • Use a spudger to release the six internal tabs lining the sides of the device.

    • There are fragile ribbon connectors along the side of the screen with the camera on it. So, do not stick the spudger more than a couple millimeters into the device.

  4. 3iAlPJOQQcoUQw26
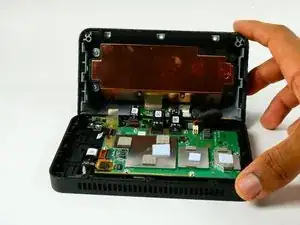
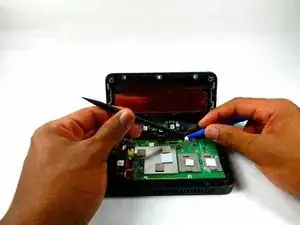
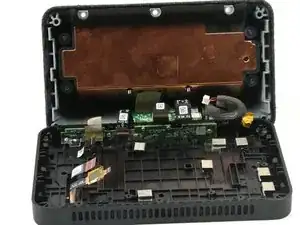
    • Carefully open the device by folding it open along the top edge where the camera is located.

    • Do not try to open the device from any other side as this would damage the ribbon connectors.

  5. d2VSGOFI3Y52srSU
    • Remove the red and black power connector connecting to the motherboard with either a prying tool or your hands.

  6. oWbGOEKBUMn4rt1I
    oWbGOEKBUMn4rt1I
    knR1E4GGT3ZT2WJY
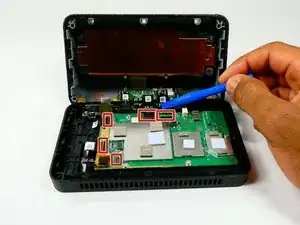
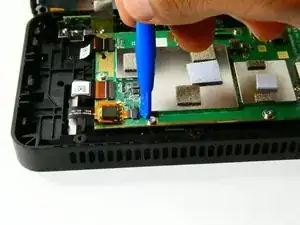
    • Disconnect the five ribbon cables connecting to the motherboard.

    • To disconnect the cables, use the tip of a prying tool, or your fingernail, to flip up the small locking flap. Then, you can safely pull the cable out.

    • Be sure to pry up the hinged flap, not the connector socket.

    • There is a white line on the ribbon connectors that indicates the edge of the connection area. To reinstall, insert the connector up to this white line and close the flap. If the white line is clearly visible after closing the flap, it is probably misaligned and needs to be repositioned.

  7. hHEccrExhskrQjQh
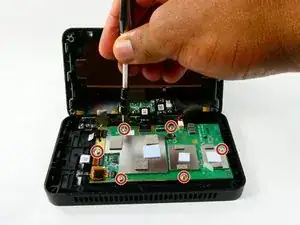
    • Remove the six 4 mm screws that are used to hold down the motherboard using a T6 Security Torx Screwdriver.

  8. j41SxFQWpAB3gdqL
    j41SxFQWpAB3gdqL
    DYAMCy6baoU3TS1H
    • Lift the motherboard up and out.

Abschluss

To reassemble your device, follow these instructions in reverse order.

Zachary Buckler

Mitglied seit: 26/10/22

387 Reputation

0 Kommentare