Einleitung
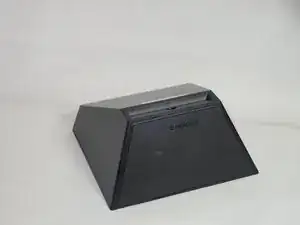
The motherboard is the key to making every other part of the Alexa function, so many mystery issues might be linked back to a fault with the motherboard. As always, make sure you have grounded yourself and removed any static electricity by touching a metal surface before touching any circuitry.
Werkzeuge
-
-
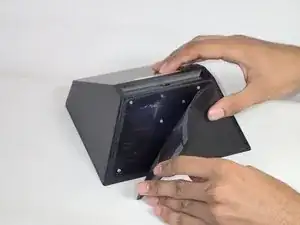
Carefully peel off the bottom pad to expose the fastening screws.
-
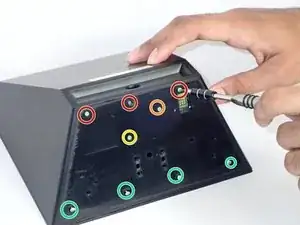
Remove three silver 1.4 T5 Torx screws on the top row.
-
Remove one green 1mm T5 Torx screw in the middle.
-
Remove a black 1.5mm T5 screw.
-
Remove three green 1mm T5 screws from the bottom row.
-
-
-
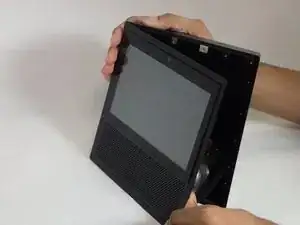
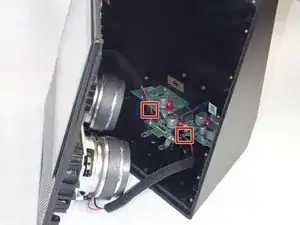
After the screws are removed, grip the front panel and separate the front from the back. This will expose the inside of the device.
-
Use tweezers or your hands to carefully disconnect the red wires connecting the speakers to the power supply board.
-
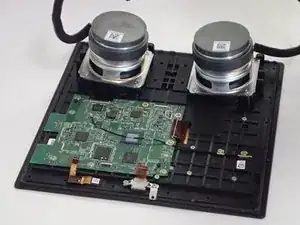
Visually locate the motherboard within the device. It is the large green panel right above the speakers.
-
-
-
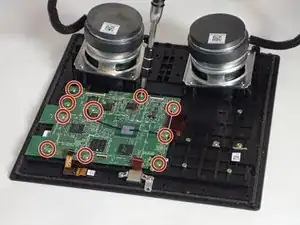
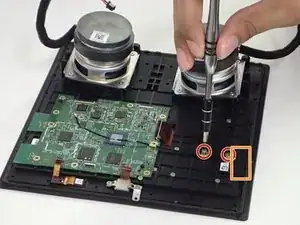
Remove two 1mm T5 Torx screws holding down a wire connected to the motherboard.
-
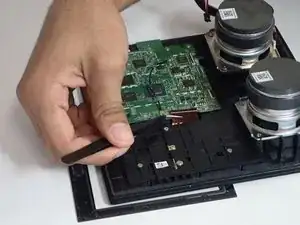
Remove a small piece of black electrical tape attached to the wire.
-
-
-
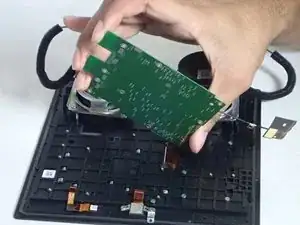
Once all the screws have been removed, you should be able to gently lift the motherboard up and out of the device.
-
To reassemble your device, follow these instructions in reverse order. Make sure that the ring on the black wire is attached between the circuit board and the screw, and that the black tape on the end is lined up as well.
4 Kommentare
Where can I find a new mother board
can board be repaired ?
Sorry, but this instruction is simply WRONG and missing some important part.
Between step 2 and step 3, you will have to peel off the speaker grille AND the glass screen of the device - behind those are also a lot of screws!! Without unscrewing them, you will NOT get your echo open.
You know that this is necessary by the way, because you mention it in your echo show teardown video.. so i do not understand why these important steps are missing here?
