Einleitung

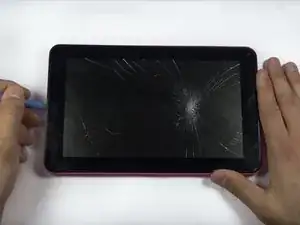
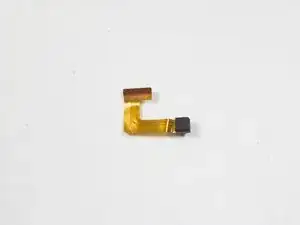
This guide provides essential information and steps on how to replace a faulty camera, including a step by step disassembling and removing instructions. Follow steps 1-3 to open the device. Ignore steps 4 and 5 and go straight to step 6 after doing so.

  1. XTvBoQyoD5EX2WPK
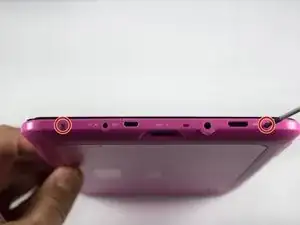
    • Remove the two 00 Phillips screws located in the right hand side of the tablet.

  2. wsw5D2sxcBGNNimE
    wsw5D2sxcBGNNimE
    GXoufhenhYrIcv45
    C5ELYEYgvFs4pMha
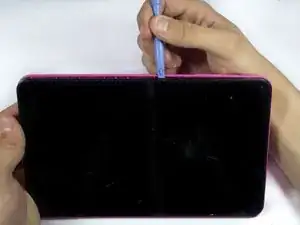
    • Use plastic opening tools to loosen and pry off the back plate (pink piece).

    • When removing the cover, be careful not to pull too hard as there are wires connected to the motherboard attached to the back cover.

  3. wiAVRhE4E1ymNBjY
    wiAVRhE4E1ymNBjY
    nQorJ6CYcR3RPjkf
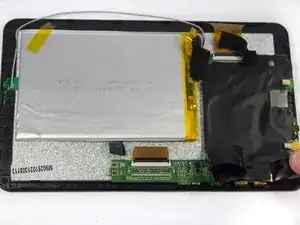
    • It is recommended that a grounding bracelet be used in order to avoid damage to the device's circuits through ESD (Electro-Static Discharge)

    • Start by removing the electrical tape covering the camera, located at the top left corner of the device.

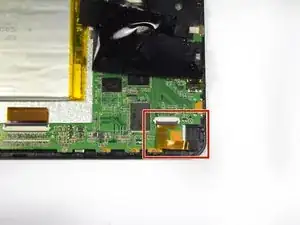
    • Remove enough tape to expose the ZIF connector and the camera.

  4. EqVtCahG3NpvaDnG
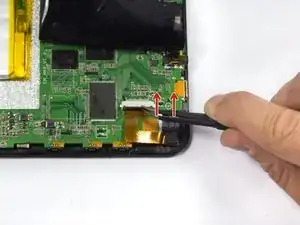
    • Lift up the black plastic lock on the ZIF connector with tweezers.

    • ZIF stands for Zero Insertion Force connector. Make sure the connector is unlocked completely.

  5. cW24fT5qw2yO1keY
    cW24fT5qw2yO1keY
    yUFnoXAPpA6DbScq
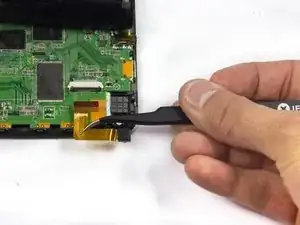
    • Gently remove the camera by removing the power cord with tweezers. The camera should release easily: do not twist or pull too hard.

    • Replace the camera with a new one.

Abschluss

To reassemble your device, follow these instructions in reverse order. Do not forget to put electrical tape back in place.
Sergey Kasyanov

Mitglied seit: 26/03/15

237 Reputation

0 Kommentare