Einleitung

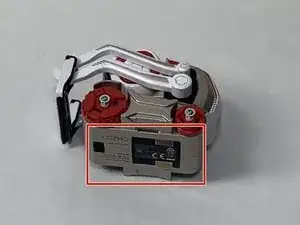
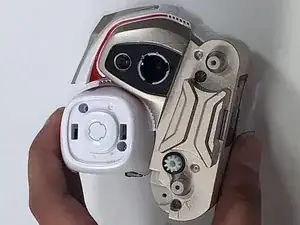
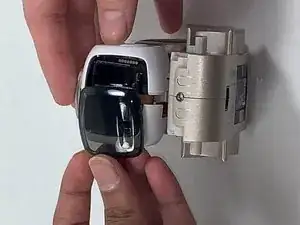
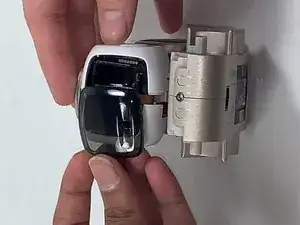
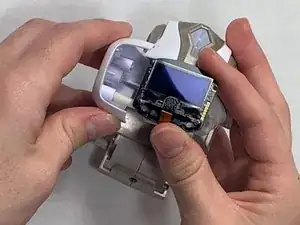
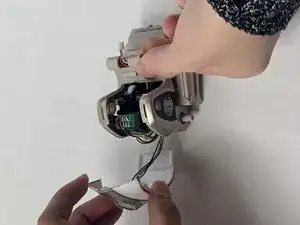
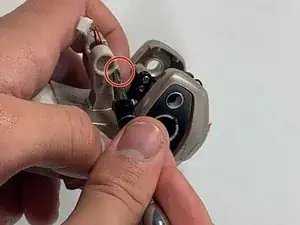
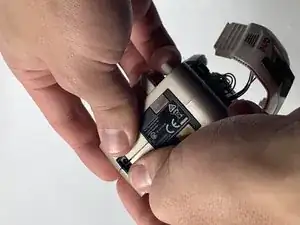
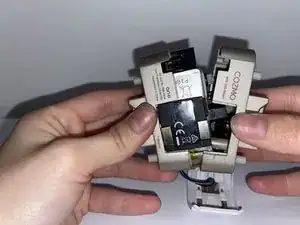
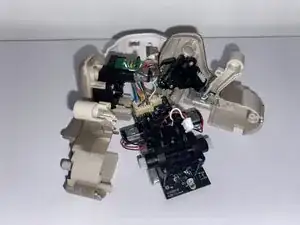
If your Anki Cozmo robot keeps turning off or the screen does not come on, follow this guide. This guide is to assist users replacing the battery in an Anki Cozmo robot, so it can come back to life. The battery, located inside Cozmo’s base, allows it to survive. Without a functioning battery, nothing else will work. Before beginning, make sure to power off your Anki Cozmo robot and disconnect it from the Anki Cozmo app.

WARNING: when using hands to remove any component, be careful not to cut yourself or rip your fingernail.

  1. BVGwjCnOliNBusPg
    BVGwjCnOliNBusPg
    5YIWpHnNPC1pIWNZ
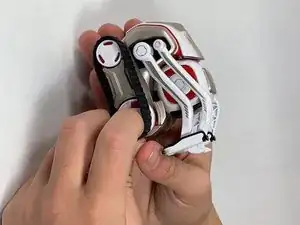
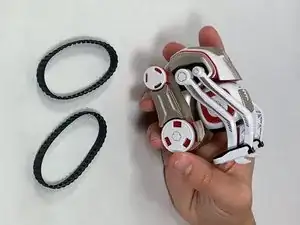
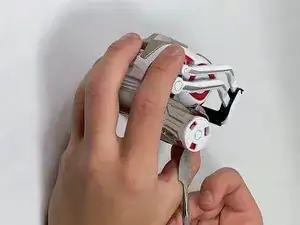
    • Remove the two black rubber treads from the wheels using your hands to pull them off.

  2. o52DyfXwnHCTIQt5
    o52DyfXwnHCTIQt5
    WUJfX21EpOBOhIWW
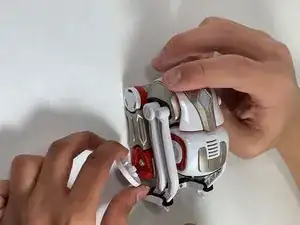
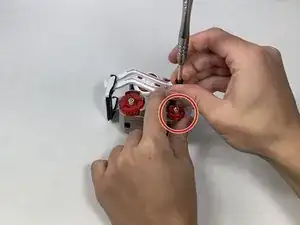
    • Remove the white hubcap from each of the four wheels using the metal spudger to pry them off.

    • There are four white hubcaps removed in this step.

  3. SGNaFBANfYqlfHS4
    • Remove the 7.5 mm screw in the middle of each of the four red wheels using a JIS #1 screwdriver.

  4. SKrRLF6hwPIqOWue
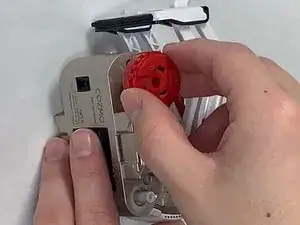
    • Remove the red hubcaps from each of the four wheels using your hands and fingers to pull them off.

  5. xm2ZgH1AoAPHFrdC
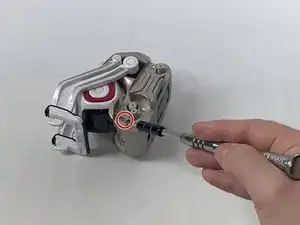
    • Remove the 5.5 mm screw on the right side of the front gold bumper using a JIS #1 screwdriver.

  6. VSaXHhbeInCuGANc
    VSaXHhbeInCuGANc
    IxCHyQhMmLXRjr6F
    • Remove the 5.5 mm screw on the left side of the front gold bumper using a JIS #1 screwdriver.

  7. fhfw2cYiwU2hJWxl
    fhfw2cYiwU2hJWxl
    tgb1tpPwmKZmZTgj
    • Remove the front gold bumper using your hands and fingers to pull it off.

  8. yHSdvocfC4nvXnUC
    yHSdvocfC4nvXnUC
    3fMMJLTaVgISEULJ
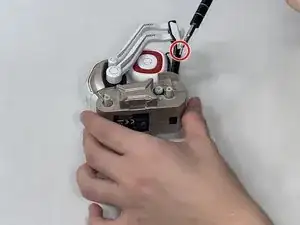
    • Remove the two 5.5 mm screws that lay deep on the right side of the gold body using a JIS #0 screwdriver.

    • One screw is towards the front wheel and one screw is towards the back wheel.

  9. kIAxTNqDvi3BHiOw
    kIAxTNqDvi3BHiOw
    ZGiOhLdlZwUUbPeF
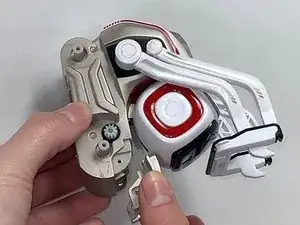
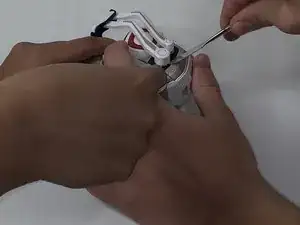
    • Pry off the two white arms from the right side of the body and the two white arms from the left side of the body using two metal spudgers.

    • Pry off the arms by digging the tips of each spudger in between the arm and the body and pushing up away from the body.

    • The short arm on the right side of the body has a long white spring attached to it that runs through the center of the body.

    Steps 9 and 10 contain errors that will lead to broken parts of the robot.

    The upper arms (thin) must be pry off on both sides with metal spudgers. Then remove the white axis that connects them (what is called a spring here).

    And then you need to manually rotate the lower arms to the upper position (while slightly pulling them) until the latches are aligned with the corresponding slots in the case and the arms separate from the body. No force required.

    If you remove them with metal spudgers, you will leave marks on the case and break one or more of the latches.

    Nifty -

    YES this is the good method to avoid broken arm :

    The upper arms (thin) must be pry off on both sides with metal spudgers. Then remove the white axis that connects them (what is called a spring here).

    And then you need to manually rotate the lower arms to the upper position (while slightly pulling them) until the latches are aligned with the corresponding slots in the case and the arms separate from the body. No force required.

    Madcat -

  10. dMu2cKPI6VTvtZKT
    dMu2cKPI6VTvtZKT
    vKTATuApSYP5AaLa
    GSCPypoMvGxuCenC
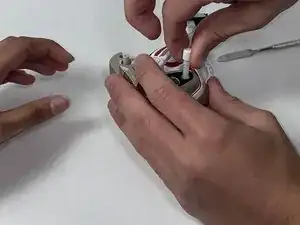
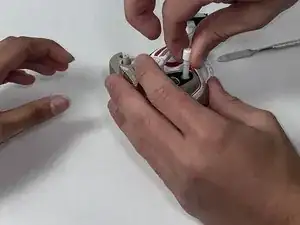
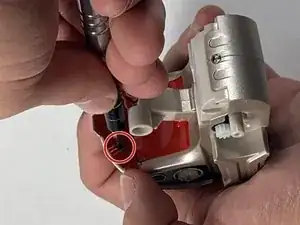
    • Remove the long white spring that is attached to the right short arm from the center of the body using your hands and fingers to pull it out.

    Steps 9 and 10 contain errors that will lead to broken parts of the robot.

    The upper arms (thin) must be pry off on both sides with metal spudgers. Then remove the white axis that connects them (what is called a spring here).

    And then you need to manually rotate the lower arms to the upper position (while slightly pulling them) until the latches are aligned with the corresponding slots in the case and the arms separate from the body. No force required.

    If you remove them with metal spudgers, you will leave marks on the case and break one or more of the latches.

    Nifty -

  11. muWHkXPhbSLAW5jX
    muWHkXPhbSLAW5jX
    RSFwt2t5CMf5QsjP
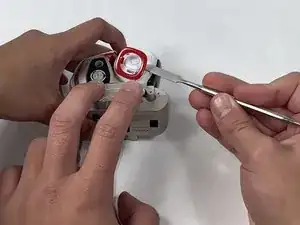
    • Pop off the two red square fascia from both sides of the white head using the metal spudger to pop them off.

  12. PpIoYaloxcwYGVFY
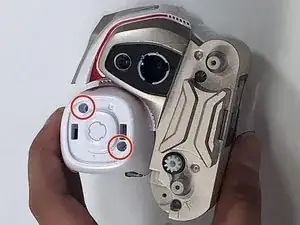
    • Remove the two 5.5 mm screws from the right side of the white head using a JIS #0 screwdriver.

  13. 6Mbu2Pmm3sXlF4Ge
    6Mbu2Pmm3sXlF4Ge
    UDVTkSuet5jFrlM3
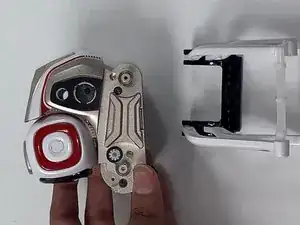
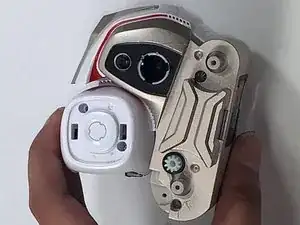
    • Remove the right side of the white head using your hands and fingers to pull it off.

    • Do not unscrew or remove the two screws or the two white springs from the left side of the white head.

  14. ZH4dkUQLCNTPBVgr
    • Pop out the black cover screen from the left side of the head using your hands and fingers to pull it out.

  15. 4umM6pecZQ3aeaDr
    • Remove the left side of the white head, along with the two short white springs that are attached to it, using your hands and fingers to pull them off.

  16. sHvkeB5RJdJbOYWG
    sHvkeB5RJdJbOYWG
    NJSdUWSqHOnS2AID
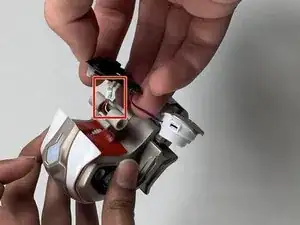
    • Unplug the black LED camera screen and the white and gold speaker from the small white plug in the center of the body using your hands and fingers to pull it off.

    • The camera and the speaker are attached to each other. They are removed in the same step.

  17. VGylEHXUJH1KQvMt
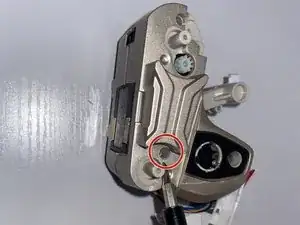
    • Remove the two 5.5 mm screws from the red trim that was behind the white head using a JIS #1 screwdriver.

  18. URlWJjTCP4usUkBS
    • Remove the red trim that was behind the white head using your hands and fingers to pull it off.

  19. 1TgxIoIyKZKgUVBZ
    • Pop off the white and gold back trim that is connected to the LED panel using your hands and fingers to pull it off.

    • Do not unplug and remove the white and gold back trim. Leave the white and gold back trim hanging.

  20. WtVLFCBLQX1lsvFv
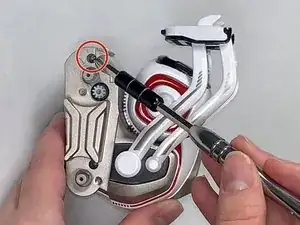
    • Remove the 7.5 mm screw from the gold bar in the center of the body using a JIS #1 screwdriver.

  21. mSUBGbvmSxE4caSe
    mSUBGbvmSxE4caSe
    usp2cQqbstMaKCfM
    MC4WnAromfKS63QL
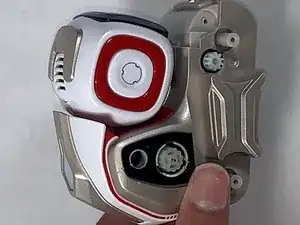
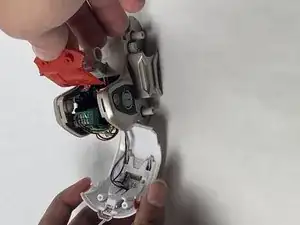
    • Pry apart the two halves of the gold body using your hands and fingers to pull them apart from each other.

  22. O1HsrBdrxDFDRLJY
    O1HsrBdrxDFDRLJY
    AJTdRNKRbsR2TJJX
    gxFZXBEBPXYSUgGc
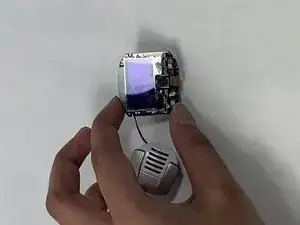
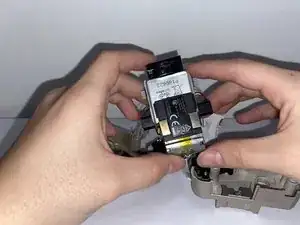
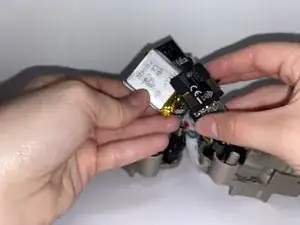
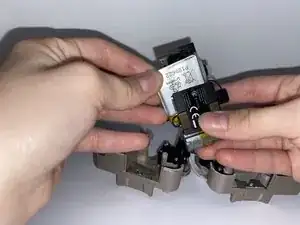
    • Unplug and remove the silver battery from the bottom of the charging panel using your hands and fingers to pull it out.

    • Keep track of where the red and black wires get plugged into for reassembly.

    The battery is soldered into place, not plugged in. Perhaps this author confused this with Step 17 where they unnecessarily desoldered the speaker?

    Scott -

Abschluss

To reassemble your device, follow these instructions in reverse order.

Marisa Gay

Mitglied seit: 28/10/21

487 Reputation

5 Kommentare

To detach the battery, don’t forget to remove the solder from the two points where the battery connects. (For Cozmo Collectors edition w/ press-able backpack button)

Kaptyn -

The soldering steps are wrong. Don't desolder the speaker, but do desolder the battery.

Scott -

Step 9 should be operated while the arm is at his maximum height.

Eric Hueber -

Yes, excellent tip!

ticom3 -
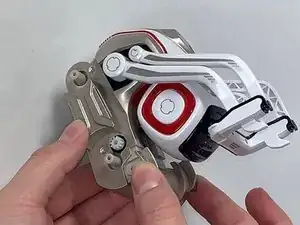
Step 9 is the hardest from far ! And you'll easily get hurt by your tools. Moreover, reassembling cozmo will certainly deteriorate it. You should operate the big part of the arm (the lower) while the arm is at his maximum height. To do so, disassemble the white part of the fork by prying it down. Then remove the 2 screws of the upper arms, and remove these arms. Eventually, the big arm is easy to remove (or to reassemble).

Eric Hueber -