Einleitung
This guide will walk you through removing the Fan Assembly on an Aorus x7 v2. Fans may need to be replaced if the laptop has been dropped, had something spilled on it, or if the fans have become clogged with dust or debris of some kind. The fans must function, as laptops work best with proper ventilation. Recommended tools for this project is the Mako Drive Kit, a set of 64 replaceable bits for screwdrivers.
Werkzeuge
-
-
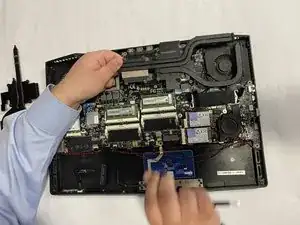
Flip the laptop over.
-
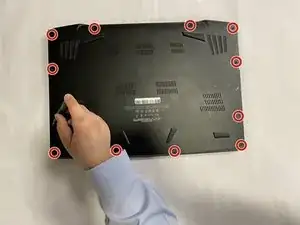
Unscrew the 12 screws on the bottom.
-
Take off the bottom cover.
-
Remove the 12 screws on the heat sink.
-
-
-
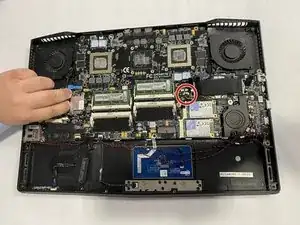
Unscrew the six screws from the left and right fans.
-
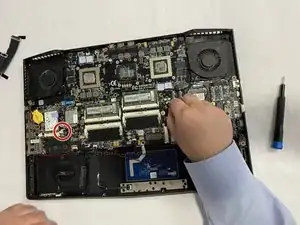
Locate the connection plug for the fan to the motherboard.
-
Remove the left fan connector.
-
-
-
Remove the right fan connector.
-
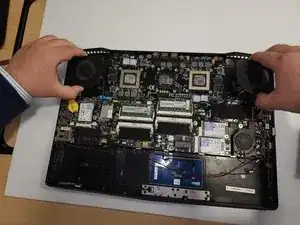
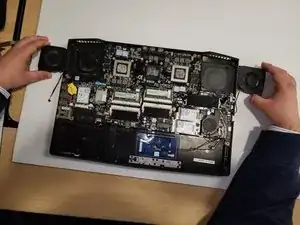
Carefully lift up the left and right fans.
-
Set the fans to the side before installing new fans.
-
To reassemble your device, follow these instructions in reverse order.
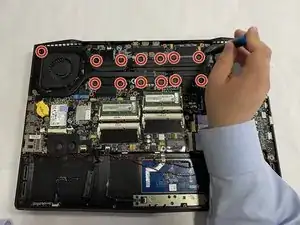
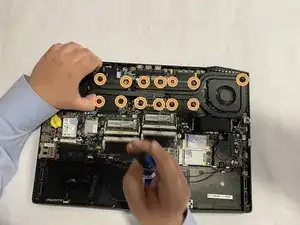
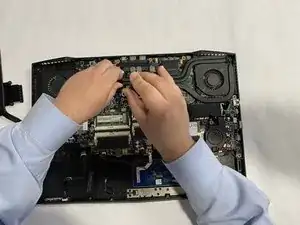
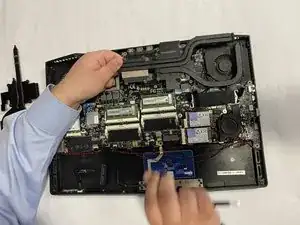
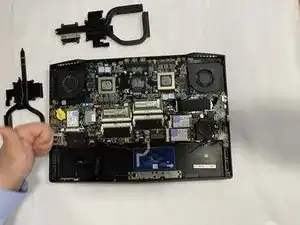
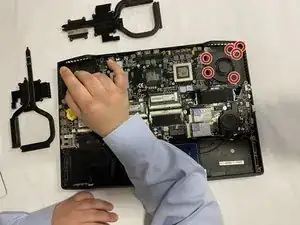
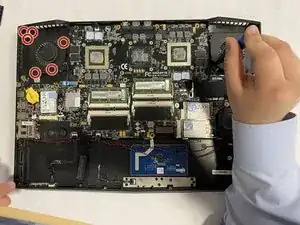
I recommend having the heat sink screws circled in orange in both pictures.
H. Nye -