Einleitung

This guide will help you re-seat or replace the IC chips on the computer's mother board. The IC chips, or Integrated Circuit chips, are used to perform various vital functions on the computer. Chips coming unseated or going bad is a common problem with the Apple II series and is easily fixed or replaced. Re-seating your chips will helpful if you are having trouble running your computer.

  1. jMPpumGVtEeYUdii
    jMPpumGVtEeYUdii
    fbhG6bYPrCVoABPD
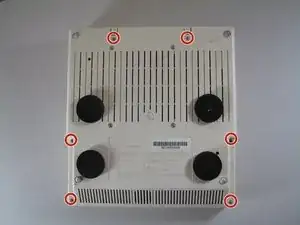
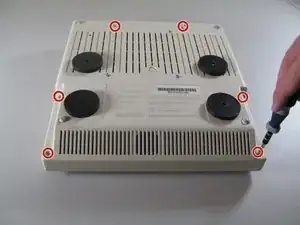
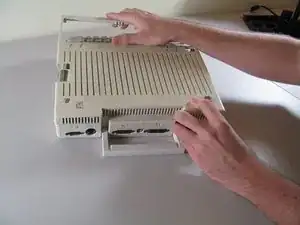
    • Remove the six 19 mm long screws with a #2 Phillips head screwdriver.

  2. ojUoJKcfdTIjppMN
    ojUoJKcfdTIjppMN
    kqUDuZNkwHOKxdsW
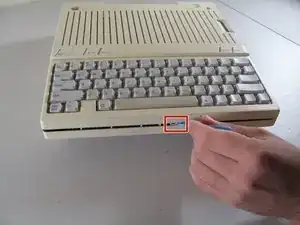
    • Release the catch by pushing it in using a plastic opening tool.

    • The catch is off-center, but in line with the middle of the speaker underneath.

  3. REWjmRkgwdjbbAPk
    REWjmRkgwdjbbAPk
    SBPPd6rMkOyvmdTv
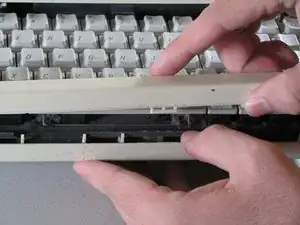
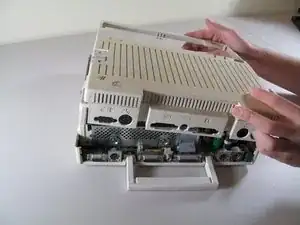
    • Slide the case toward the ports on the back, then grip under the catch and pull up while moving toward the ports to remove.

    This step is wrong. The ports cover should be removed with a plastic disassembly tool first. Failure to do this will lead to a set of broken plastic hooks.

    cybernesto -

  4. CZqfLpwObewXSGpX
    CZqfLpwObewXSGpX
    LYtjTVZ5YN46GQdj
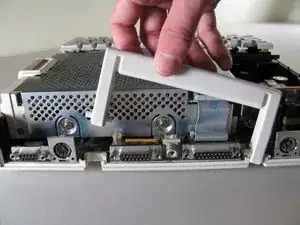
    • Lift the handle straight up to remove.

  5. M3nuBTDswCYPyAJB
    M3nuBTDswCYPyAJB
    QYjZUy5qUtZBBn2R
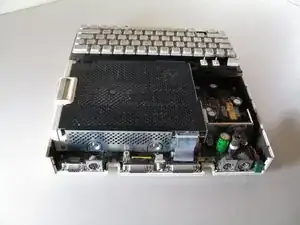
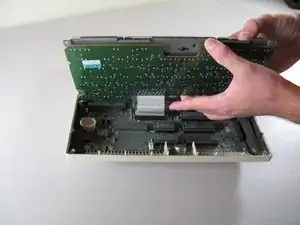
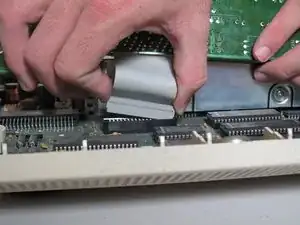
    • Tilt the keyboard up while detaching the ribbon connection by pulling it straight up. You may have to wiggle the connector sideways to loosen it.

    • Be careful not to force the ribbon while pulling it out to avoid tearing. Do not try to pull the ribbon out by pulling the keyboard as it may cause tearing.

  6. ErbpNx2DXHyClUnd
    ErbpNx2DXHyClUnd
    cKHX2freiPY2UYZD
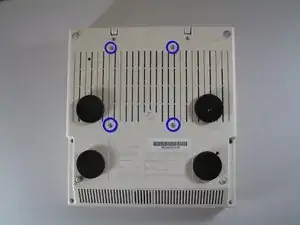
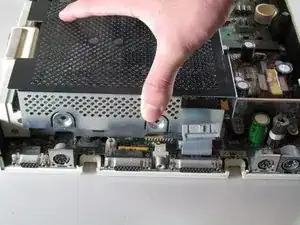
    • Carefully place device upside down to remove the four centered 21.1 mm screws that secure the floppy drive.

  7. Th2hY5SpDYUf55Sr
    Th2hY5SpDYUf55Sr
    QiOIAo45kQPnOUaj
    nBGhOfgrixaUBHXH
    • Carefully detach ribbon connector from floppy disk drive by pulling it out horizontally.

  8. D3q2hZOrHXQWZYmV
    D3q2hZOrHXQWZYmV
    REY4aSPXuvNTVIFn
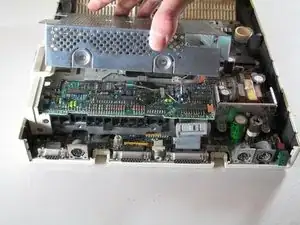
    • Unscrew the four 8.5 mm screws that attach the floppy drive cage. Two screws are located on the front and back of the cage.

    There is actually no need to remove the cage in order to lift the floppy drive.

    cybernesto -

  9. DMmAN6HxEUWPrPNS
    DMmAN6HxEUWPrPNS
    mWOTKFAUAAJfbFPa
    • Carefully lift the floppy drive cage straight up to remove it.

  10. xjVIjSSAQhgaBKpy
    xjVIjSSAQhgaBKpy
    rqKaCdxAqAS4kq6X
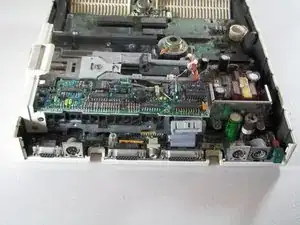
    • Lift the floppy drive straight up to remove.

    Did I miss something?

    Why take the cage off the drive when you are just going to take the drive out to get it out of the way?

    Thanks.

    Ralph Cook -

  11. UPqQXJPx2UVvjQ2h
    UPqQXJPx2UVvjQ2h
    5aOGMqAlP2VAwJwY
    53gSeXm6Zt5AWNIy
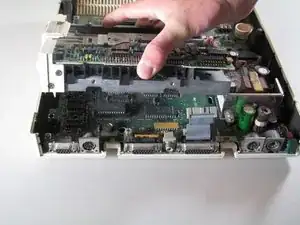
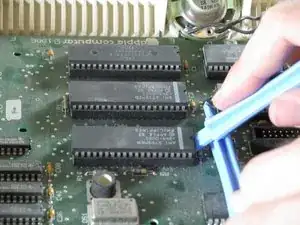
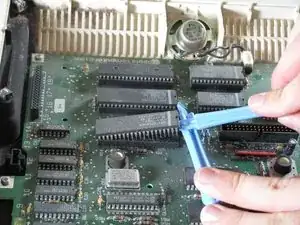
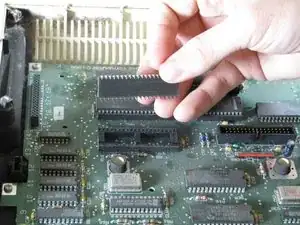
    • Use the plastic opening tools to carefully lever the IC chips out of the holder. Gently lever one end and then the other to lift it out of the chip holder.

    • Do not force IC chips out! Pins are very fragile and can easily bend or break.

Abschluss

To reassemble your device, follow these instructions in reverse order.
Josiah

Mitglied seit: 06/10/11

658 Reputation

0 Kommentare