Einleitung
Alright, since these headphones are pretty expensive, people are not gonna want to throw 'em away.
-
-
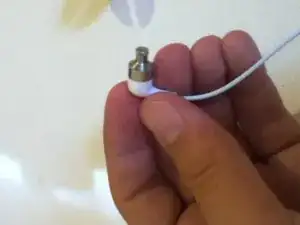
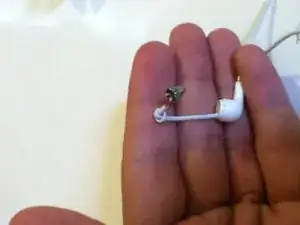
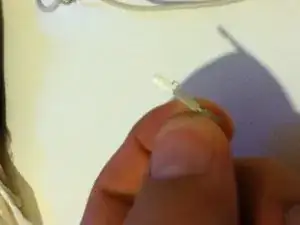
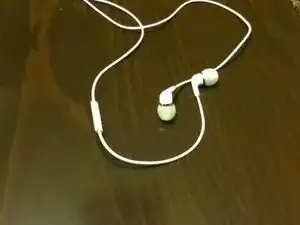
Ok, so this is the one we're going to work with. the cover on the end is a bit torn, but that won't matter.
-
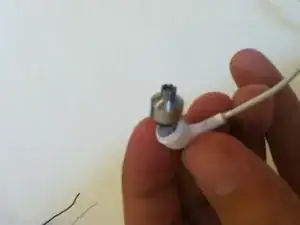
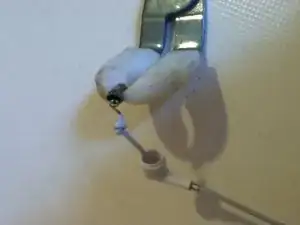
Now to open the head, we're going to wrap the metal part with a cloth (because we care about it).
-
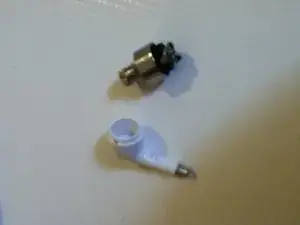
So, with a bit of force, the metal part will come off without breaking.
-
-
-
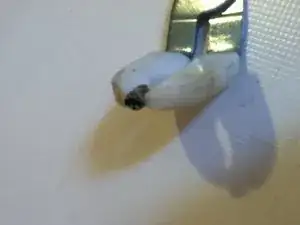
Ok, so let's have a look inside.
-
Now the speaker is in the metal part, with some rubber covering it. The good news is, nothing is glued, or very little.
-
This is the speaker, with the rubber still on. Very small thing for such high quality sound! We're gonna get the rubber off in a minute.
-
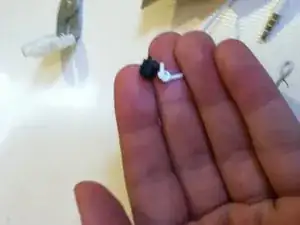
Here's the nude speaker. I didn't want to dig deeper than this, I was planning on using this speaker after this.
-
-
-
You are hereby sentenced to death because of making us curious!
-
I didn't do this for a teardown actually, suddenly the right one stopped working, so I decided to switch the heads on this expensive one with the ones on my iTouch, instead of losing $80. Very sorry for the low picture quality! I captured these images with my iTouch4.
-
So here's the speaker, executed. Note that we didn't just cut the wires! We put it back together afterwards.
-
Ok then! So we covered the part about the head, now we're gonna go for the remote. I personally noticed that no one covered the remote on the web.
-
-
-
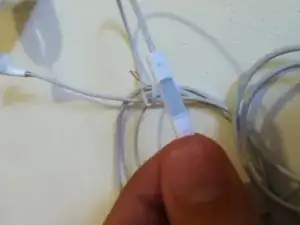
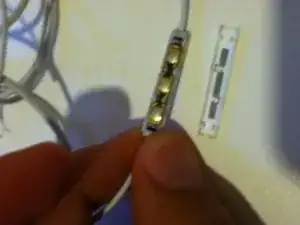
Ok so this is the remote. I'm sure you've met.
-
Since I had this remote to spare, I just opened it without fear, and the result was interesting!
-
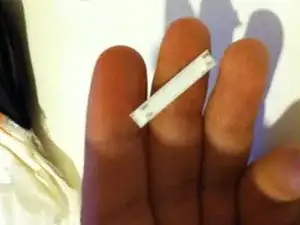
The rear part with the hole came off, along with this little metal thingy, I'm not sure what it does. Again, very sorry for the photo quality!
-
Here's the remote from behind. not really attractive, so don't get excited.
-
-
-
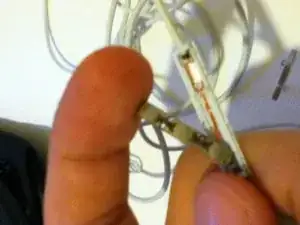
Ok so this is how the inside of this remote looks like. The structure is like, an orange and red wire just passing through, going for the head. this metal part is the three buttons and mic. Surprisingly, the mic is not directly behind the hole! It's actually on the other side of the remote. Not sure why!
-
And the back cover is just plastic. And we see no hole for the mic!! Very strange!! Now, sorry again for the photo quality that you really cannot see the details, so I'll explain a little about this back cover: it's the kind of of structure that can be fitted back into place after opening. So if you feel like there's a problem with your mic, don't worry! just open it!
-
-
-
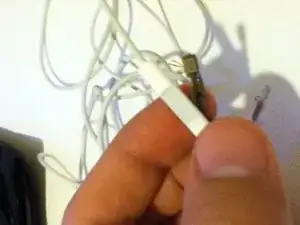
Ok, so guess we're done. Sorry I haven't covered the tail part, maybe I'll do that in later updates.
-
To reassemble your device, follow these instructions in reverse order.
2 Kommentare
Thanks ! i succeed in 5TH attempt .. damm but i lost one mesh cap :(( possible to buy new mesh cap online ??
uh I dont think so. Same thing happened to me, I used the caps from one of my friends' Beats set. I tried it on for size, luckily it fit. I guess after two years you have probably gone past this but hey, this is what I did.
Hozi -

