Einleitung
Replace the power supply in your Apple TV 1st Generation.
Werkzeuge
-
-
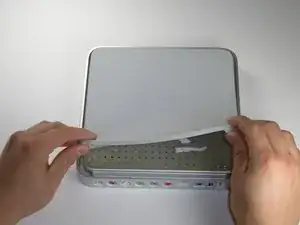
Starting at one side of the device, use a hairdryer or a heat gun to soften the adhesive holding the rubber base in place.
-
While the adhesive is still warm, peel the bottom of the rubber base upwards to detach it from the metal plate.
-
Repeat the procedure described above until the rubber base has been completely removed.
-
-
-
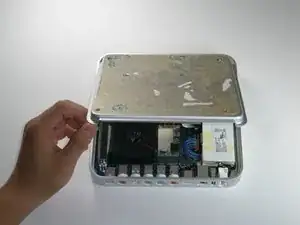
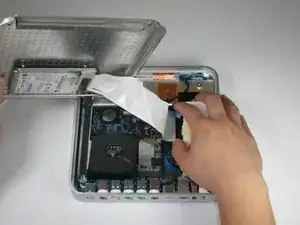
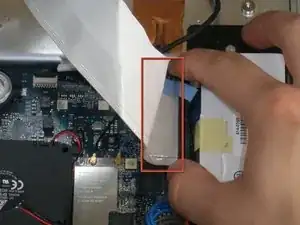
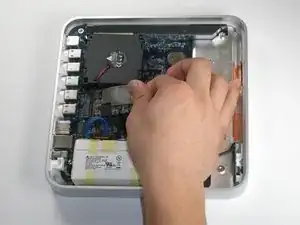
Carefully lift the lower case from the upper case enough to allow access to the internals of the Apple TV.
-
-
-
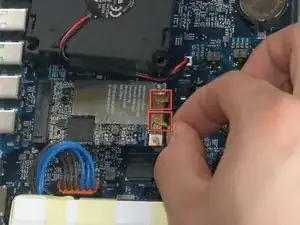
Cautiously lift the AirPort card and pull it straight away. Slide it from its socket on the logic board.
-
-
-
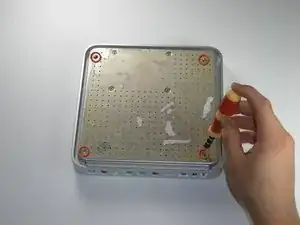
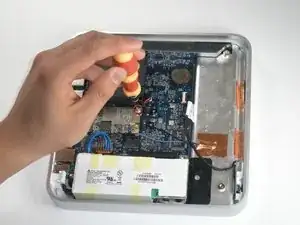
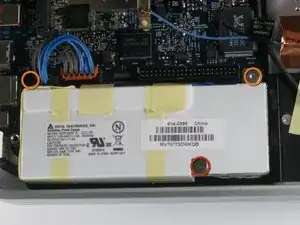
Remove the following three screws securing the power supply to the upper case:
-
One 4.8 mm T8 Torx screw
-
Two 5.8 mm T8 Torx screws
-
-
-
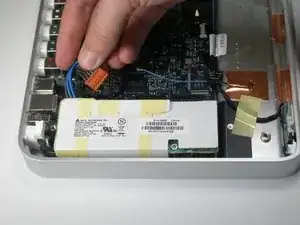
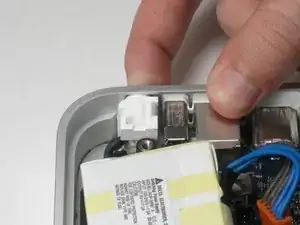
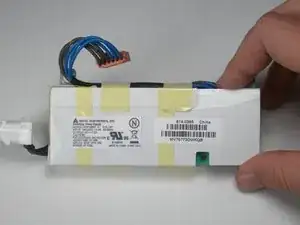
Use your finger to push and dislodge the AC power connector inwards, towards the power supply.
-
To reassemble your device, follow these instructions in reverse order.
6 Kommentare
A couple of quick notes:
1. In Step 3, you lift the cover first from the opposite end shown.
2. Before assuming the problem is the power supply, try replacing the CR2032 3V lithium battery found in the photo for Step 6. If the battery has died, it can cause the unit not to power up. Replacing it is easier and cheaper than a new power supply. :-)
I think my battery is dead and your note says step 6 shows the battery. I don't see it?
Good advice, that is the easiest thing to check in the process described.
Nevertheless, I'm afraid it was not my case since I had checked the power supply with the tester and it had given no signs of life. Thanks for sharing your experience!
Thanks for the guide. Once you open the device it’s kind of self explanatory but I was glad to find this tutorial to know that the replacement was possible. In my case, my power board was fried (and I mean, fried. The fuse blew in the house with an awful smell coming from the ATV. When I opened it the inside of the power board was a black mess). I didn’t see the link with the airport card but I guess this was steps for another tutorial.
