Einleitung

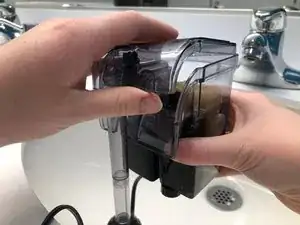
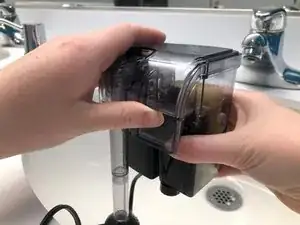
If your hang-on-back (HOB) aquarium style filter is making a buzzing noise, has reduced flow, or has stopped working completely, the impeller inside the motor has most likely been chipped or cracked from long-term wear.

Use this guide to remove the damaged impeller and replace it with a new one. This involves removing the filter motor to access the damaged impeller and cleaning the impeller shaft before installing the new impeller.

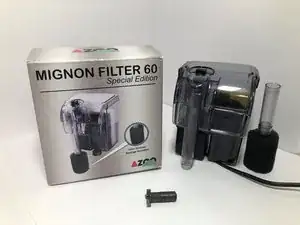
This guide demonstrates this process on an AZOO Mignon 60 (AZ13097), but the procedure is the same for all HOB filters with a detachable motor. This includes brands like Aqua Clear, Fluval, Marineland, and Cascade. If you are using this guide for a different brand of filter, a larger impeller replacement may need to be purchased.

Working with water and electronics is a safety risk. When connecting and detaching your filter from a power source, ensure that your hands and the external area of the motor are completely dry.

Before beginning this guide, disconnect your filter from its power source and remove it from your aquarium.

  1. iGU5JiEM1eiTUdHp
    iGU5JiEM1eiTUdHp
    ntimkfT11RLrZObL
    5SjGet1a1Q4iAphX
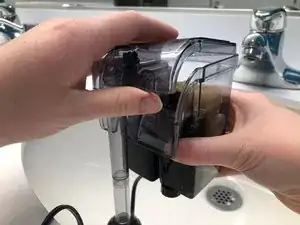
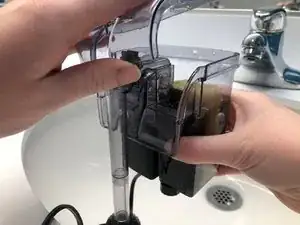
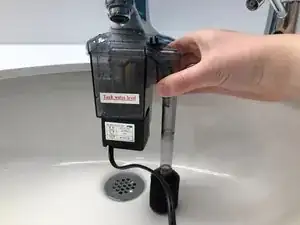
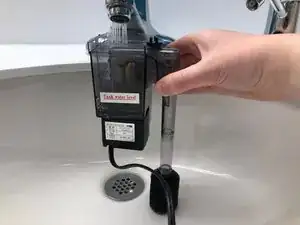
    • Remove the filter lid by pulling upwards.

  2. Pd5nIp5CmdYMTkXR
    Pd5nIp5CmdYMTkXR
    nJFbsGwWqV6RHIV1
    aboJZB6gyjpXPfDU
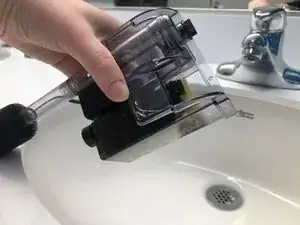
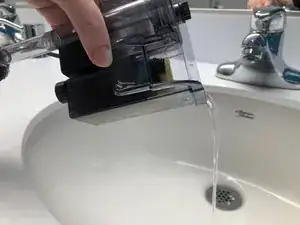
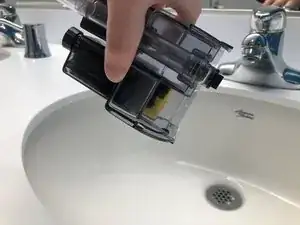
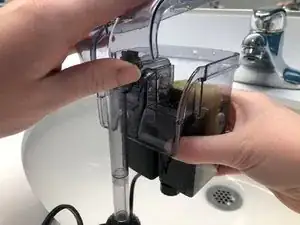
    • Drain the filter completely of water.

  3. a1K3cwNtCdZIfta4
    a1K3cwNtCdZIfta4
    bb2wySVRr3DMJV6k
    4XFnbnQqKTW6ihvU
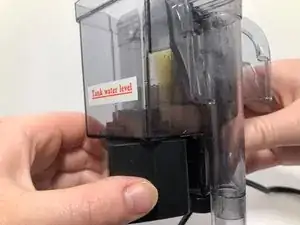
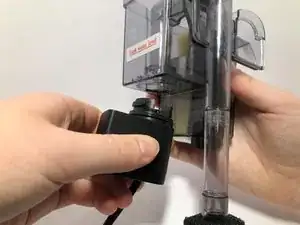
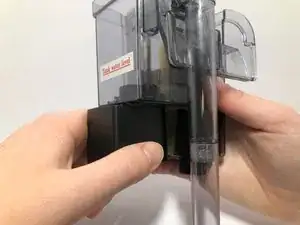
    • Twist the motor component outwards away from the filter’s center by 90 degrees.

  4. ySMlTpySXcATBymN
    ySMlTpySXcATBymN
    6vkYi1DtFk4phXiY
    gWZCjXSXZqcOMXTq
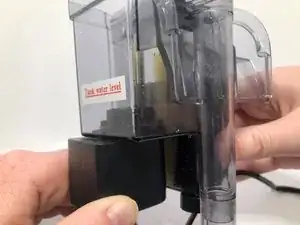
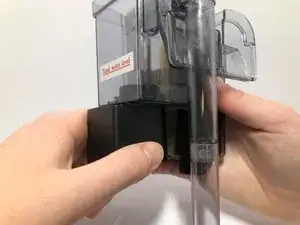
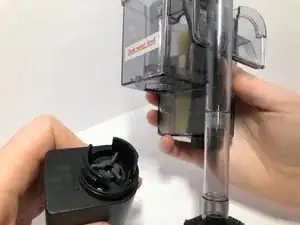
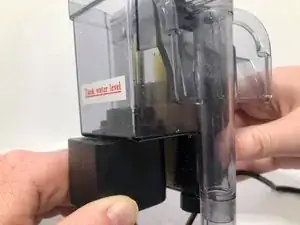
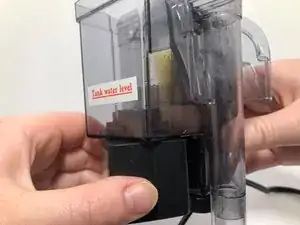
    • Pull down to separate the motor from the filter.

    • Steady force is needed to separate the pieces.

    • Potential for device damage: Pull straight down to avoid damaging the rubber water seal.

  5. 2oxBPTVRrfmsoGud
    2oxBPTVRrfmsoGud
    lvKj4jP5xfcvkMhP
    lFCjUBwnhFyGeJge
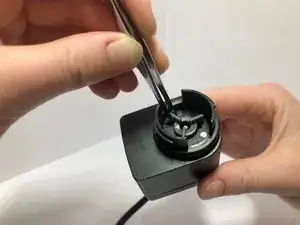
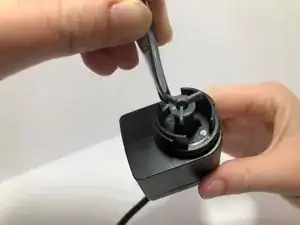
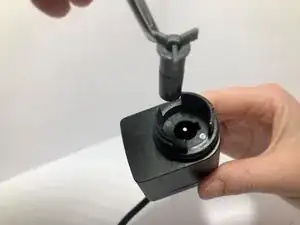
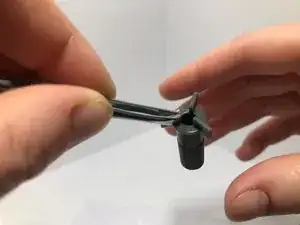
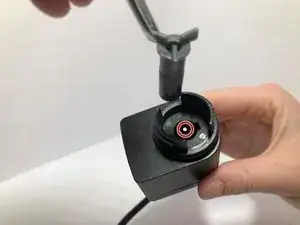
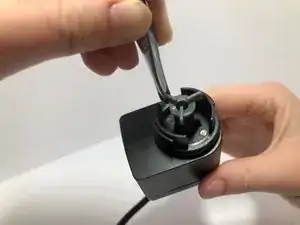
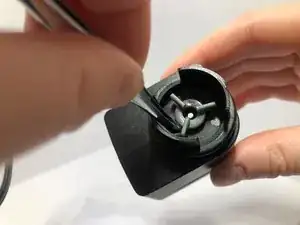
    • Using tweezers, pull the damaged impeller upwards off the impeller shaft.

    • The impeller is magnetized to the shaft causing a slight resistance to the impeller's removal.

  6. Q6k1goW2jr6OPBbU
    Q6k1goW2jr6OPBbU
    1k2R2HKYjKKjJlgV
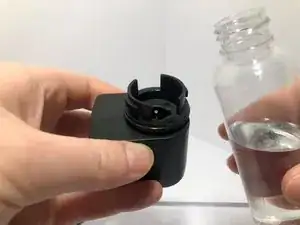
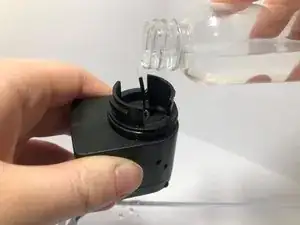
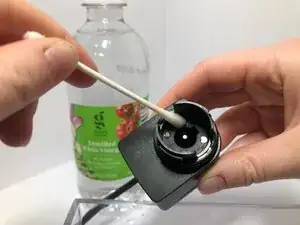
    • Fill the impeller cavity with water.

    • Potential for device damage: Avoid getting water on other parts of the motor.

  7. CVJAQWxlBB4BtHRI
    CVJAQWxlBB4BtHRI
    uOMIqGrND36BHSU3
    RBa2CwEgsqqNocZk
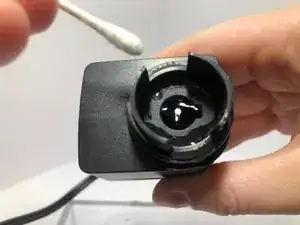
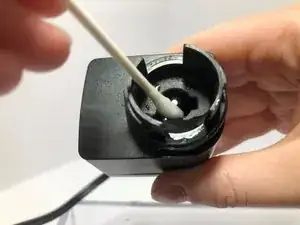
    • Swirl the cavity with a Q-tip to scrape off any build up of sand or organic material.

  8. lLR4PPkQBs1eGIVS
    lLR4PPkQBs1eGIVS
    jJeMOSKSGIRgVr2B
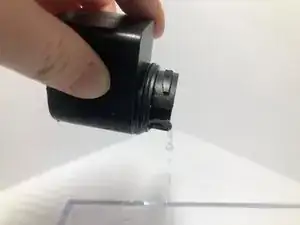
    • Drain the water and other contents of the cavity.

  9. q2GOHIbGBQW6Cdgi
    q2GOHIbGBQW6Cdgi
    PQunWnyBtPrZBoMR
    fWH5lUrCvgrGKkfu
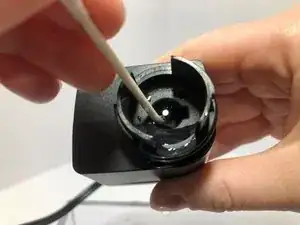
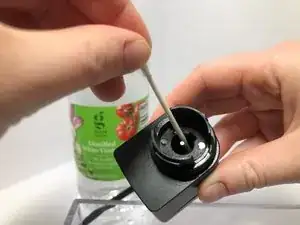
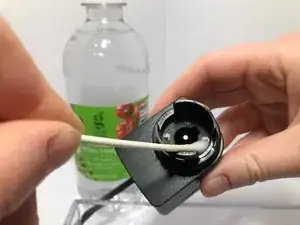
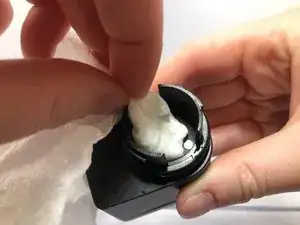
    • Clean the shaft and the cavity with Q-tips dipped in vinegar in a scraping motion.

    • Potential for device damage: Avoid getting vinegar on other parts of the motor.

  10. FE5vEXalFwlONcLH
    FE5vEXalFwlONcLH
    FUyNglCNlMnxrCGZ
    XkcwOyI5WlEltXKP
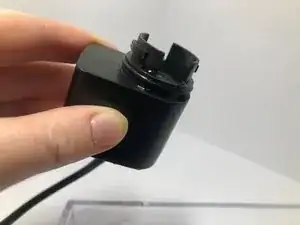
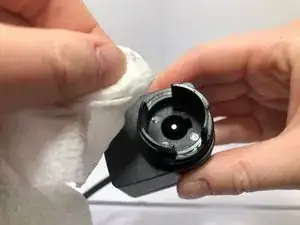
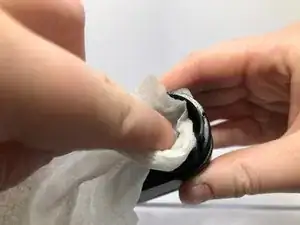
    • Wipe the shaft and the cavity with a damp paper towel to remove vinegar.

    • Potential for device damage: Avoid getting water on other parts of the motor.

  11. xODPwnEaHDIBBtJt
    xODPwnEaHDIBBtJt
    P3Iqoi4nTCLSML1Z
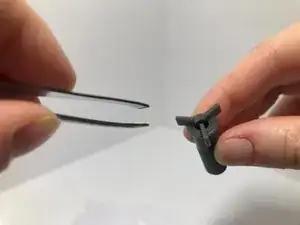
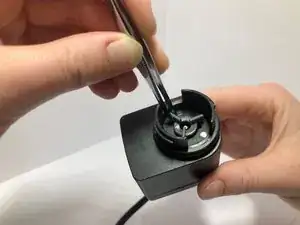
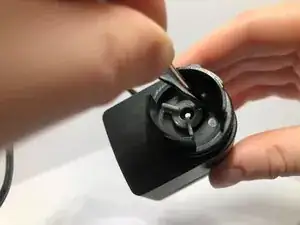
    • Pick up the new impeller using tweezers.

  12. CrS3AXwJjMwPEDLk
    CrS3AXwJjMwPEDLk
    jcwm4kXrm6615Acl
    h3F5RlOW4Eo1CvkB
    • Lower the new impeller into the cavity so that the shaft runs through the center of the impeller.

    • The impeller should immediately magnetize.

  13. AlwmmSqZCCAKpXEQ
    AlwmmSqZCCAKpXEQ
    NEHjxUNgN2Yjw55V
    VRsTEL4ZBVrd3O4N
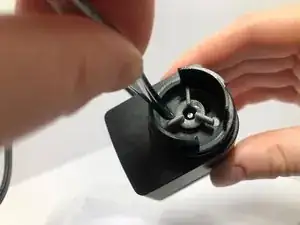
    • Swirl the impeller with tweezers to make sure the impeller can move freely.

    • The magnetism of the pieces should resist movement to a degree, but if you are unable to move the impeller at all, return to Step 5.

  14. OBEuRs4Z6ZArWKS5
    OBEuRs4Z6ZArWKS5
    O3M42V6iGnVk6ZZj
    tKKHSYqtHGvbVWmb
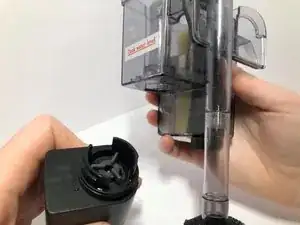
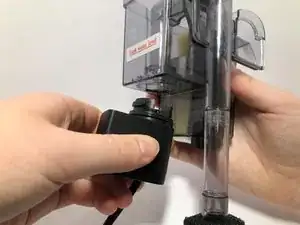
    • Press the motor into the filter hole with the cord side facing outwards forming a 90 degree angle.

    • Steady force is needed to connect the pieces.

    • Potential for device damage: Push straight up to avoid damaging the water seal.

  15. VNEh4hTGDkXkLciY
    VNEh4hTGDkXkLciY
    1EKGDUGJ3Cj5eIHC
    h5SAgdkLds3F2apB
    • Twist the motor inwards by 90 degrees to align with the filter.

  16. pBnkQgnCyPMaFRqT
    pBnkQgnCyPMaFRqT
    kXJXEVkWvYaSpqlL
    OnVSILLdl1EsYrPm
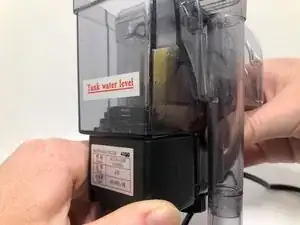
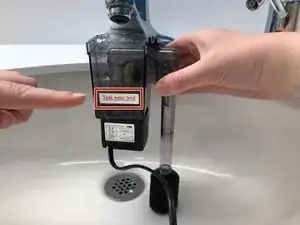
    • Refill the filter compartment to the water line.

    • The water line is indicated on side of the filter labelled as "Tank water level."

  17. HqSeTPYCktDdlqbs
    HqSeTPYCktDdlqbs
    ZSkoqK6SeEqjLLbS
    pDwHjl4wspbPeOOJ
    • Press the lid into the grooves on top of the filter.

Abschluss

Filter is now ready to be returned to your aquarium and plugged in for use. Clean the impeller with vinegar and water semi annually to increase its longevity.
Claire Petersen

Mitglied seit: 24/03/21

372 Reputation

0 Kommentare