Einleitung

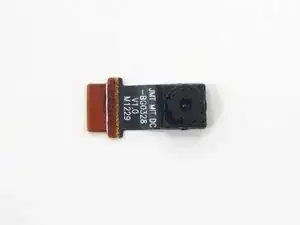
This guide, along with the prerequisite guides, will demonstrate how to remove and replace the camera in your Arnova 7K G3 tablet.

  1. tFIeamAiXxtJmhLj
    tFIeamAiXxtJmhLj
    cqTO2r1GAL6LNlLC
    xY3SHZ53P5NWJkDY
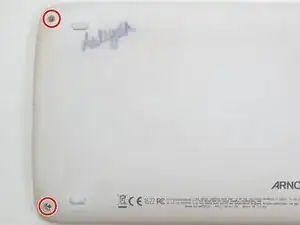
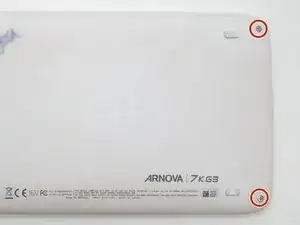
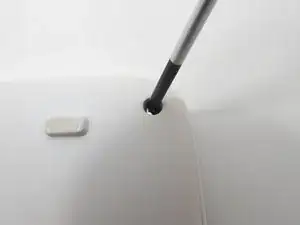
    • Remove four 5 mm Phillips #00 screws from each corner of the tablet.

  2. DbjPDMok4l5GY3mQ
    DbjPDMok4l5GY3mQ
    2eJpYKGNgkOrfUOU
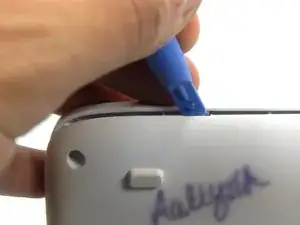
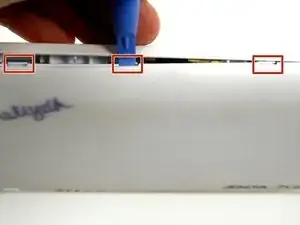
    • Place the iFixit opening tool in the notches between the cases and pull the covers apart.

  3. 33dcpCqAS1IqaGXN
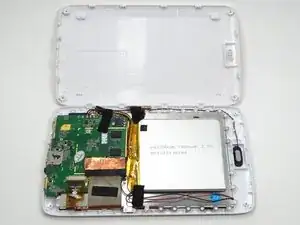
    • Repeat step two until 3/4 of the rear cover is unlatched.

    • Proceed to remove the rear cover by gently pulling it apart by hand.

  4. mNdMOrRhhsHVqDHT
    mNdMOrRhhsHVqDHT
    esMylKAinvfGUPxL
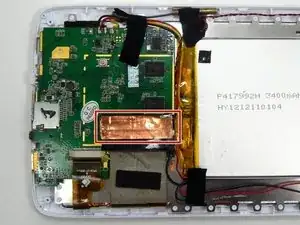
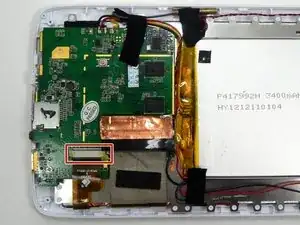
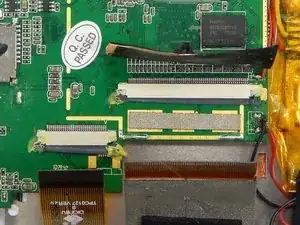
    • Peel the copper tape covering the ribbon connector with a set of tweezers.

  5. qUTQKqEwgXLTdYRd
    qUTQKqEwgXLTdYRd
    SKPKIRcdbomNm2hT
    wyTdsBayRJURqSHq
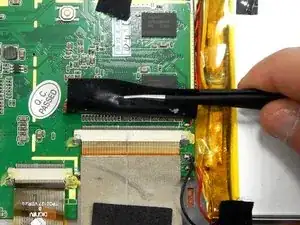
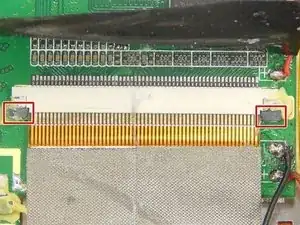
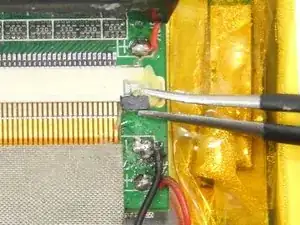
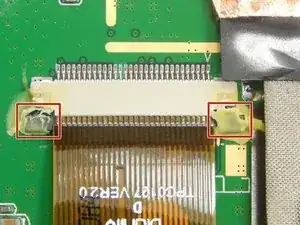
    • Locate the two gray pins on the ribbon connector.

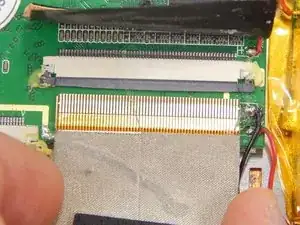
    • Grab the first pin with tweezers and gently pull it towards the ribbon. Repeat the step.

    • Gently pull the ribbon cable out of the connection port.

  6. qWn6TrRjRdJZftQR
    qWn6TrRjRdJZftQR
    wYbVqHBGClIVhDgc
    1nbDhfRckWqtAoHS
    • Locate the ribbon connector two.

    • Locate the pins of ribbon connector two. Repeat step two for unlocking the pins.

    • Gently pull the ribbon out of the connection port.

  7. CTnFBrIpCBZscnqC
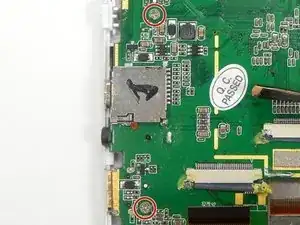
    • Remove the two Phillips #00 screws from the motherboard.

  8. sQYZ6dQxyXEJagDp
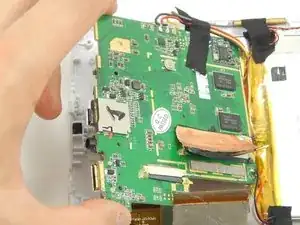
    • Gently lift up the motherboard and reorient it in a more efficient manner in order to locate the desired components.

  9. fsX5CAphXggQeD1X
    fsX5CAphXggQeD1X
    Y3SPgLMgkyHcSVDw
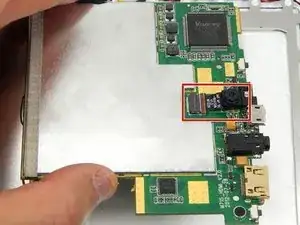
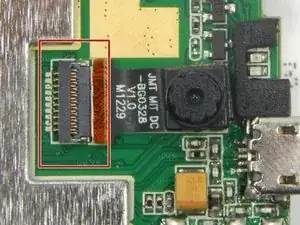
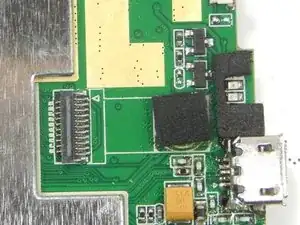
    • Locate the camera and camera ribbon connection on the backside of the motherboard.

  10. aNDYt1DJwayIK5Bc
    aNDYt1DJwayIK5Bc
    YppEYsfovNtORcQZ
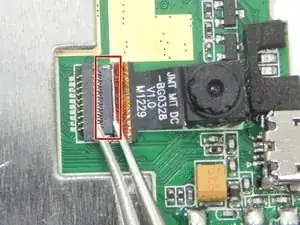
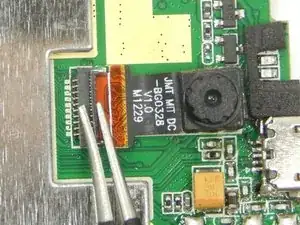
    • Unlock the camera ribbon connector clip using a pair of tweezers.

  11. sWpUypn2a4nssCLY
    sWpUypn2a4nssCLY
    QtnGBABcZEWp2HV2
    xPEoykpyXdDnysWE
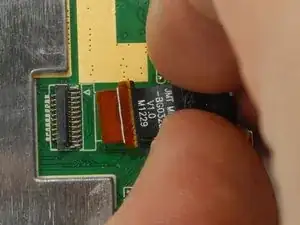
    • Gently by hand, remove the camera and its ribbon by pulling the camera away from the motherboard.

    • There is adhesive foam on the backside of the camera that may cause some difficulty when removing the camera.

Abschluss

To reassemble your device, follow these instructions in reverse order.
Kue

Mitglied seit: 18/03/15

301 Reputation

0 Kommentare