Einleitung

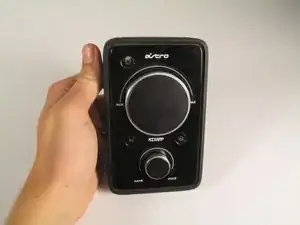
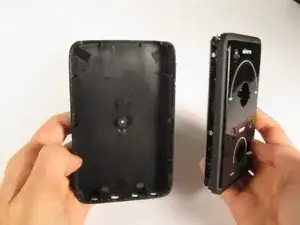
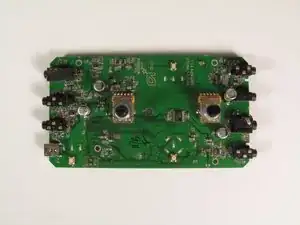
In this guide, we will be reaching and removing the motherboard from its housing in the Astro A40 Gen2. The motherboard is the only component inside the mixamp.

WARNING: Use caution when placing screws to the side as they are very small and easy to lose. Place them in groups apart from each other to avoid confusion.

  1. Vf4HQhcGVTwlvIOQ
    Vf4HQhcGVTwlvIOQ
    loHLGceRoe2XZrku
    2eECKs4HMTxpSZew
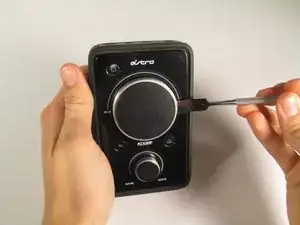
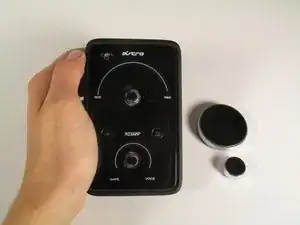
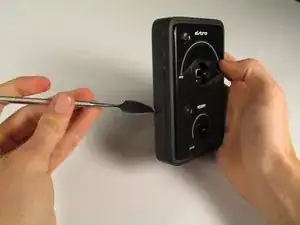
    • Remove the dials using either a metal spudger or your hands. Be careful as the dials may be difficult to remove.

  2. xo1DZJSDUaKLgnRA
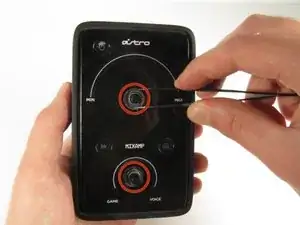
    • Locate the two 11/32 inch nuts underneath the dials.

    • Use an 11/32 inch socket wrench or tweezers to unscrew and remove the nuts and washers.

  3. QSmP6OToFIxleByZ
    QSmP6OToFIxleByZ
    mNdZWYcNrVdFLDum
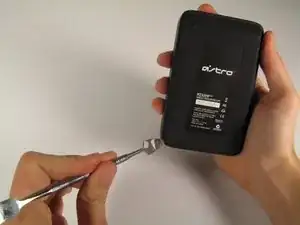
    • Using a larger metal spudger, remove the rubber back of the mixamp.

    • The back will have glue residue after removal. Depending on the stickiness of the residue, more glue may be needed to stick the backing back on.

  4. Zob6ANvvwwXYpFfE
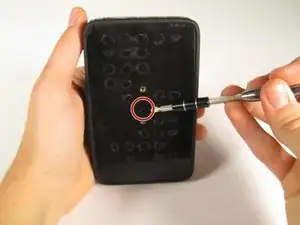
    • Remove the one 4.5 mm Phillips #0 screw on the back panel of the mixamp.

  5. mjFLcgaeWsfMBddU
    mjFLcgaeWsfMBddU
    rfnqIrIZePvE1mDE
    jX3RglvwGwicXcnB
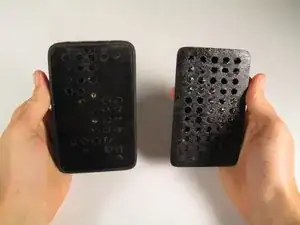
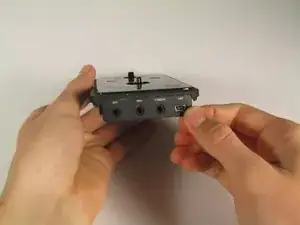
    • Using a large metal spudger, detach all plastic clips holding the bottom and top casings together.

    • Remove the input casing using your fingers.

    • Be careful when releasing the clips between the two casings, as it is very easy to scratch the mixamp or break the clips.

    • Use caution when pulling the two casings apart as it is very easy to pinch your fingers between them.

  6. xarQIPqB2RAH1HT4
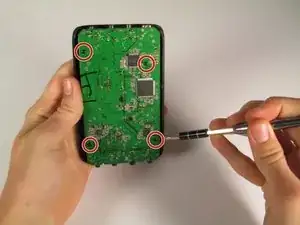
    • Remove the four 5.8 mm Phillips #0 screws on the motherboard.

  7. 1I2EJFBvjwjyfJMD
    1I2EJFBvjwjyfJMD
    NxCjq6CuxKtrDvo6
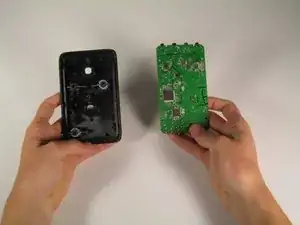
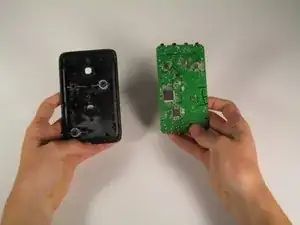
    • Remove the motherboard from the casing.

Abschluss

To reassemble your device, follow these instructions in reverse order.

Mark

Mitglied seit: 22/01/15

400 Reputation

Ein Kommentar

Where would I find a motherboard? And would it save money fixing the mixamp?
benaiah paul -