Einleitung

  1. Ur2B5UJnrp1NKeWC
    Ur2B5UJnrp1NKeWC
    A23IH2HQpktDXK53
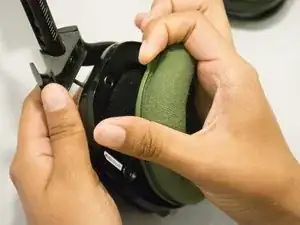
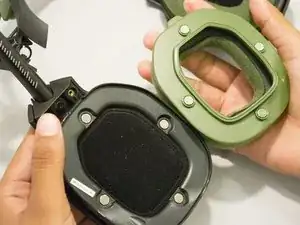
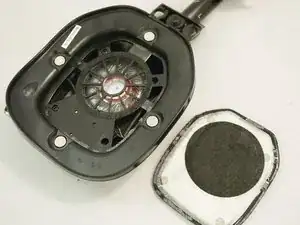
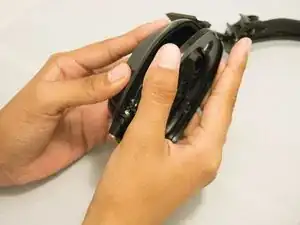
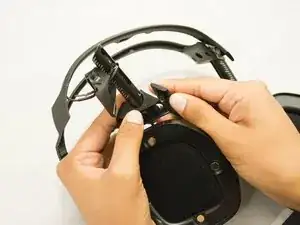
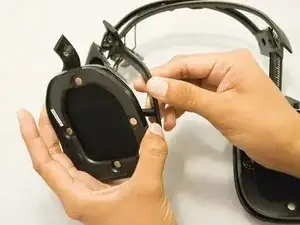
    • Use your hand to firmly grasp the cushion and remove it from the speaker.

    • Repeat the process for the other side if needed.

    • The best place to grip it is where there is a tab sticking out. The tab will make it easier to remove.

    • When reassembling, note the curvature of the cushion to determine whether it's the left or the right cushion.

  2. bQC2P1ganhvWUYNI
    bQC2P1ganhvWUYNI
    h4sMvZC6vLAffZjQ
    NI2nWeBaJGXM1H6U
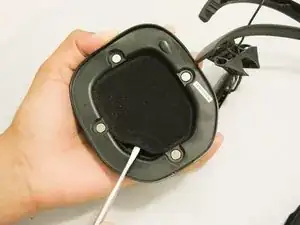
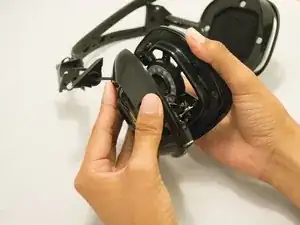
    • Slide the plastic spudger beneath the dust cover of the speaker.

    • Lift the dust cover up with the plastic spudger.

    • Using your fingers, completely remove the dust cover from the speaker.

  3. lXGXinqxCgVdUSK2
    lXGXinqxCgVdUSK2
    CDtnOAxTQNpjejQA
    IrHrPIZlgF6OrK24
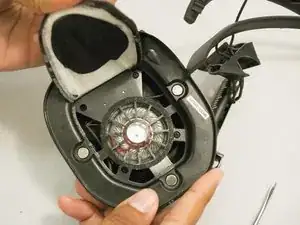
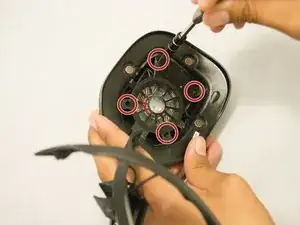
    • Remove four 5 mm screws from the speaker protector using a JIS #1 screwdriver.

    • Use your hands to remove the speaker protector.

  4. 2mMMFRmXSybpCivr
    2mMMFRmXSybpCivr
    dWDyuckEKwjtXNgn
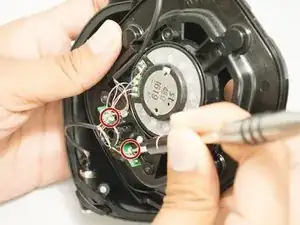
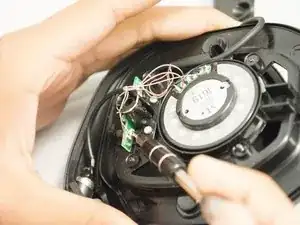
    • Remove the two 2 mm long screws securing the motherboard using a Phillips #000 screwdriver.

  5. rsO3pMNrqVE4cfeL
    rsO3pMNrqVE4cfeL
    Hp25KEY61OBDiDJt
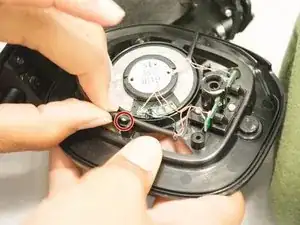
    • Use your fingers to hold the wire located by the covered part and gently lift it out of its cradle.

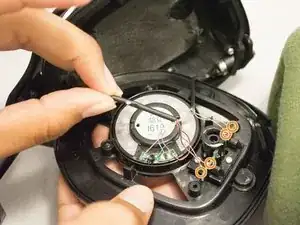
    • Carefully use your fingers to disconnect the colored wires connected to the motherboard.

    • If replacing the wires, ensure you carefully disconnect the remaining colored wires to replace them with new standard wires.

  6. VlJs3tvUjoAuwZyZ
    VlJs3tvUjoAuwZyZ
    LOGkIDDkEsNvGht4
    WKwY1LTeAZfSPUtj
    • Use your fingers to remove the black wire from your headphones.

Abschluss

To reassemble your device, follow these instructions in reverse order.

Yang Li

Mitglied seit: 28/06/17

541 Reputation

Ein Kommentar

But where do I buy the replacement speaker
David Landeros -