Einleitung

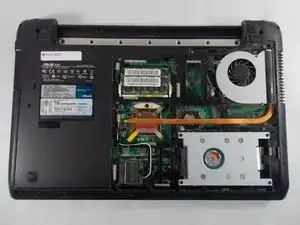
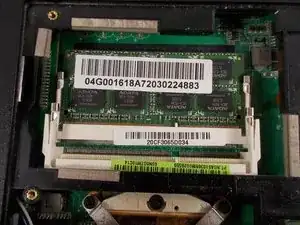
This guide is used to show the steps necessary to remove the RAM in the Asus A52F. This could be used for upgrading your existing RAM with new RAM.

  1. vmQpArO1uM2EbMO1
    vmQpArO1uM2EbMO1
    6cckmFB3bRfBoGGK
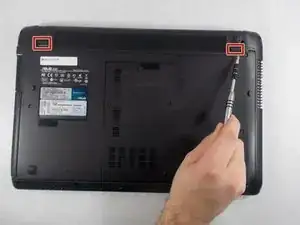
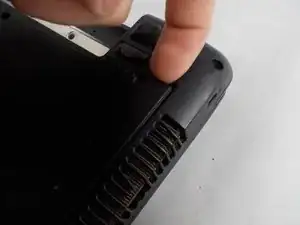
    • Place the laptop face down with the battery facing away from you.

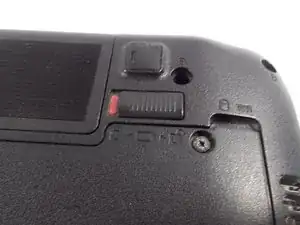
    • Locate the two buttons next to the battery.

    • Slide the right slider to the unlocked (red) position.

  2. ZZWqcVfj6l1AMltt
    ZZWqcVfj6l1AMltt
    TiJTpB1YyREPOYBC
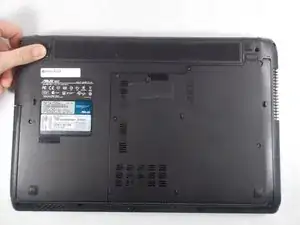
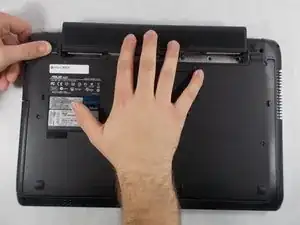
    • Hold the left button to the left.

    • Slide the battery with your other hand away from you and it should disconnect.

  3. 1lpuEPnnF1NXZHag
    1lpuEPnnF1NXZHag
    DA1XISPlNEohVl3F
    L5CfIBWCJAZimYcV
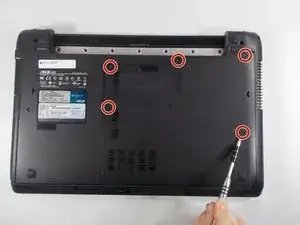
    • Remove the five Phillips # 0 screws from the back panel.

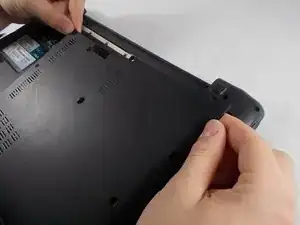
    • Using your finger or a plastic spudger start to carefully pry up the back planel.

  4. GakFPyJxivmrGZIV
    GakFPyJxivmrGZIV
    YJ6FGOR3t1Xiaduj
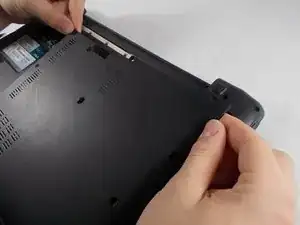
    • Slide the back panel away and remove the panel.

  5. CO1A1puUsmQsNBMK
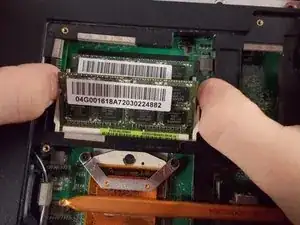
    • Gently push the metal retaining arms away from the center of the RAM module.

  6. 1gXSMMQZsDC2YgJy
    1gXSMMQZsDC2YgJy
    nXQAhNpvyaFx3Yrh
    hchtFcItHVPJoGjX
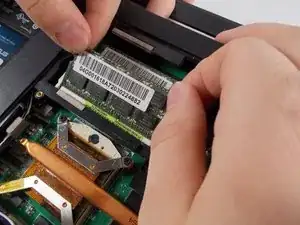
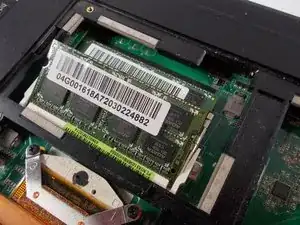
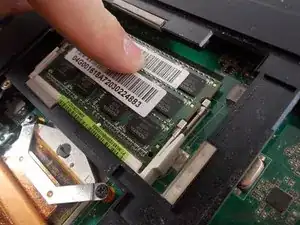
    • The RAM should now be sticking up at a 30° angle.

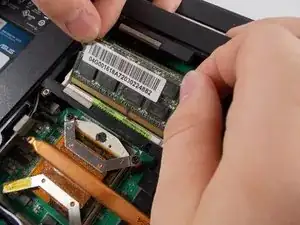
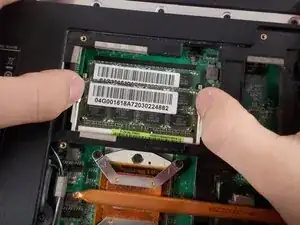
    • Carefully grab the top edge of the RAM and gently pull it it out at it's angle.

  7. tiMVLorJQKVldZBt
    • Repeat removal process for the RAM underneath.

  8. cXnbqQWIMAPxVHIe
    cXnbqQWIMAPxVHIe
    HeVPg4xFZjtNW5EY
    • To insert new RAM line up notch in the connector and slide in at a 30° angle.

    • RAM only goes in one way!

    • Push straight down until the metal clips on both sides click into place

Abschluss

To reassemble your device, follow these instructions in reverse order.
Bradley Varnum

Mitglied seit: 09/03/17

276 Reputation

0 Kommentare