Einleitung
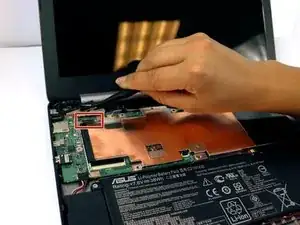
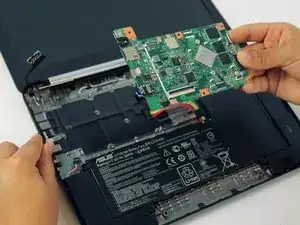
If your Chromebook is not working correctly, then this guide is going to help you get your laptop working again. When working on replacing your motherboard, be sure to ground yourself. Static can short circuit your Chromebook, so be sure to either wear an anti-static wrist strap or work on a surface that doesn't generate static electricity, like wood, tile, or other hard floors.
Werkzeuge
-
-
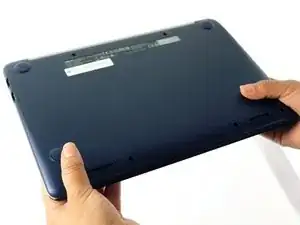
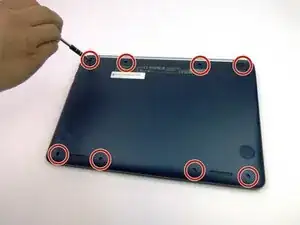
Use the J0 screwdriver to remove the eight 5mm black screws on the bottom of the laptop, which includes the two that were hidden under the rear rubber feet.
-
-
-
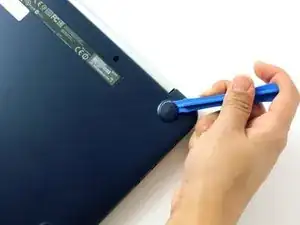
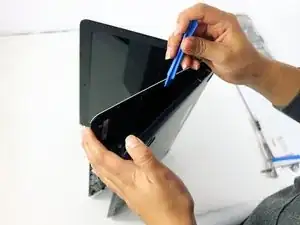
Turn the laptop on its side. Use a small, blue opening tool to pry the keyboard cover and laptop apart. Begin from the top right, next to the power button, and slowly work your way around to the opposite side until the keyboard cover is detached.
-
-
-
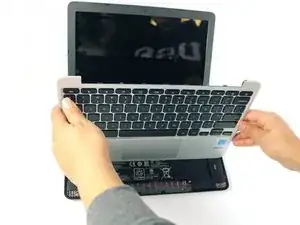
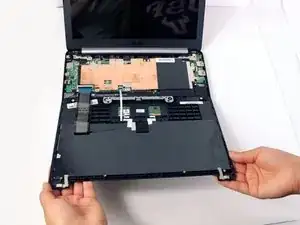
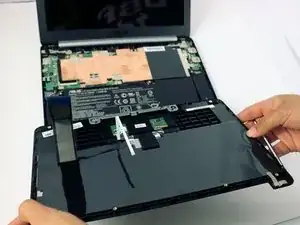
Gently flip the keyboard cover away from the laptop. Rest it safely upside down so the cables are not strained and are easily accessible.
-
-
-
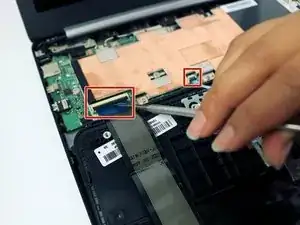
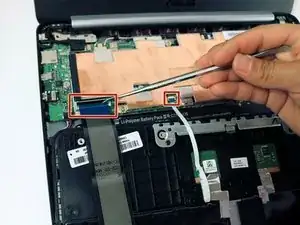
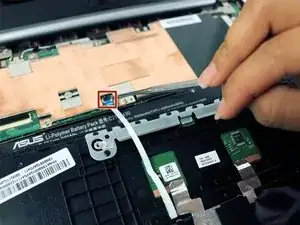
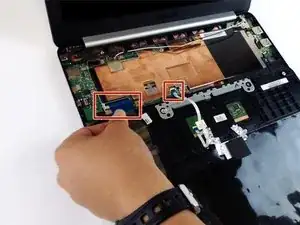
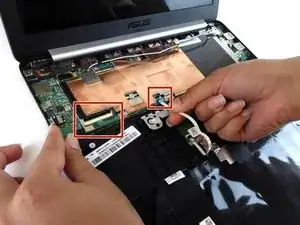
Use the metal spudger to gently pry up the small tabs that are clamping down on the keyboard cables.
-
-
-
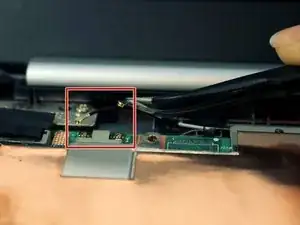
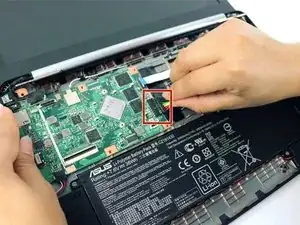
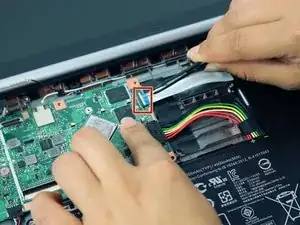
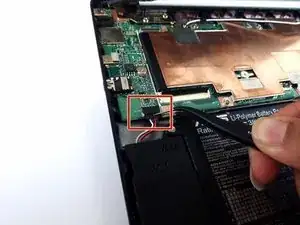
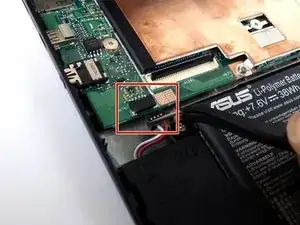
Carefully pull the keyboard cables out of the connecting ports that are attached to the motherboard.
-
-
-
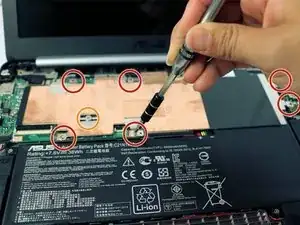
Use a J0 Phillips screwdriver to remove the 6, 4mm small head silver screws.
-
Use the same J0 Phillips screwdriver to remove the 4mm large head silver screw from the head shield.
-
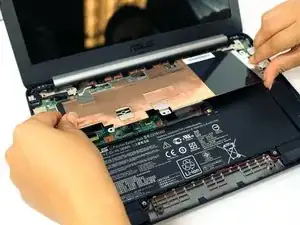
Remove the heat shield.
-
-
-
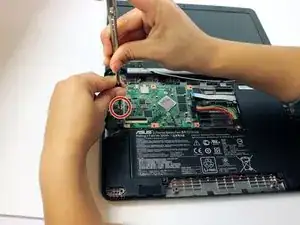
Use a J0 Phillips screwdriver to remove the single, silver, 4mm screw on the motherboard.
-
To reassemble your device, follow these instructions in reverse order.
