Einleitung
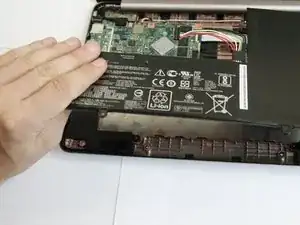
Is your battery damaged or keep dying? Then this is the guide for you.
Werkzeuge
-
-
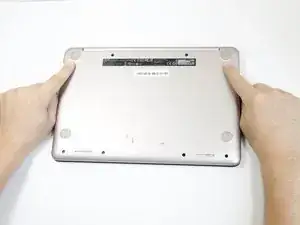
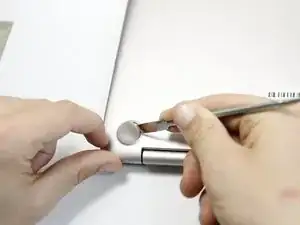
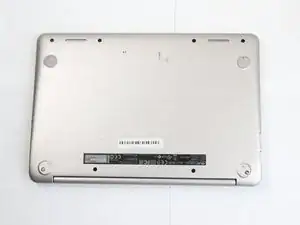
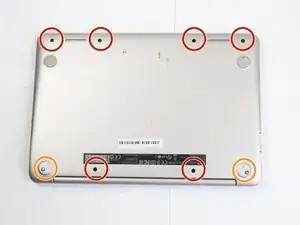
Use a Phillips #0 screwdriver to unscrew the six 5mm screws.
-
Use a Phillips #0 screwdriver to unscrew the two 6mm screws.
-
-
-
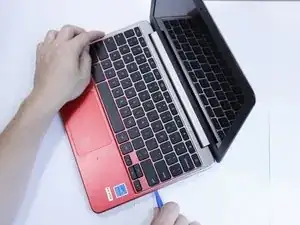
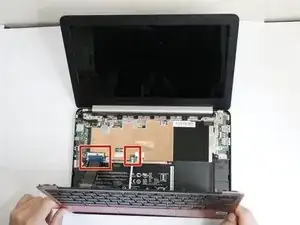
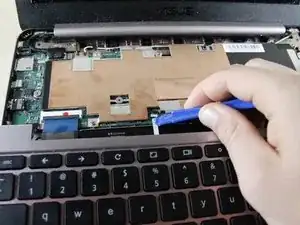
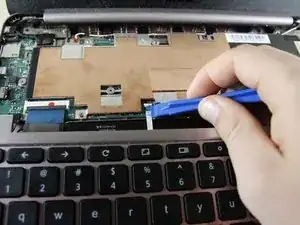
Flip up the white bar that connects the thin white strip using a plastic opening tool.
-
Grab the thin white strip and pull straight back to remove the strip from the connector.
-
-
-
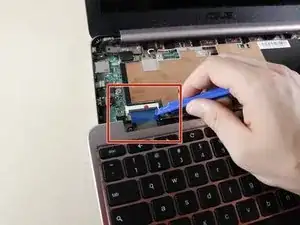
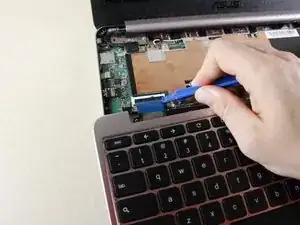
Use a plastic opening tool to lift the black bar above the wide black strip in the connector.
-
Grab the wide black strip and pull straight back to remove the strip from the connector.
-
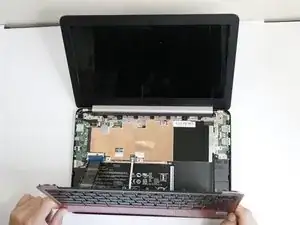
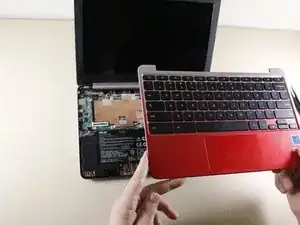
Remove the keyboard by lifting it straight up.
-
-
-
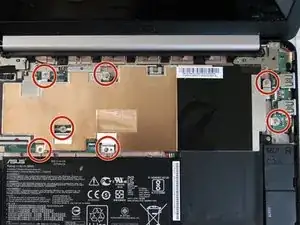
Unscrew the seven 4mm screws using a Phillips #0 screwdriver.
-
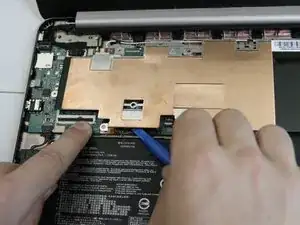
Wiggle the plate back and forth to loosen the adhesive under the plate.
-
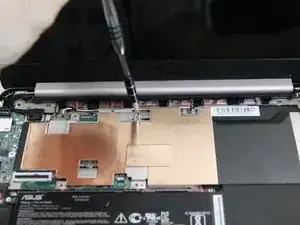
Rotate the screwdriver in a counterclockwise direction to remove the screws.
-
-
-
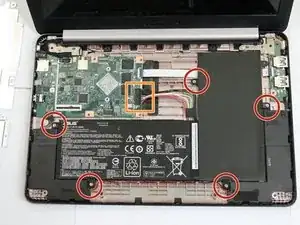
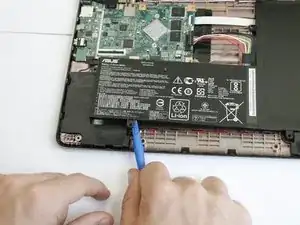
Use a Phillips #0 screwdriver to unscrew the 4mm screws. Rotate the screwdriver in a counterclockwise direction to undo the screws.
-
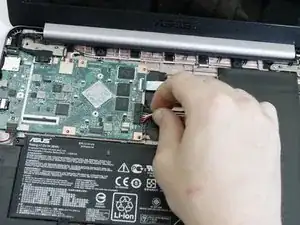
Remove the rainbow connector by firmly grasping the rainbow wires and pulling straight back. It will help to brace the motherboard when you pull.
-
To reassemble your device, follow these instructions in reverse order.
