Einleitung
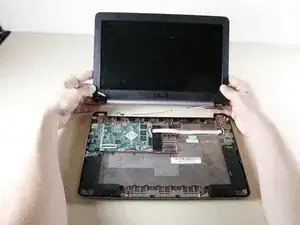
This guide details how to replace the screen if it is cracked or not working properly. During this process be sure to avoid resting your arm or hand in the adhesive on the motherboard.
Werkzeuge
-
-
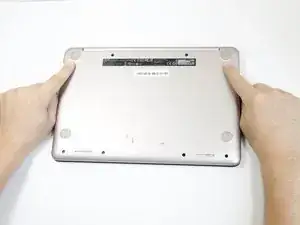
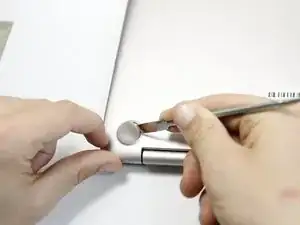
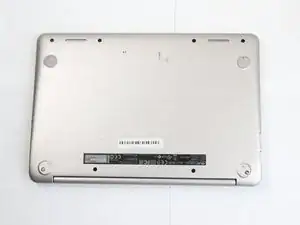
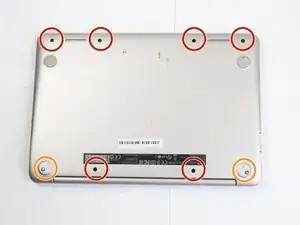
Use a Phillips #0 screwdriver to unscrew the six 5mm screws.
-
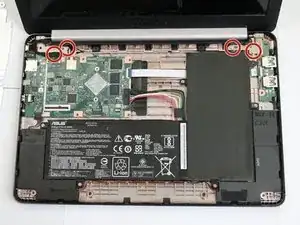
Use a Phillips #0 screwdriver to unscrew the two 6mm screws.
-
-
-
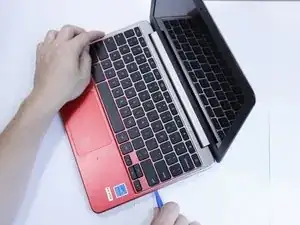
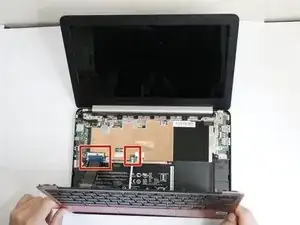
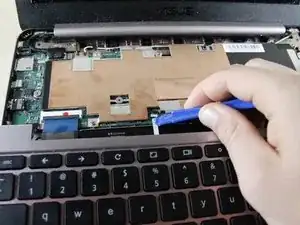
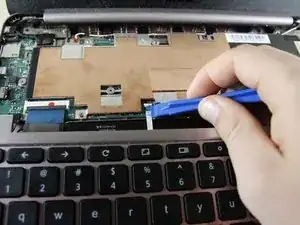
Flip up the white bar that connects the thin white strip using a plastic opening tool.
-
Grab the thin white strip and pull straight back to remove the strip from the connector.
-
-
-
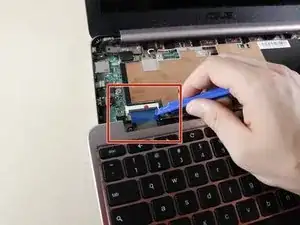
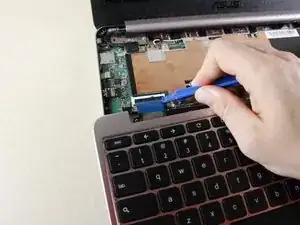
Use a plastic opening tool to lift the black bar above the wide black strip in the connector.
-
Grab the wide black strip and pull straight back to remove the strip from the connector.
-
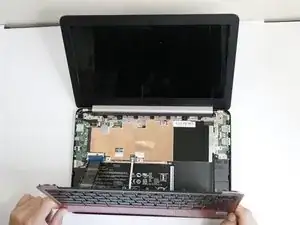
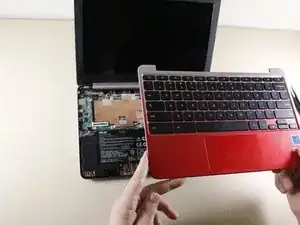
Remove the keyboard by lifting it straight up.
-
-
-
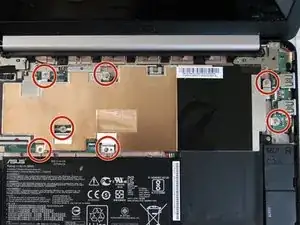
Unscrew the seven 4mm screws using a Phillips #0 screwdriver.
-
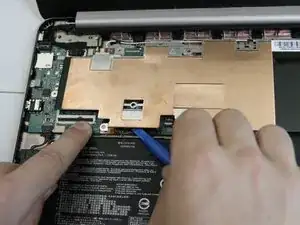
Wiggle the plate back and forth to loosen the adhesive under the plate.
-
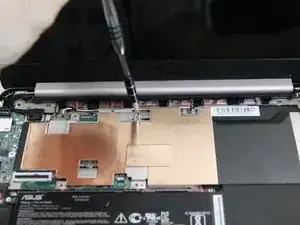
Rotate the screwdriver in a counterclockwise direction to remove the screws.
-
-
-
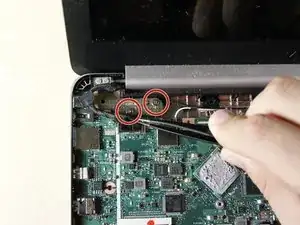
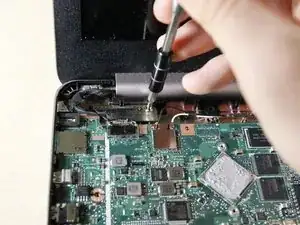
Unscrew the 4mm screws with a Phillips #0 screwdriver by rotating the screwdriver counterclockwise.
-
-
-
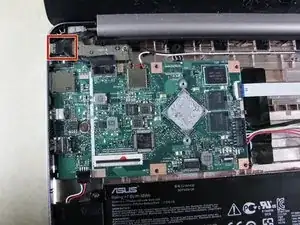
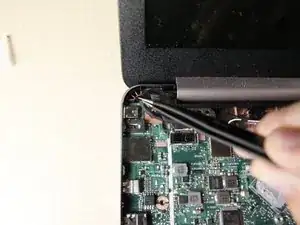
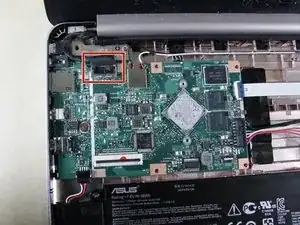
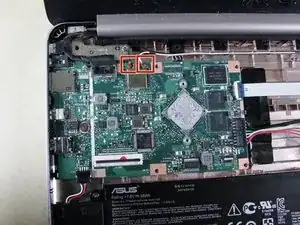
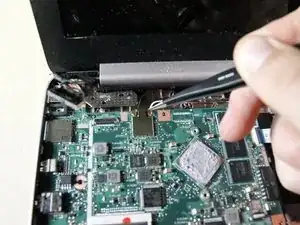
Lift the tarp material straight up off the external output using tweezers. It is simply taped on.
-
-
-
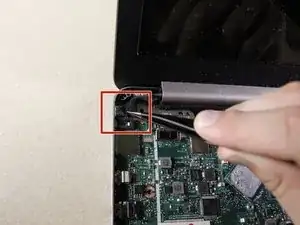
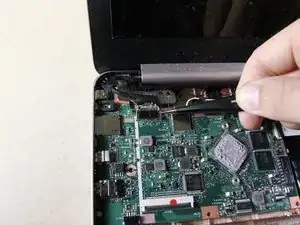
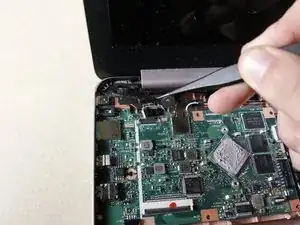
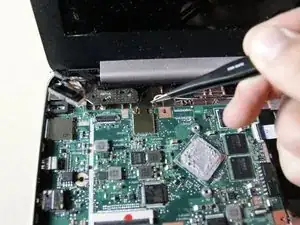
Use a pair of tweezers to grip the tarped connector and lift vertically up. It may help to do this on each side of the attachment, rather than in one pull.
-
To reassemble your device, follow these instructions in reverse order.
