Einleitung
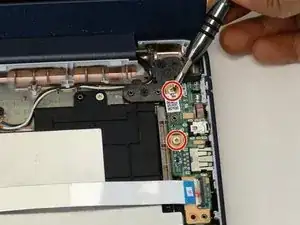
The daughterboard is an extension of the motherboard. The daughterboard is connected to the USB drive, so when you plug into the USB compartment, the daughterboard communicates with the motherboard. This guide will show how to remove the daughterboard/USB piece.
Werkzeuge
-
-
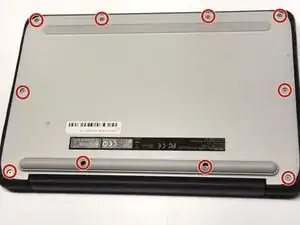
Turn the device over so the bottom is facing up.
-
Remove the ten Phillips #1 8.0 mm screws.
-
-
-
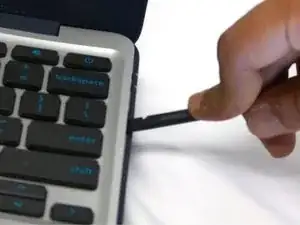
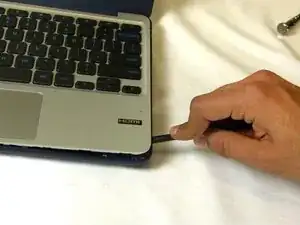
Carefully use the plastic opening tool to pry the palm rest apart from the bottom cover. Start from one spot and systematically work your way around until the whole palm rest is detached.
-
-
-
Disconnect the two cables that run from the keyboard to the motherboard and from the touch pad to the motherboard.
-
-
-
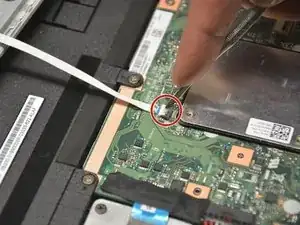
Gently remove the thin band from the daughterboard. You may have to use a thin blade or spudger to lift the silver clip to release the band.
-
To reassemble your device, follow these instructions in reverse order.
Ein Kommentar
If I connected a wrong power supply to my notebook, (Input 120V 60Hz 12W, Output DC 9V, 500mA) with reversed polarity by accident, what if anything could have been burned/ruined? Thank you.
Navreet -
