Einleitung
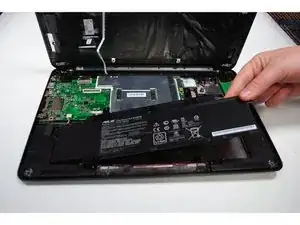
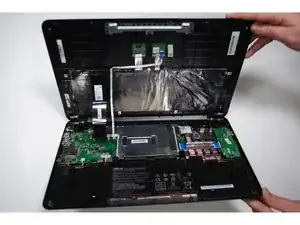
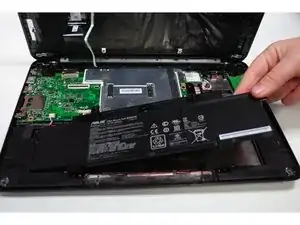
This repair guide will show you step-by-step how to remove the back casing on your Chromebook and affectively remove your battery to replace it. The process is very simple and will take you around 20 minutes to complete.
Werkzeuge
Ersatzteile
-
-
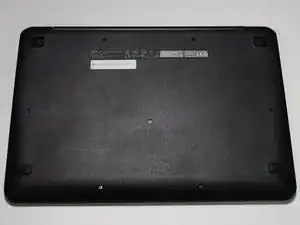
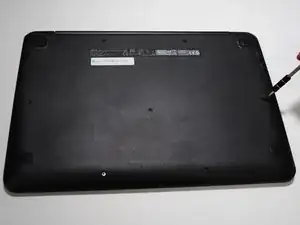
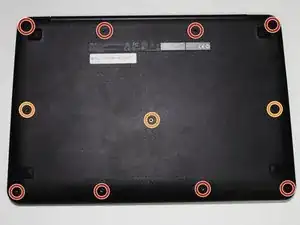
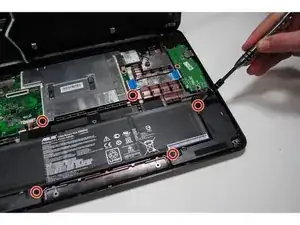
Remove the screws from the 11 spots using the aluminum driver with the J00 Philips head provided in iFixit toolkit.
-
Remove the eight 9.0mm Philips screws along the perimeter of the case.
-
Remove the three 6.0mm Philips screws from the center of the case.
-
-
-
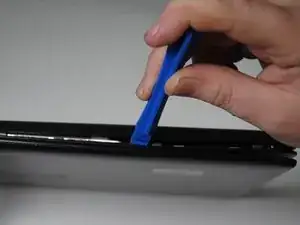
Using a plastic opening tool, work around the Chromebook separating the plastic case at the seam.
-
To reassemble your device, follow these instructions in reverse order.
9 Kommentare
It's not clear from these instructions how to actually disconnect the battery's wires from the main board... can you provide some guidance there?
PLS ANSWER MIKES QUESTION. You cant just remove the battery without disconnecting a wire which seems fragile so I can not go any further without this instruction. sighhhhhhdsgkhdsf;gklfxgbl;dfkbn; so annoying.
I replaced the battery, no problem Thank you Jake Van Loon and 4 others. My current problem is - in the process of replacing the battery the thin white strip that comes down from the top became disconnected. I notice in Step 4 of the Battery instructions that the strip is attached but in Step 5 is isnt. Can someone explain to me just how to reconnect that. Please. Any help is truely appreciated.
