Einleitung
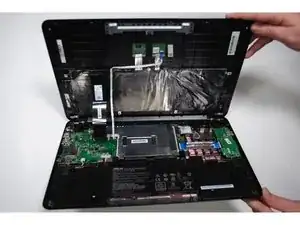
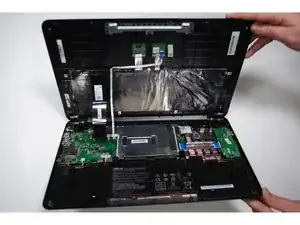
This guide on how to remove the back panel of the Chromebook will be used in most repairs for the Chromebook. It will show how to open the laptop, so the inner workings of the laptop are available to work with. Removing the back panel should take about 10 minutes to complete and will be used quite frequently.
Make sure to keep track of all your screws, they are small and can be lost easily!
Werkzeuge
-
-
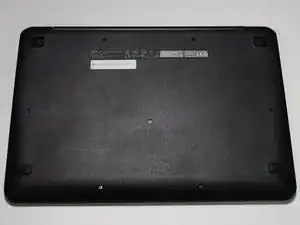
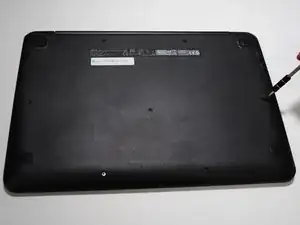
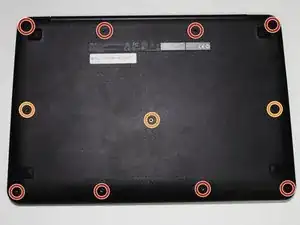
Remove the screws from the 11 spots using the aluminum driver with the J00 Philips head provided in iFixit toolkit.
-
Remove the eight 9.0mm Philips screws along the perimeter of the case.
-
Remove the three 6.0mm Philips screws from the center of the case.
-
-
-
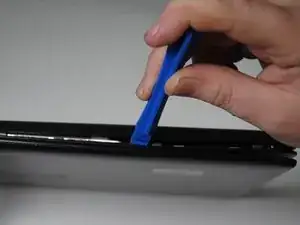
Using a plastic opening tool, work around the Chromebook separating the plastic case at the seam.
-
To reassemble your device, follow these instructions in reverse order.
