Einleitung
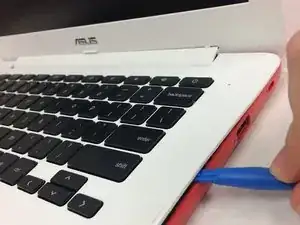
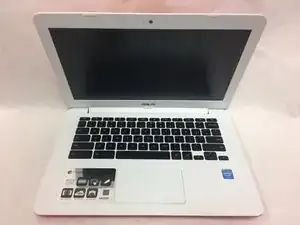
This repair guide will give step-by-step instructions on how to remove the back of the Chromebook to remove and replace the Mousepad.
Werkzeuge
Ersatzteile
-
-
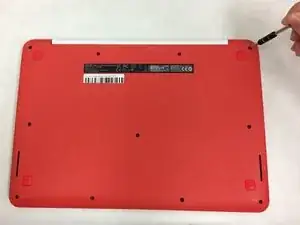
Flip the Chromebook on its front.
-
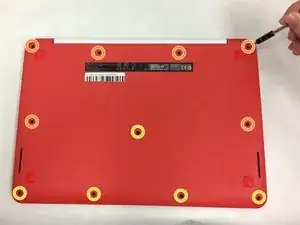
Remove the screws on the back using the Phillips #1 screwdriver.
-
Remove the six 8mm screws.
-
Remove the five 5mm screws.
-
-
-
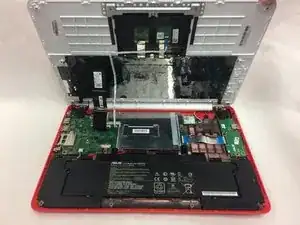
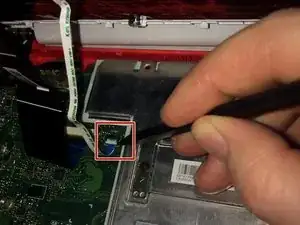
Disconnect the small ribbon cable by lifting the flap and sliding it out of the motherboard input toward the battery using a spudger.
-
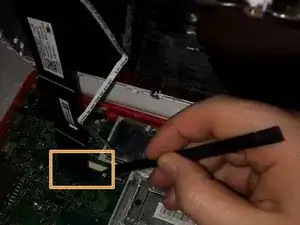
Disconnect the wide ribbon cable by lifting the flap and sliding it out of the motherboard input toward the battery using spudger.
-
-
-
Remove the keyboard and flip it onto its front. You should see the back of the mousepad.
-
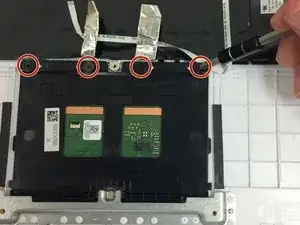
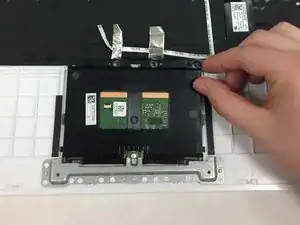
Lift the foil strips to reveal two hidden screws. Then remove all four 2mm screws from the top of the trackpad with the Phillips #1 screwdriver.
-
Remove the mousepad by sliding it upward.
-
To reassemble your device, follow these instructions in reverse order.
