Einleitung
This guide will show you how to open the casing on your Chromebook and replace the LCD display.
Werkzeuge
-
-
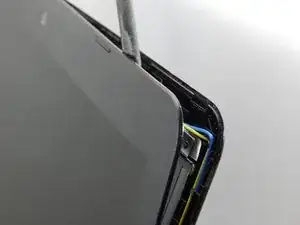
Wedge the tip of the plastic spudger between the outer display casing and the inner display panel liner.
-
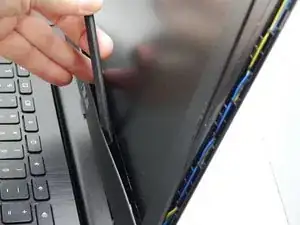
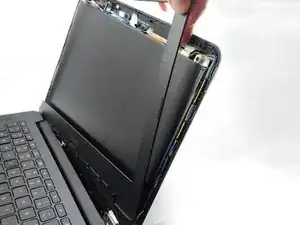
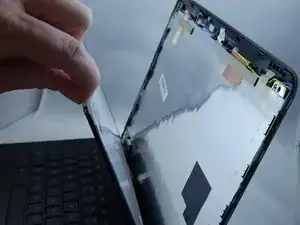
Separate the outer display casing from the inner display panel by sliding the plastic spudger around the perimeter of the display.
-
-
-
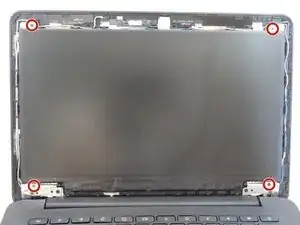
Remove the four 3.0mm PH00 screws from the four corners of the display.
-
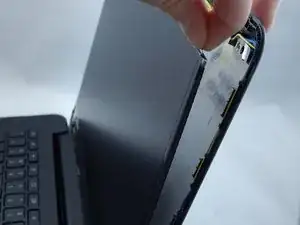
Grip the edges of the display and tip it forward until it rests on the keyboard.
-
-
-
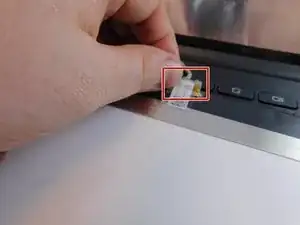
Locate the gold cable connector that attaches the display to the bottom of the display housing.
-
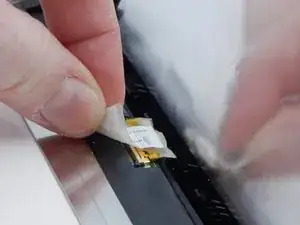
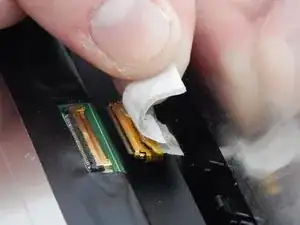
Peel back the protective tape that covers the gold connector.
-
Disconnect the display from the display housing by gripping the sides of the gold display cable connector and pulling away from the bottom of the display.
-
To reassemble your device, follow these instructions in reverse order.

