Einleitung

This guide will show you how to open the casing on your Chromebook and remove your motherboard so that you can replace it.

  1. bNKDFWoAUgyhUBx3
    bNKDFWoAUgyhUBx3
    YBnqrfcNJVFcOMCc
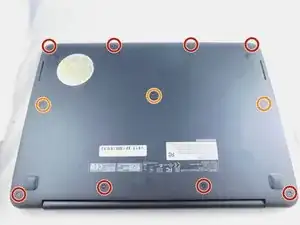
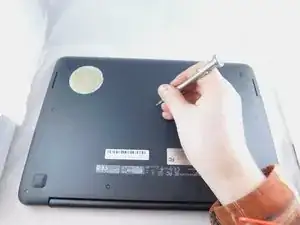
    • Remove the eight 9.0mm Phillips #00 screws.

    • Remove the three 6.0mm Phillips #00 screws.

  2. 1Sn5FvFDQpNqmmK6
    1Sn5FvFDQpNqmmK6
    y2OyLGRwVflhsCxd
    a5AR1dQGbQd3I2fB
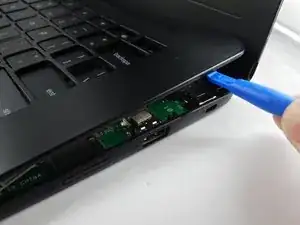
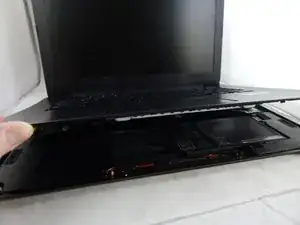
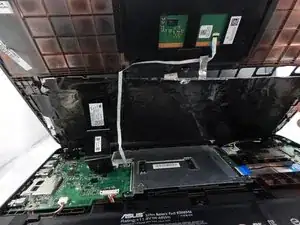
    • Separate the palm rest assembly from the bottom housing using the plastic opening tool.

    • It is recommended that you start from a corner and run the plastic opening tool along the edge of the housing.

    • Lift the palm rest assembly slowly to prevent damaging the two cables that connect it to the motherboard.

  3. d6nRSK3qQb5SraBc
    d6nRSK3qQb5SraBc
    WqASYIbeHEQ2StMQ
    nWVjpjDJSQH3thdo
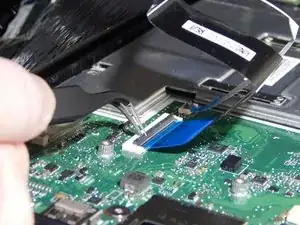
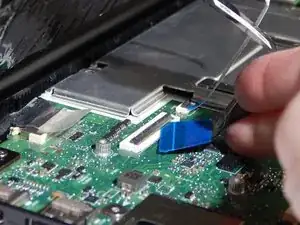
    • Flip back the hinges on the connectors that secure the wide black cable and the narrow white cable using the tweezers.

    • Disconnect the wide black cable from the motherboard by pulling the blue cable tab away from the connector.

    • Disconnect the white ribbon cable from the motherboard by pulling the blue cable tab away from the connector.

  4. 2DeDdXAfxDp2ykuC
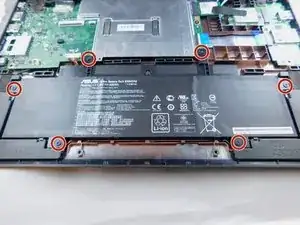
    • Remove the six 6.0mm Phillips #00 screws that secure the battery to the bottom housing.

  5. AZIkGHW3iHHflqct
    AZIkGHW3iHHflqct
    1ywlLRDGJHtfJLVD
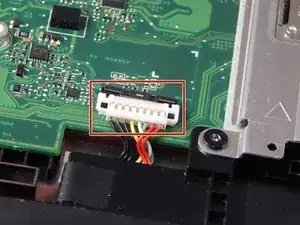
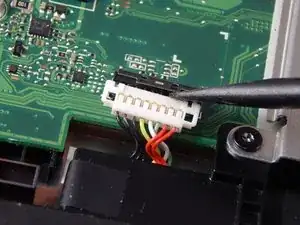
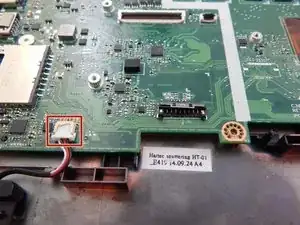
    • Disconnect the bundled cable connector that attaches the battery to the motherboard using the small plastic spudger.

  6. nKfDXV5w4T3J5edf
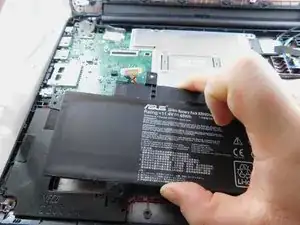
    • Remove the battery from the bottom housing.

  7. lJCrnYORLfNoEcrG
    lJCrnYORLfNoEcrG
    BQcDeWDkDQvBMQBO
    spVvZsVVON3YbqDG
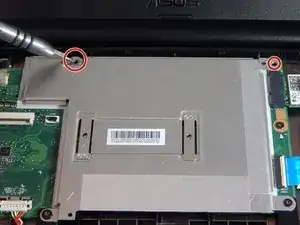
    • Remove the two 6.0mm Phillips #00 screws that secure the metal heat shield to the motherboard.

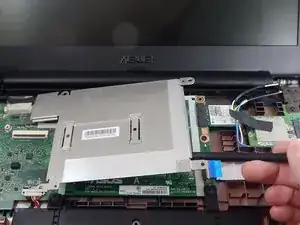
    • Remove the metal heat shield.

  8. jwT3MXjtLrOUUkHf
    jwT3MXjtLrOUUkHf
    HEkA2nLMHUro64hL
    WlMdyclMEUHMnuaN
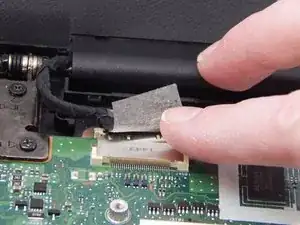
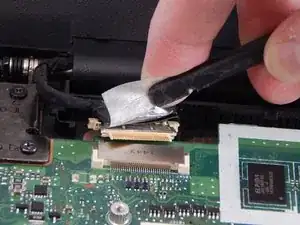
    • Peel back the protective tape that covers the display cable connector.

    • Disconnect the display cable from the motherboard using the plastic spudger tool.

  9. 4UTXOwfZbspfHpEi
    4UTXOwfZbspfHpEi
    ZVVOEHP1KIjg2Fvh
    QZIwAQGmPXRY1Kew
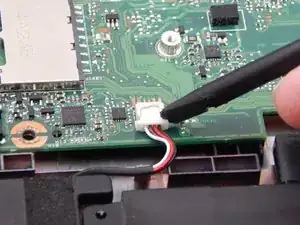
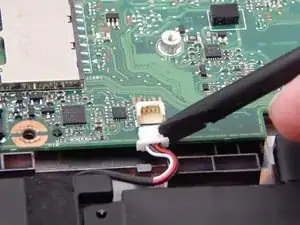
    • Disconnect the speaker cable from the motherboard using the plastic spudger tool.

  10. GnvcOVSAVEEfG3fU
    GnvcOVSAVEEfG3fU
    KcJpRLDSvXGvcZFa
    3rqEnDg51Nanwj2F
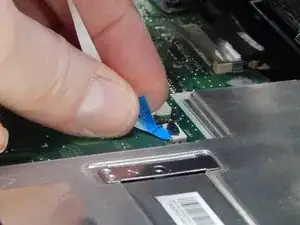
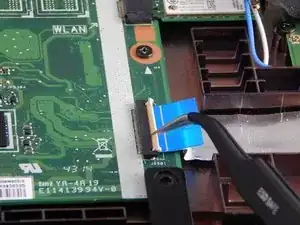
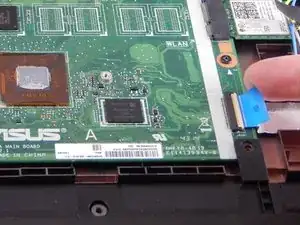
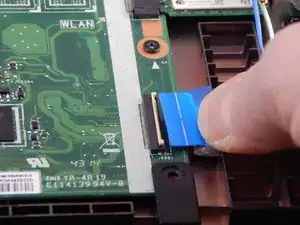
    • Flip back the hinge that secures the blue daughterboard cable to the motherboard using the tweezers.

    • Disconnect the blue cable connecting the motherboard to the daughterboard by pulling on the blue cable tab.

  11. CuhCUUKSUqvslLL1
    CuhCUUKSUqvslLL1
    ehEAnFcgJaCApZyt
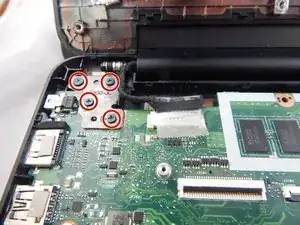
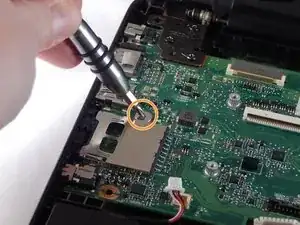
    • Remove the four 3.0mm Phillips #00 screws that attach the left hinge.

    • Remove the large silver 5.0mm Phillips #00 screw from the center-left side of the motherboard.

  12. p1LRuCfvJjqqKbGR
    p1LRuCfvJjqqKbGR
    GKRs614WLNCdFXUW
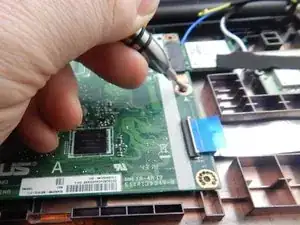
    • Remove the three 3.0mm Phillips #00 screws that secure the motherboard to the housing.

  13. xZbPhkkhANQFyoRE
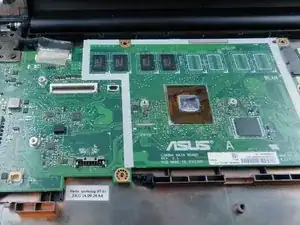
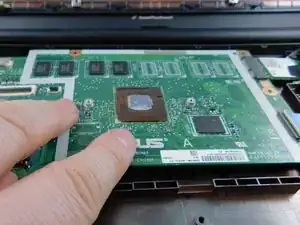
    • Remove the motherboard.

Abschluss

To reassemble your device, follow these instructions in reverse order.
Brooke Austin

Mitglied seit: 06/10/17

419 Reputation

0 Kommentare