Einleitung

If your laptop is not turning on this guide will be very useful. Be careful when removing any wires, make sure you are safely opening the clips and not tearing anything.

  1. ZGOrWtG1S1EDDZMn
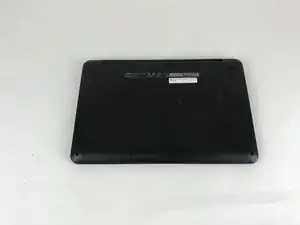
    • Place device bottom-side up.

  2. BSGMOUP6plSWiJUT
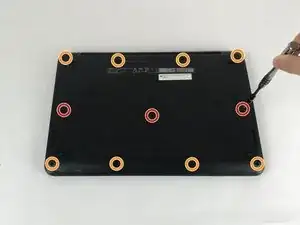
    • Remove the three 6.0 mm Philips screws from the center of the case with the #2 screwdriver bit.

    • Remove the eight 9.0 mm Philips screws along the perimeter of the case with the #2 screwdriver bit.

  3. hd6bfrkXArVgLEwM
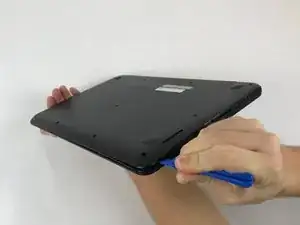
    • Using a plastic opening tool, separate the bottom case at the seam.

    • Prying open a laptop requires a lot of force but use caution so as to avoid breaking the fragile connectors.

  4. Hyk3udyNbKmGWFuc
    Hyk3udyNbKmGWFuc
    ZCRc6alDJFdb1VZe
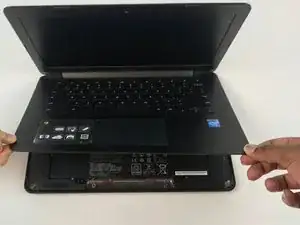
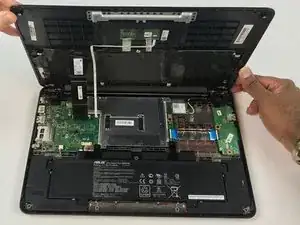
    • Lift the keyboard panel away from the components at its hinges, which are located at the back of the laptop.

  5. dtLbPUVRQDwuKXdn
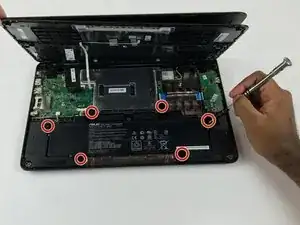
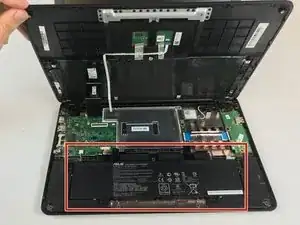
    • Remove the six 6.0mm Philips screws, using the 64 bit driver from around the battery.

  6. xMfEBpdSVUkdkxAU
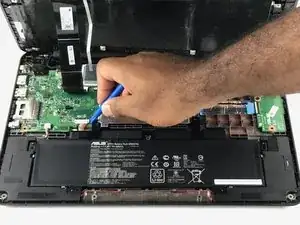
    • Unplug the wire using the plastic opening tool that connects the battery with the board.

  7. c3Ks6HOJwVgtqXkY
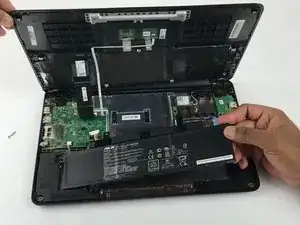
    • Lift the battery out of the laptop

Abschluss

To reassemble your device, follow these instructions in reverse order.
wyatt boyatt

Mitglied seit: 25/09/17

541 Reputation

0 Kommentare